
What is Sub-Grid?
One of the major point about CRM Dynamics 365 is that it allows you to customize entity forms so each entity record displays the information most relevant to your business. It may be helpful for your users to be able to see, at a glance, a certain set of related records when viewing an individual Case, Account or Contact.
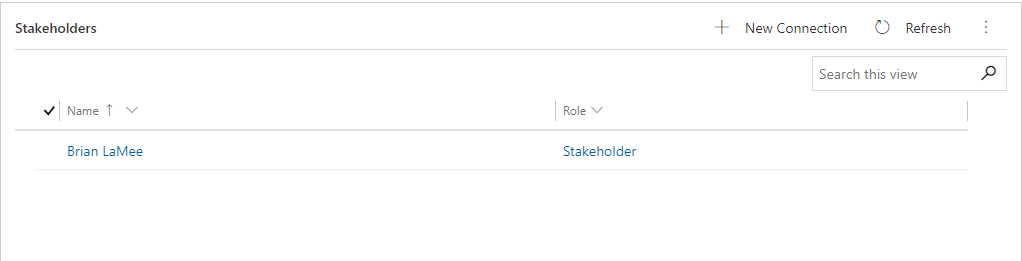
For example, your business salesmen may find it helpful to see a Lead’s stakeholder directly on the contact record, instead of navigating to a separate page or running an advanced find. You can easily set this up by adding a Stakeholder “Sub-Grid” into your Lead form.
How to create a Sub-Grid?
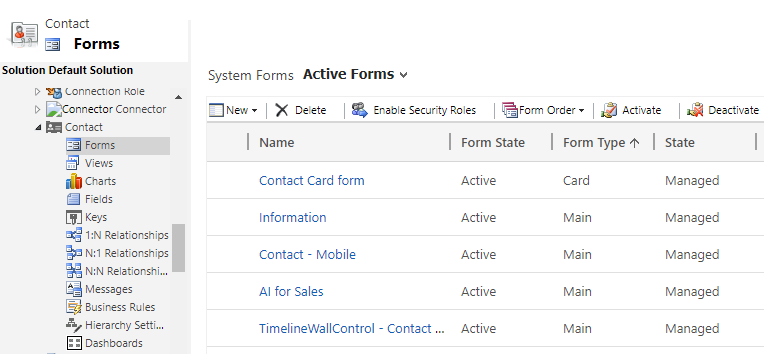
For learning, we will consider a scenario where we will add a Sub-Grid on Contact form. Now navigate to Settings >> Customization. Select the Contact entity and click on Forms. Now select the Contact form in which you want to add your Sub-Grid, and click on it.
After opening the form editor, navigate to the upper hand window panel and click on Insert.
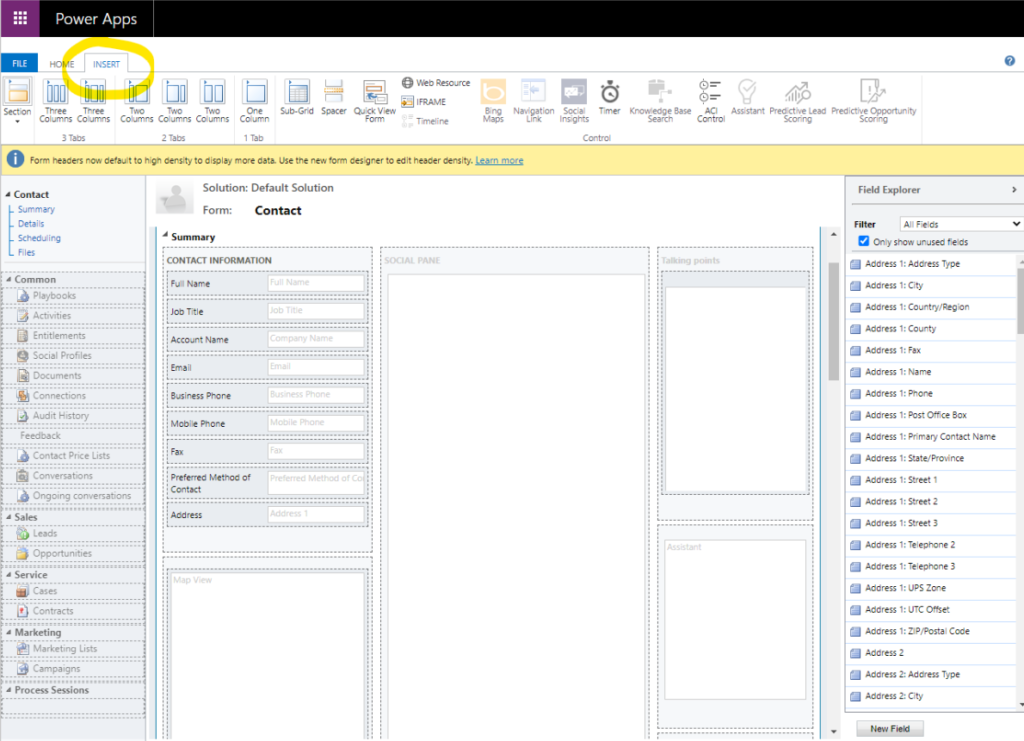
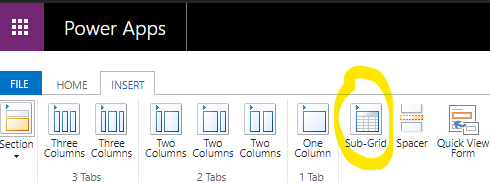
Here we can see the button “Sub Grid”. Click on this button Sub-Grid.
Note : – Before click on Sub-Grid make sure you have selected any section or tab within the form.
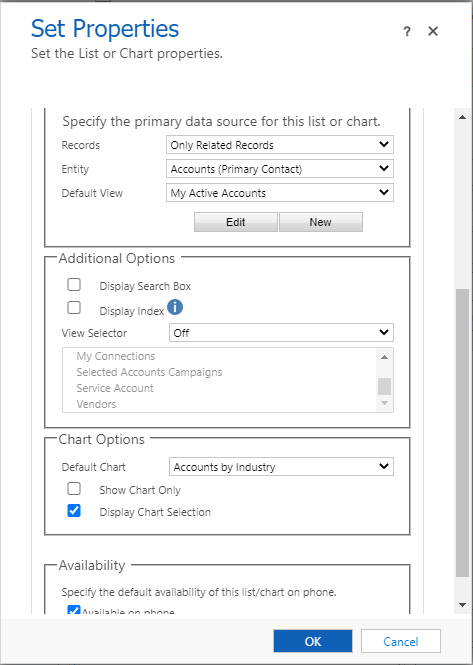
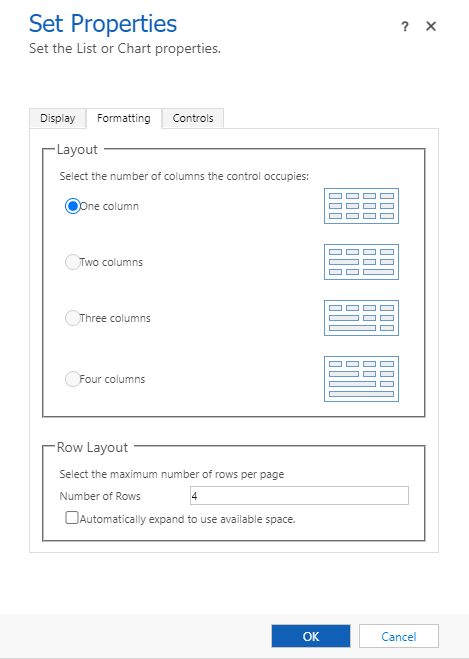
Now the Sub-Grid editor will get open. Here we can see three major templates such as Display for setting up Sub-Grid labels, Formatting for formatting Sub-Grid on UI level and Controls for adding a custom control on the Sub-Grid.
In our scenario we will populate the Accounts Sub-Grid on Contact form so that the sales representative can easily view the Accounts associated in Contact form.
In order to do so, in the Display template navigate to the section “Data Source”. Here we will find all the lookup entity’s which are having relationship with the Contact entity. In field Records select “Only Related Records”. In field Entity select the entity for which you want to display the records in your Sub-Grid, in our case we will select entity “Account (Primary Contact)”. Note that the Primary Contact is the name of lookup field on Contact entity.
Later there is a field called “Default view”. All the views from the above selected Sub-Grid entity will get populated here. Select the view which you desire.
Further below there is a section called Additional Options. This section will add extra components in your Sub-Grid such as search box, index, additional charts, phone availability etc.
Now our Sub-Grid is configured to display all the related Account records in the Contact form. Click on Ok >> Save >> Publish.
Navigate to the Contact record in CRM and validate that your Sub-Grid is placed on the Contact form and can add / remove Account records.
For more information click here.


[…] Click on the given link to understand more about the Sub-Grids – https://www.crmcrate.com/feeds/create-configure-sub-grid-in-form-crm-dynamics-365-form-customization… […]