
In this course, we will learn and understand the integration between Azure Service Bus and Dynamics CRM. Microsoft Azure Service Bus is a fully managed enterprise integration message broker service application. Azure Service Bus can decouple applications and services. It provides a secured and reliable platform for asynchronous transfer of data.
Azure Service Bus overview
Microsoft’s Azure service bus is a multi- tenant cloud service where multiple users share the services. You can define the communication mechanism by creating a dedicated namespace where a dedicated communication will only take place within the defined namespace as shown below.
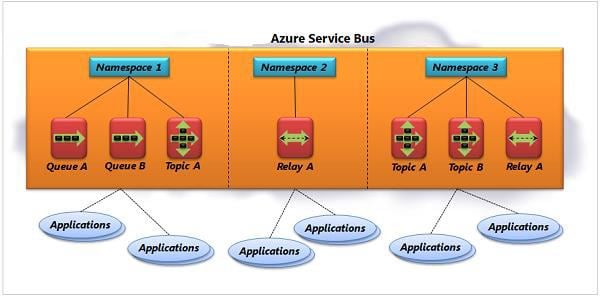
It is a messaging service on hosted of Azure cloud which is used to connect any applications, devices, and services running in the cloud to any other external applications or services. As a result, it acts as a messaging backbone for applications available in the cloud or across any devices.
Below are few points stating Azure Bus Service in a nutshell.
- Microsoft Azure Service Bus is a reliable information delivery service.
- The main agenda ABS is to make the communication easier.
- When two or more parties want to exchange an information, they need a communication facilitator which can be leveraged by using Azure Bus Service.
- Azure Service Bus is a brokered, or third-party communication mechanism.
Pre-Requisites for building CRM to Azure Service Bus integration
You must have to below pre-requisites for building the integration,
- Azure Subscription
- Dynamics 365 instance
- Dynamics 365 Plugin Registration Tool
Build a CRM to Azure Service Bus integration
Follow the below steps for creating / developing a CRM to Azure Service Bus integration.
1. Create an Azure Service Bus
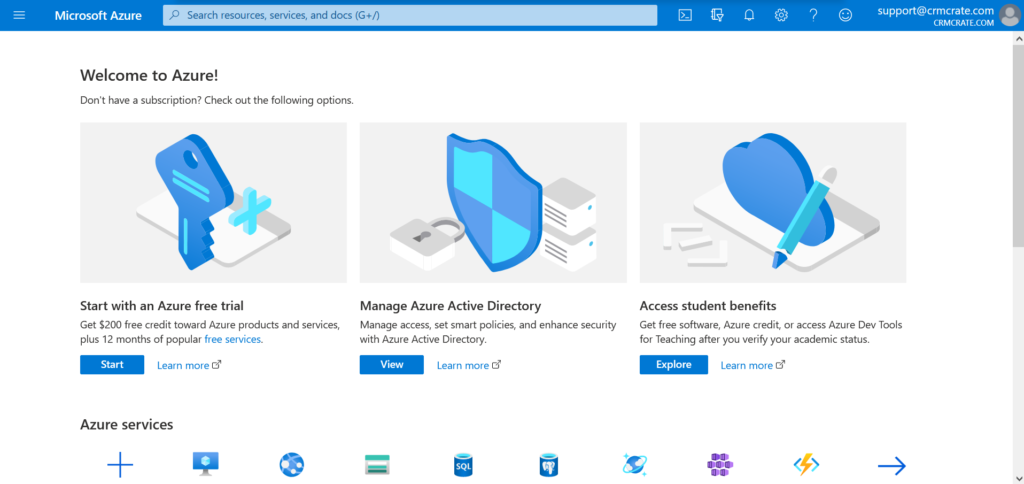
- Navigate and open Azure Portal by clicking on https://portal.azure.com.
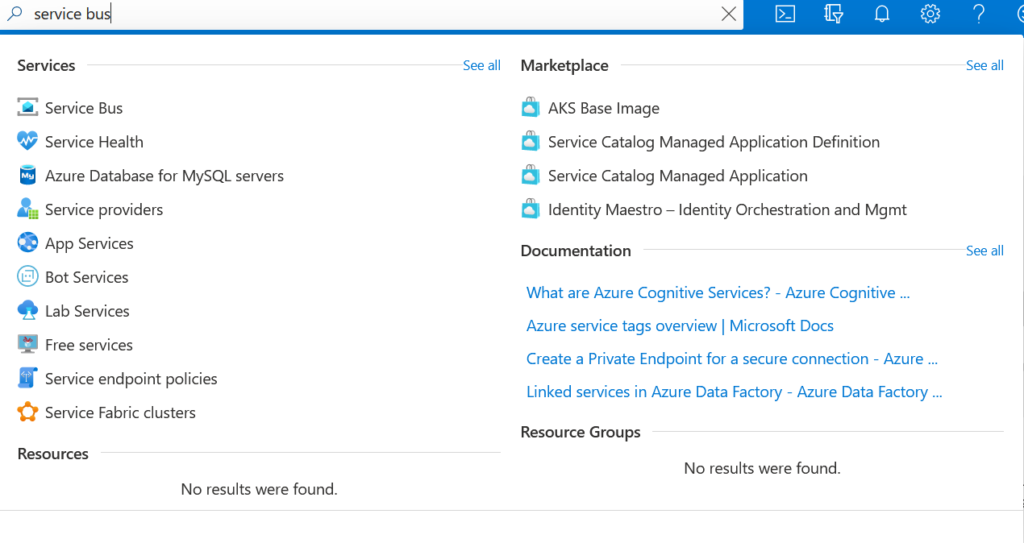
- Open the Service Bus by searching for it in the search box.
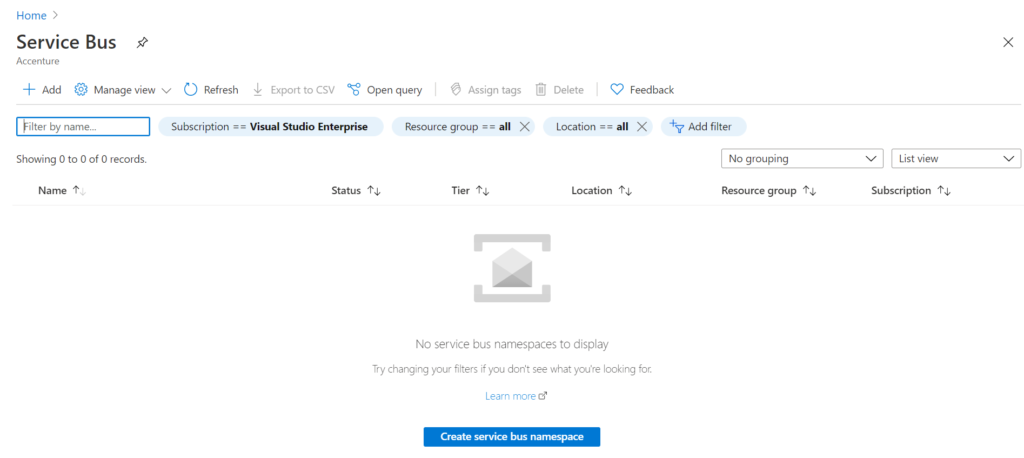
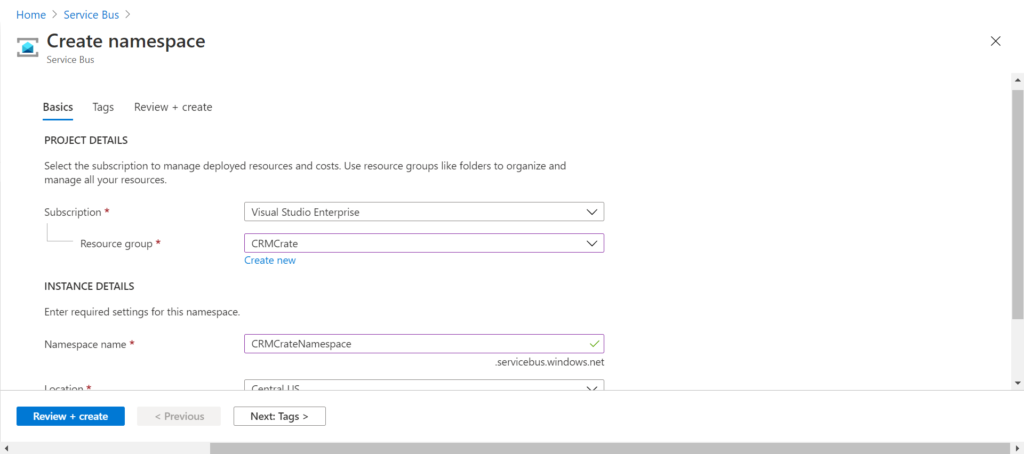
- Now, click on Add or Create service bus namespace.
Fill the necessary details and click on Create.
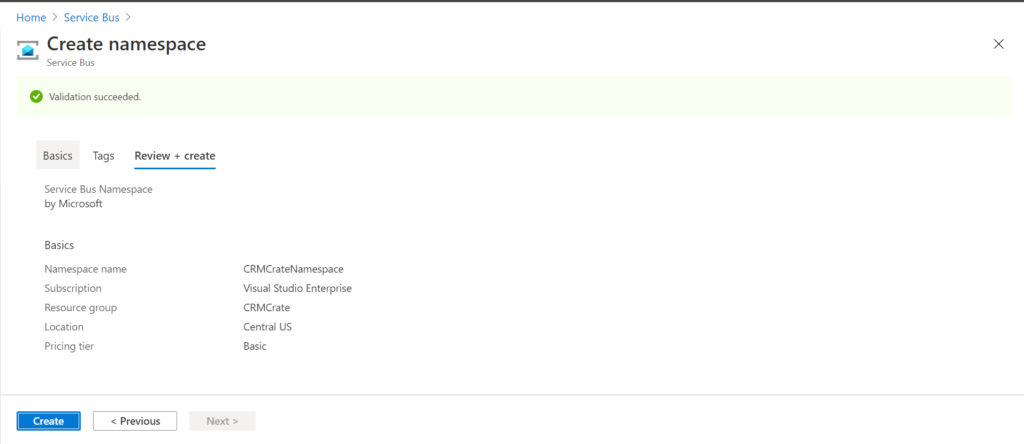
Now, your Azure Service Bus will get created (Deployment may take up to 10 minutes).
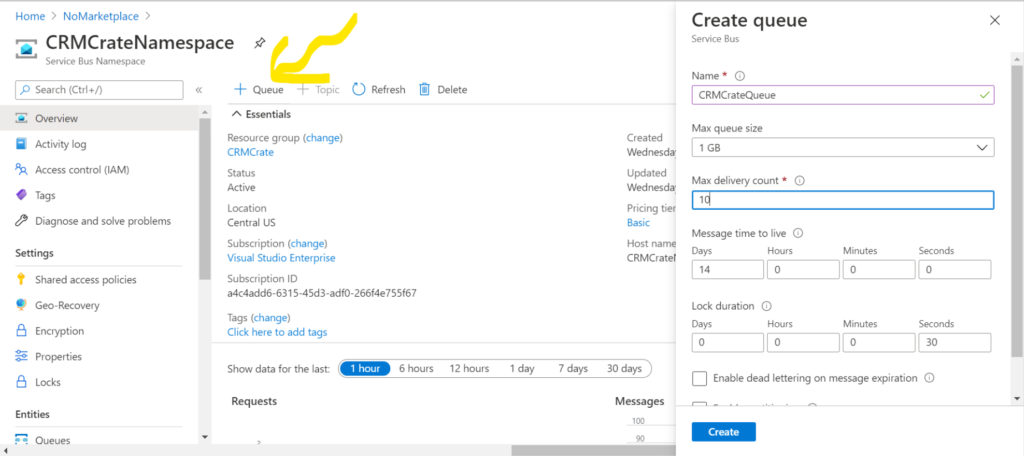
2. Create a queue within the Service Bus
- We have to create a queue once the service bus is created and deployed. In your service bus, click on Add Queue as shown below. Fill the necessary details and create the queue.
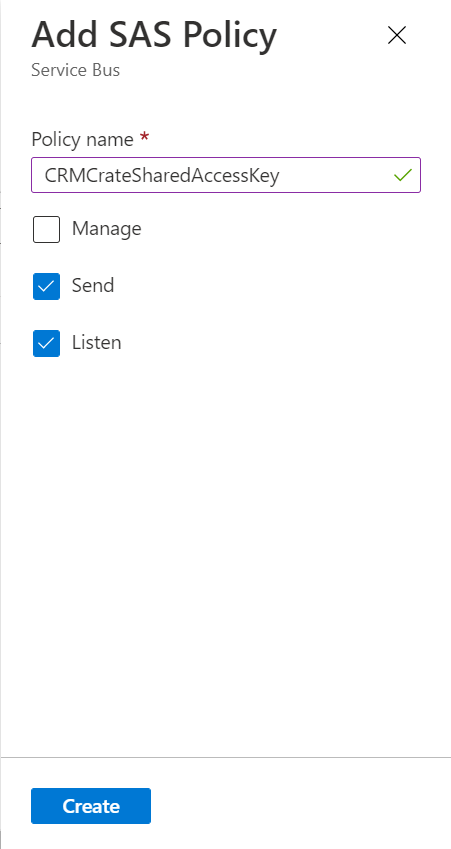
3. Create a Shared Access Key (SAS)
- In the Azure Bus Service, navigate to the left hand panel of screen and click on Shared Access Policies.
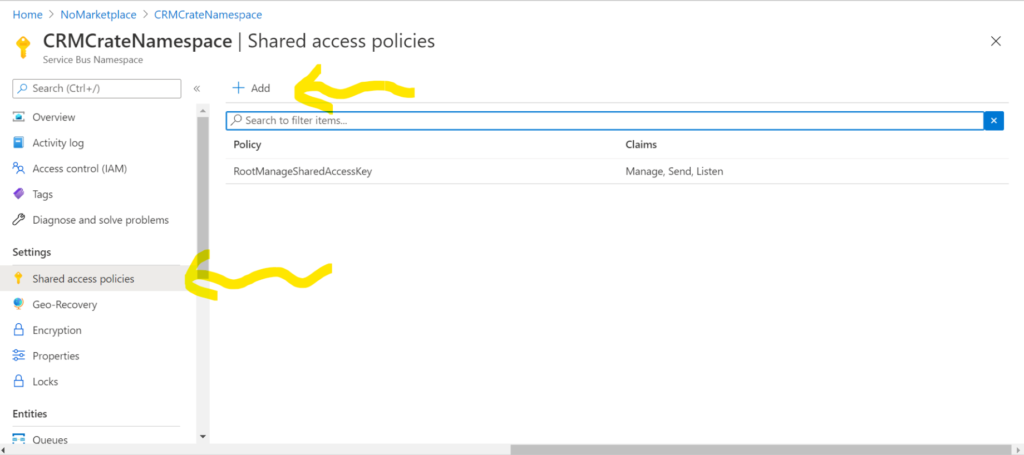
- Click on Add new, fill the necessary details and make sure that your policy has Send and Listen checked as shown below.
4. Copy the Connection String from your SAS Policy
- After the SAS Policy is been created, open it by double clicking on it.
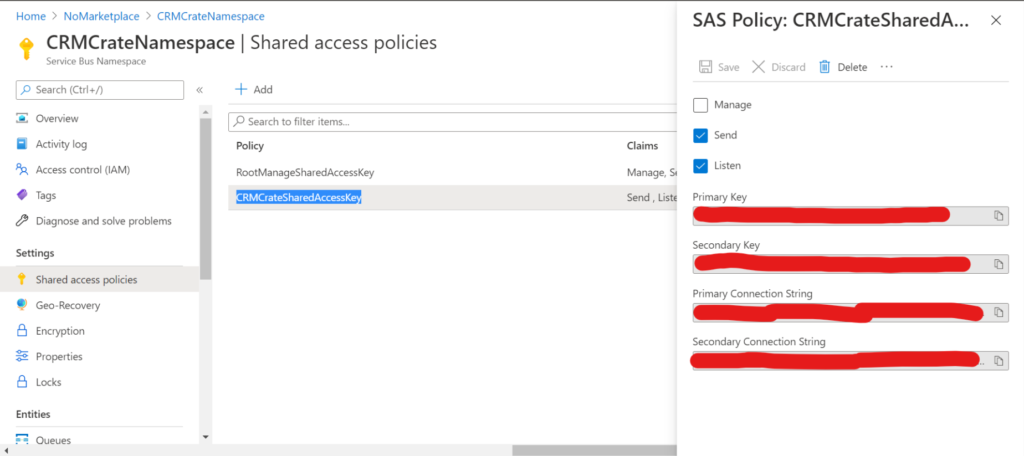
- Now, copy the primary connection string which we will use later to guide Dynamics CRM where to send the message.
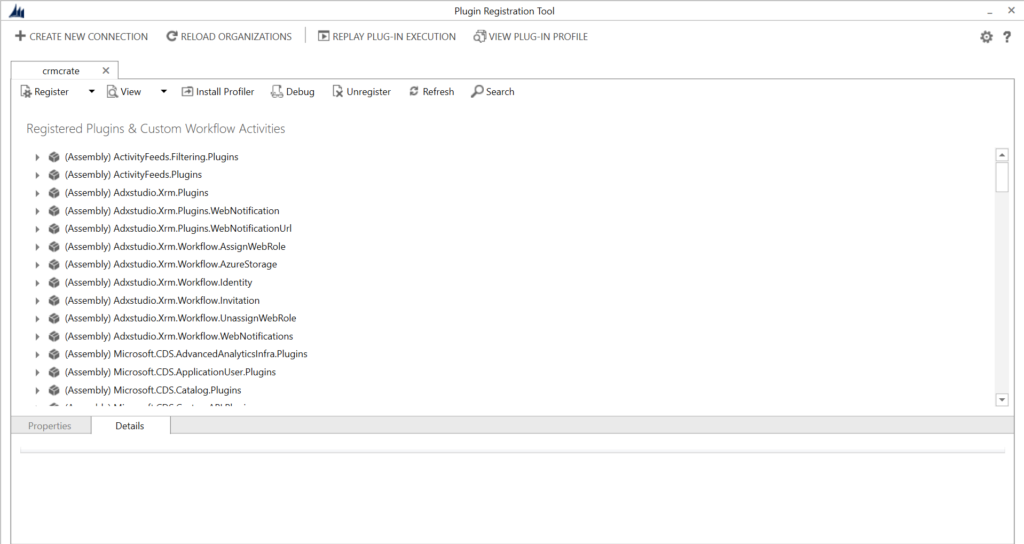
5. Register Service EndPoint in Dynamics CRM
We have established our Azure Service Bus in the above steps, now lets register the service end point in dynamics CRM by leveraging the Plugin Registration Tool.
- Open the Plugin Registration Tool and connect it to your Dynamics CRM.
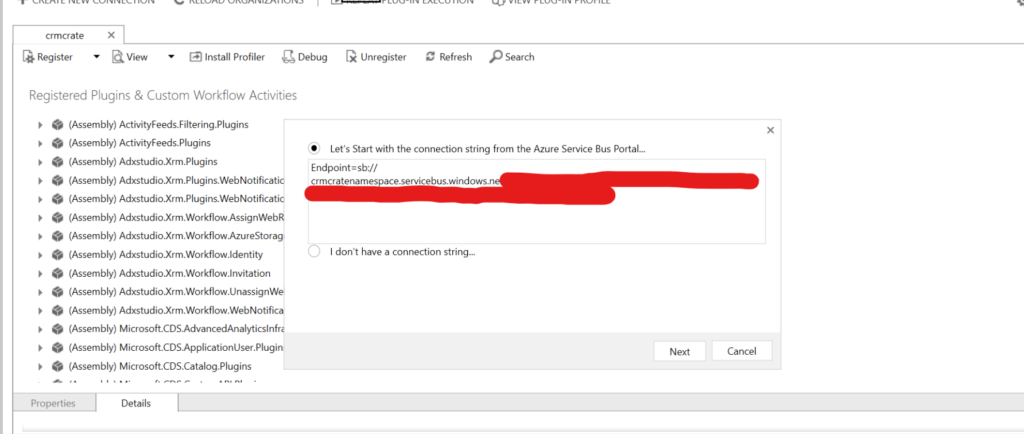
- Click on Register and select Register New Service Endpoint as shown below.
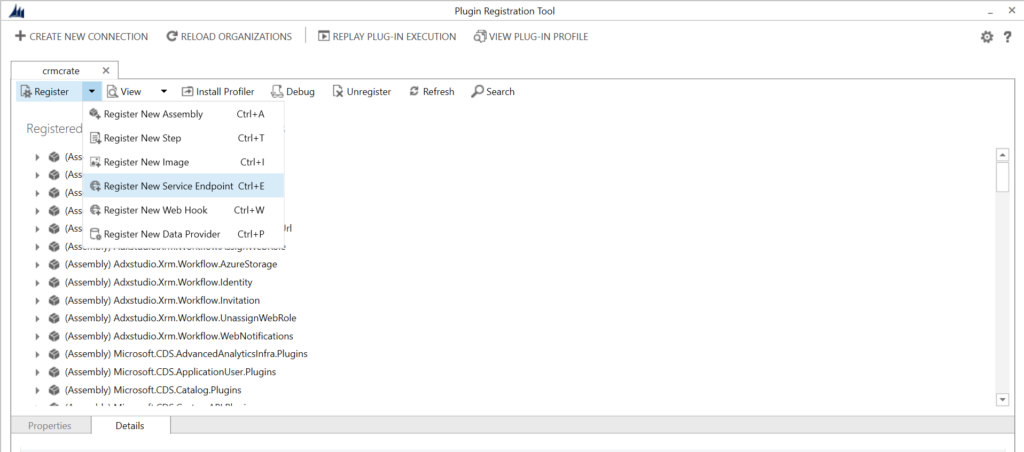
- Copy the SAS Policy connection string as shown below.
- Click on Next, now the Service Endpoint Registration form will get populated. In field Queue Name add the above created queue name from step 2. Select the Message Format as JSON.

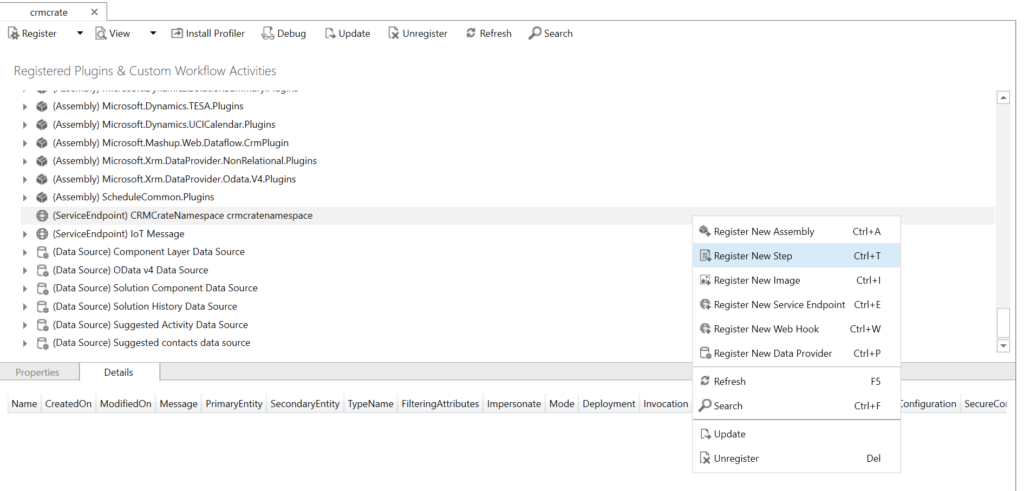
6. Register a Step in the Service Endpoint
- Select the registered Service Endpoint and click on add step.
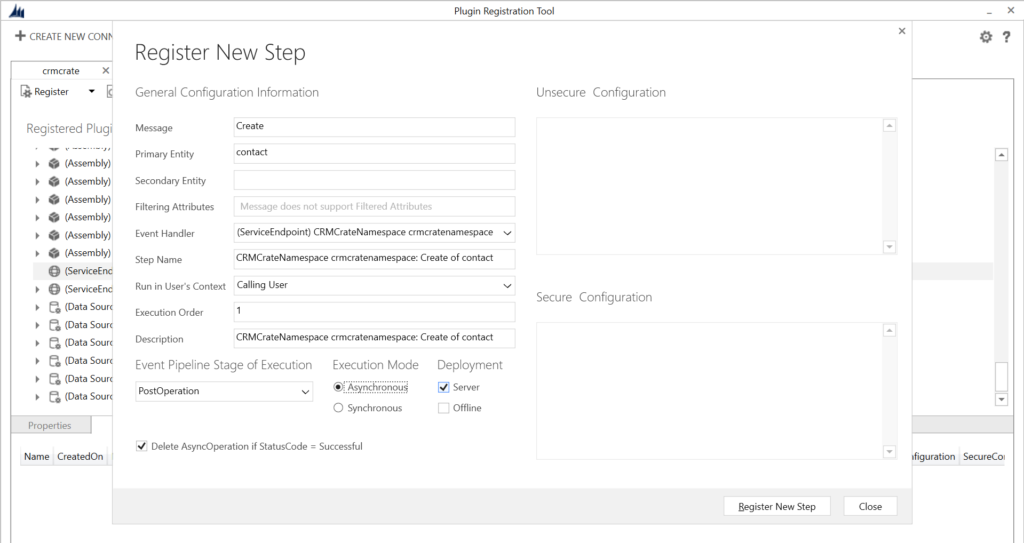
- You can add your own message name and entity name (Type of operation) according to your need. Make sure to switch the execution mode as “Asynchronous”.
Now, from creating a Service Bus to Registering endpoint, our entire integration cycle is completed.
7. Test / Demo the established integration
Lets test the above created integration between Dynamics CRM and Azure Service Bus. Perform the event in CRM which was configured in the endpoint step. In our case, we will create a Contact record in Dynamics CRM.
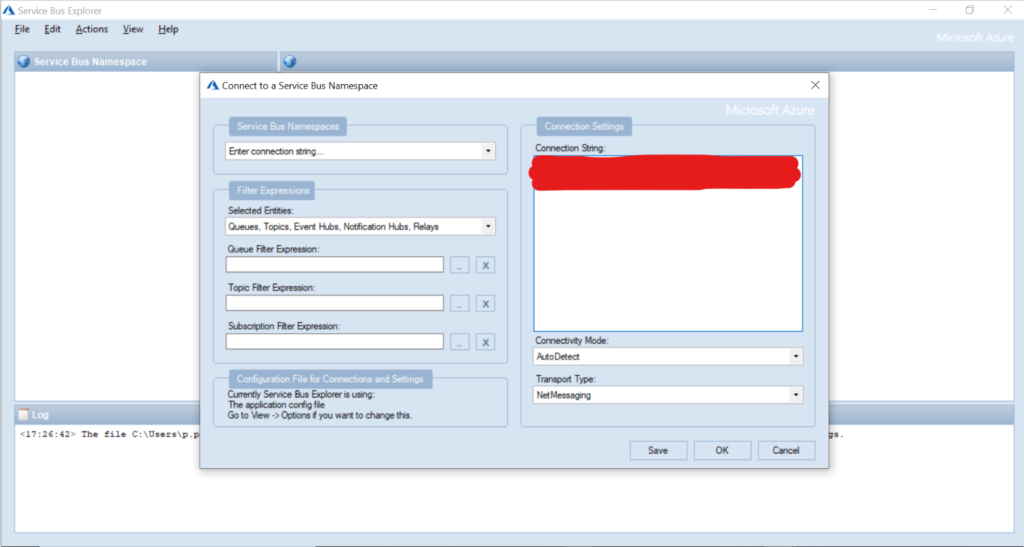
- Click here to download Service Bus Explorer.
- Open the Service Bus Explore >> File >> New >> Select Service Bus Namespace as Connect String >> Paste the SAS Policy “Default” connection string in the connect string text area and click on Ok as shown below.
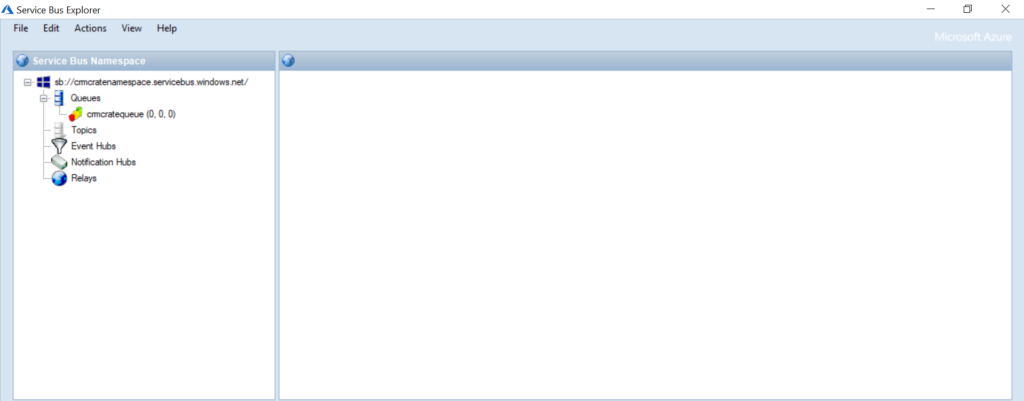
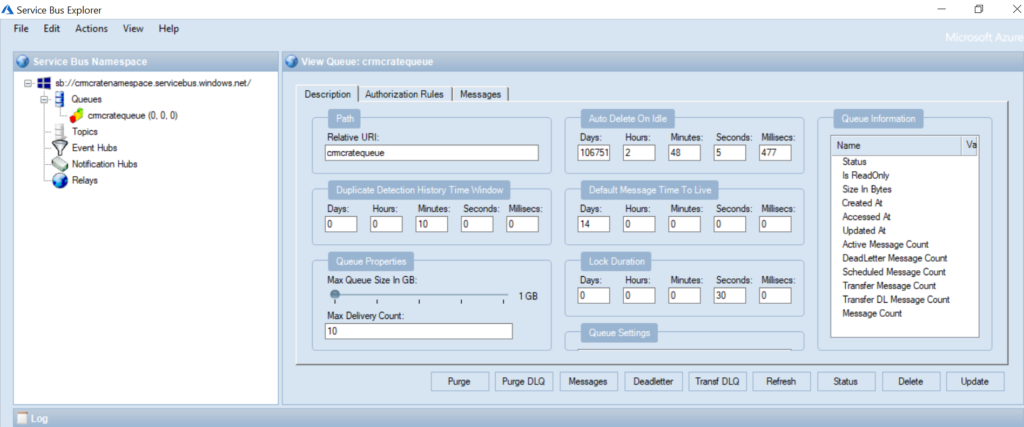
- Now, in the Queues expand and validate that our above created queue from step 2 is populating in the Service Bus Explorer. Once the panel gets open, click on Messages.
- Navigate on Messages and then click on Ok. Now, we can see the message sent from the CRM event with help of bus service as shown below.
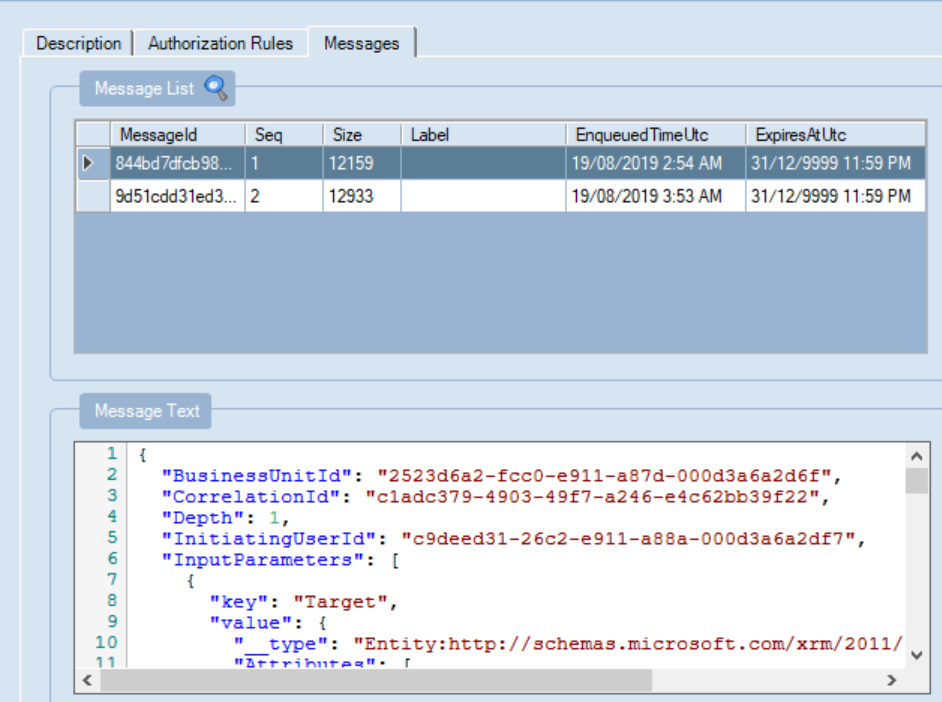
You can use this data message from Dynamics CRM in your various external applications as per your architectural needs.
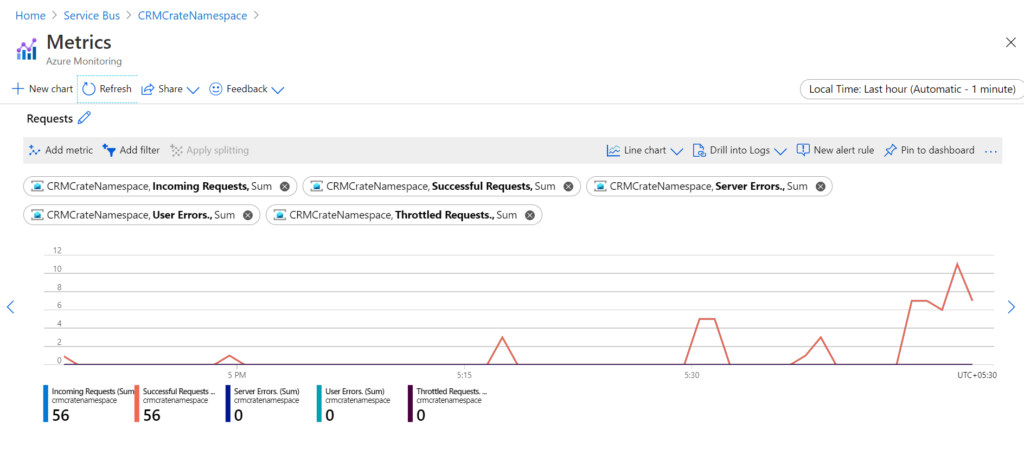
- On Addition, you can also view the data request graph in the Azure Service Bus as shown below.
Thus we learned the integration between Dynamics CRM and Azure Service Bus.


