
What are forms?
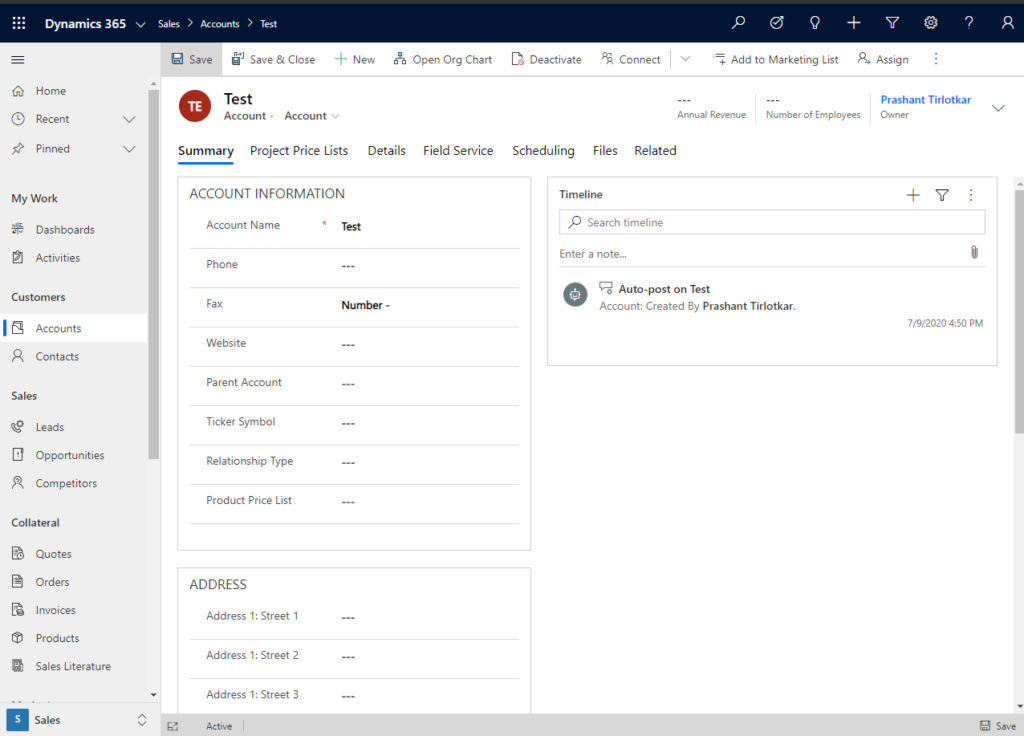
In CRM Dynamics 365 Sales , forms provide the user interface that users use to interact with the data they need to do their respective work. It is essential that the forms user use are designed and framed to allow them to search or enter the information they need responsively.
How does forms look like in the UI?
Whenever you open any record in Dynamics 365 model drive app, the form gets open which consist of various UI element such as fields, buttons, sub-grids, iFrames etc.
Types of Form?
There are four types of form which are listed below –
A. Main Form.
B. Quick View Form.
C. Quick Create Form.
D. Card Form.
How create a new form?
Navigate to Settings >> Customization.
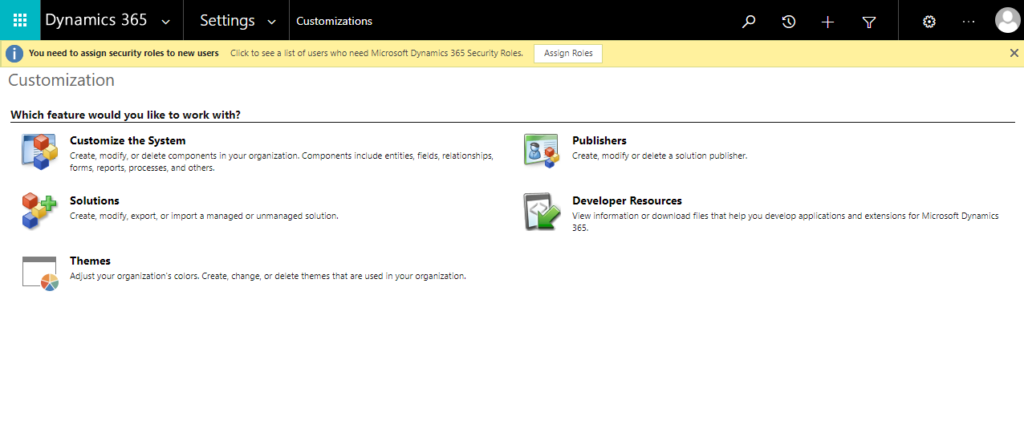
Click on Customization. Under components section expand the section “Entities”. Here select the entity in which you have to create a new form.
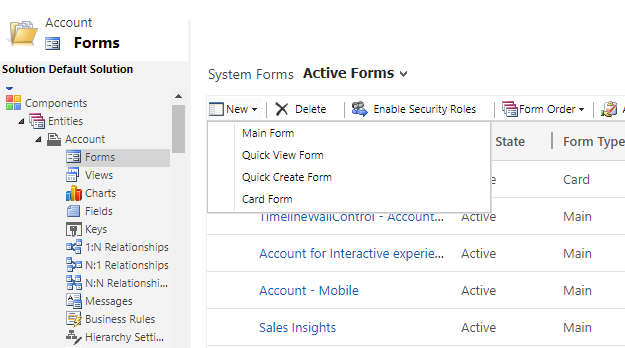
Here we will create a new form for entity “Account”, there form click on entity “Account”. Now click on button “Forms”.
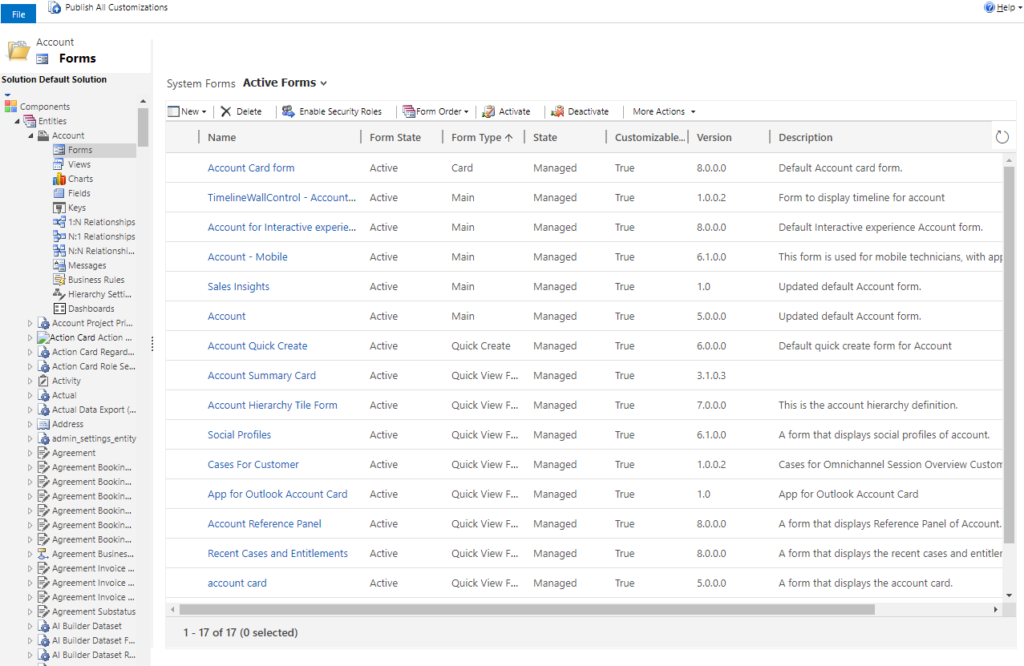
We can see all the existing forms present in Account entity inside the forms. For now we will create new form by click on button New.
As soon as you click the New button, the different types of Form are populated. We will select the option “Main Form”.
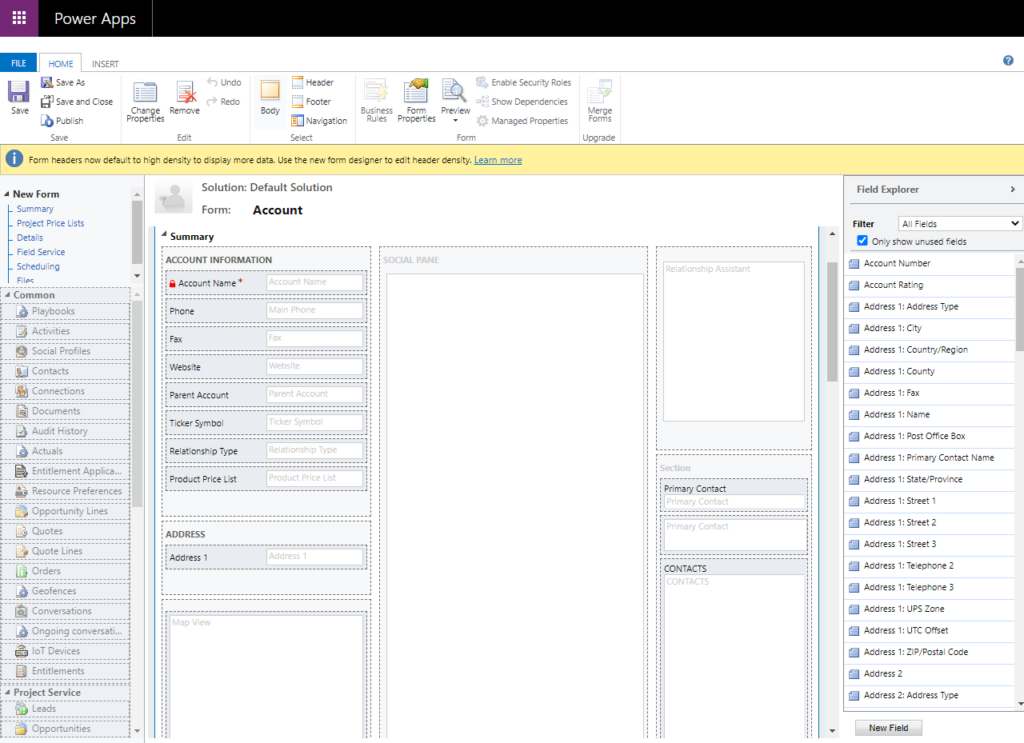
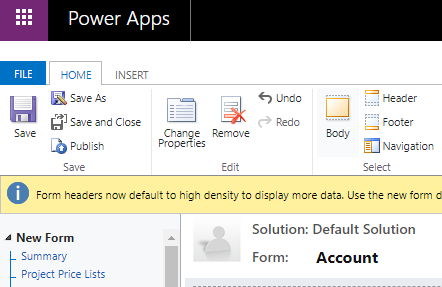
This opens a new form editor window. Here you can see back end editor where you can add / remove / update various UI elements such as fields, tabs, sub-grid etc.
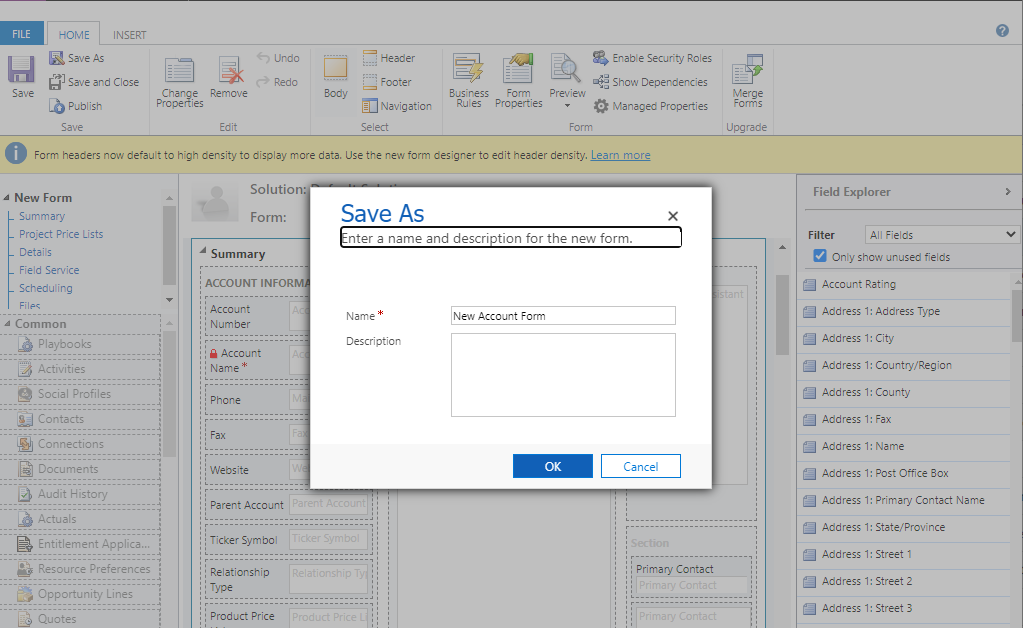
Now let us know how to place and move fields in the form. For this navigate to the right hand panel and you will find the “Field Explorer”.
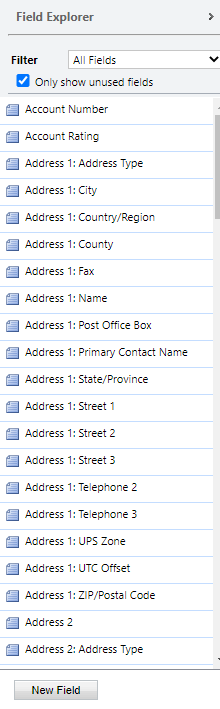
We can either select an existing field from the populated fields or we can create new fields with help of button “New Field”. For now we will add an existing field “Account Number in the form. We will select the field “Account Number” and drag it on the form and drop on any desired location in the form.
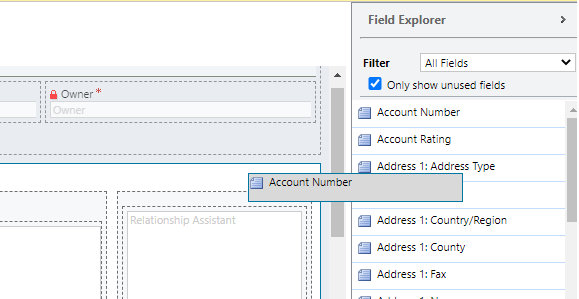
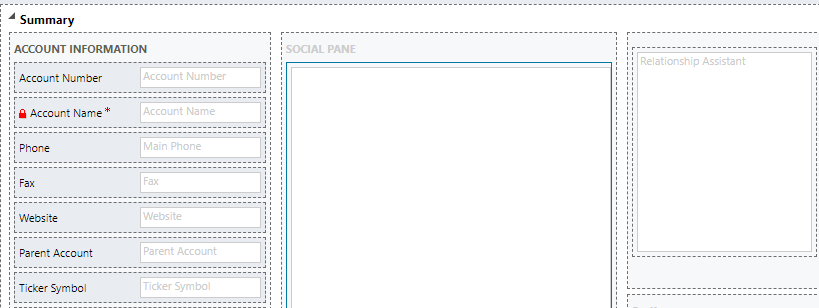
You can see that we have placed the field “Account Number” above the field “Account Name”.
Similarly for now you can add multiple fields in the form. Once you have added the field, lets save the form. Click on button “Save As” and name the form. Later click on Publish button.
We have successfully created our form. Now lets test our form by navigating to Account entity in CRM. Create a new Account record and you will find the form which we created above in the form drop-down of Account record.


