
In the content of a form, tabs provide horizontal visual separation. Tabs have a label that can be displayed. If the label is displayed, tabs can be expanded or collapsed to show or hide their content by selecting the label.
Before we start make sure you know how to create and configure the forms, if not click here.
Creating tabs within the form.
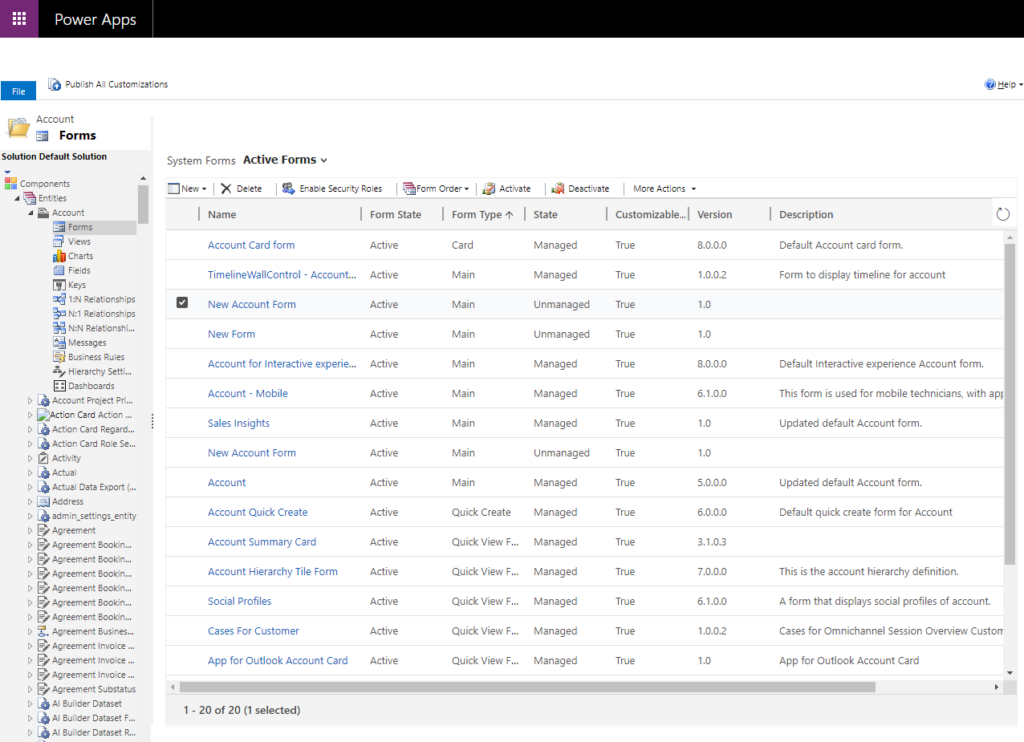
Navigate to Settings >> Customization and open form editor of any desired entity.
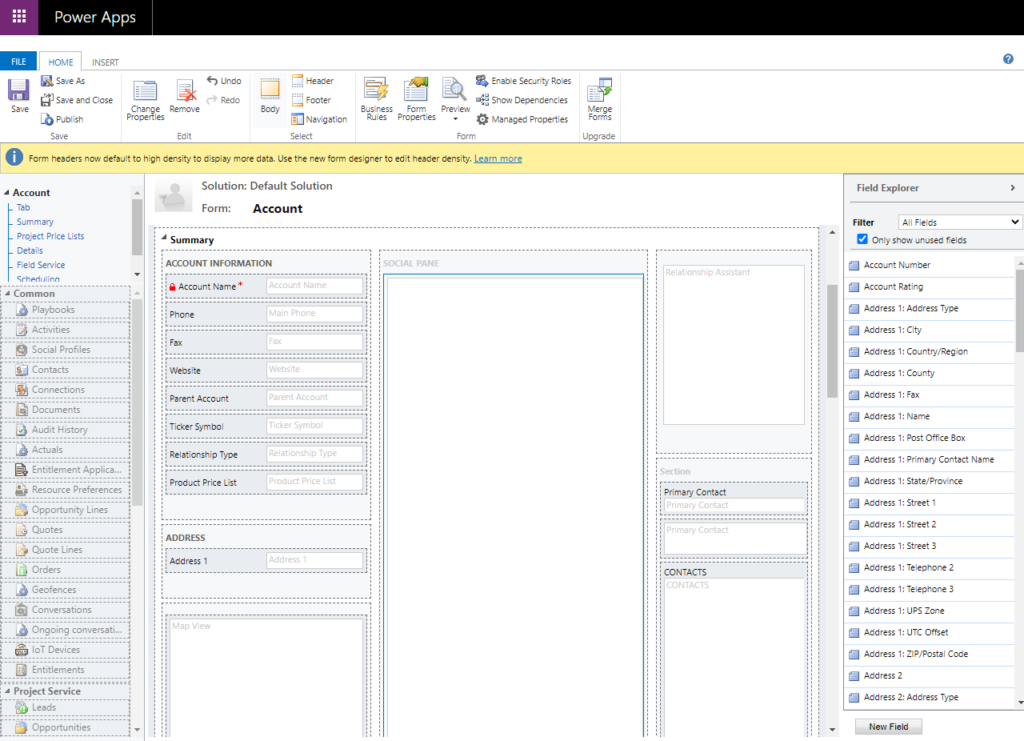
Now, navigate to the upper hand corner of the editor. Click on “Insert” so that the insert operation windows gets open.
As you can see there are total six types of tabs populated in the tab section. In total there are three different types of columns in each tab, you may select any of the tab template as per your requirement and simply click on them.
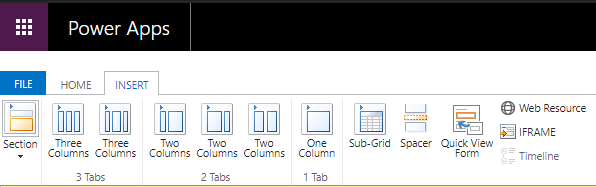
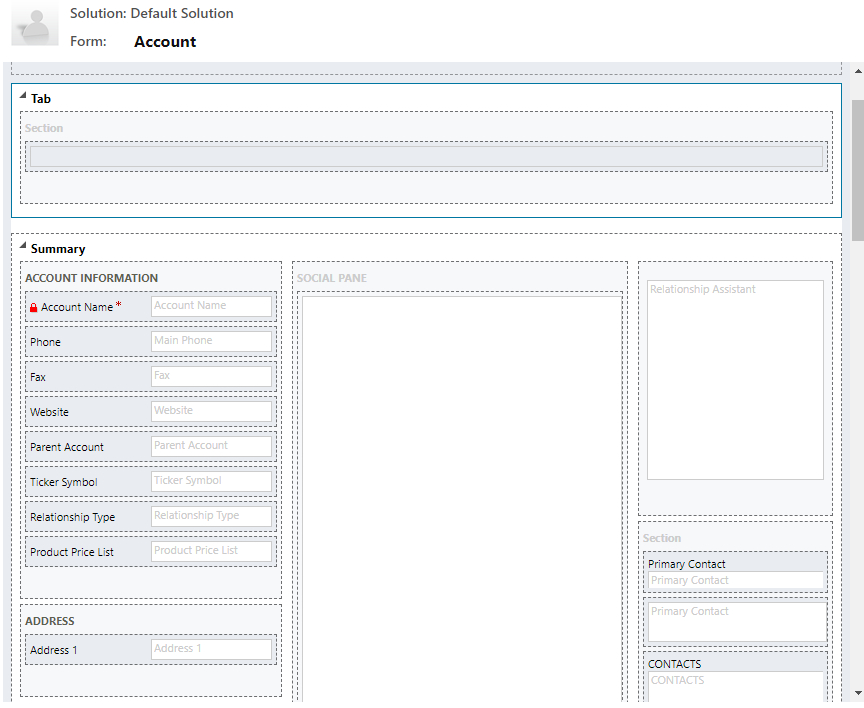
In our case, we have selected the “One Column” tab and this tab is auto populated on the form.
Now switch batch to the “Home”, select the new tab in the form and click on button “Change Properties”.

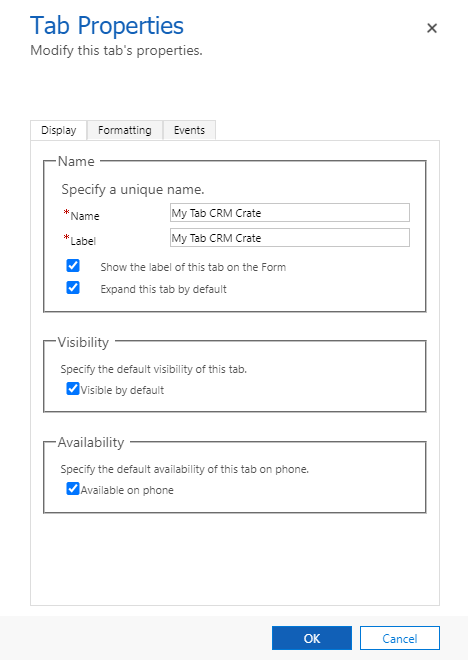
The tab property window will not get open. Here you can configure the tab elements such as Name, Label, Visibility, Phone Availability, Formatting, Aspect Ratio, Custom Events Etc.
We will firstly rename out tab in the properties Display section.
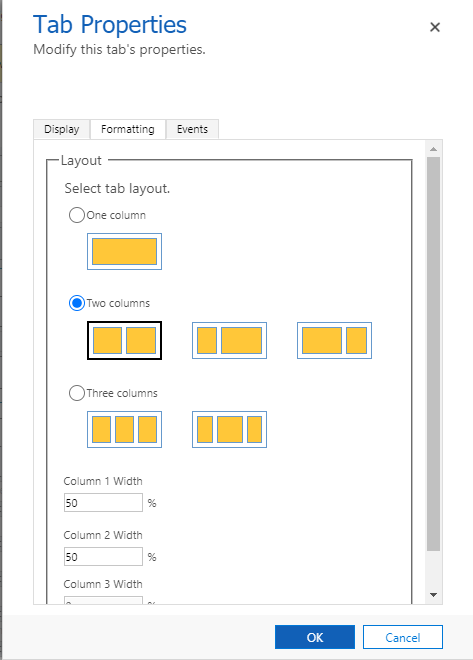
Navigate to the Formatting section in the tab properties. There are various types of tab formatting available, select your desired formatting.
Click on Event section of tab properties, here you can insert JavaScript function to your tab so that the dedicated JavaScript function gets triggered when the tab is opened or closed.

Click on Ok to save the changes. The changes will now reflect directly onto your form.
This is how we create and place the tabs in the form. Similarly, we can customize and add sections within the tab.
Creating / customization sections within the tab.
We will now add and customize sections in our newly created tab. As you can see our tab has system given two sections auto populated in the tab.

We will not customize the first section in our tab by selecting the section and clicking on “Change Properties”.

The section properties has two major panels, one panel is for basic configuration changes such as Name, Label, Visibility, Lock / Unlock while the second panel is used to configure the number of columns in the section and alignment of the section.
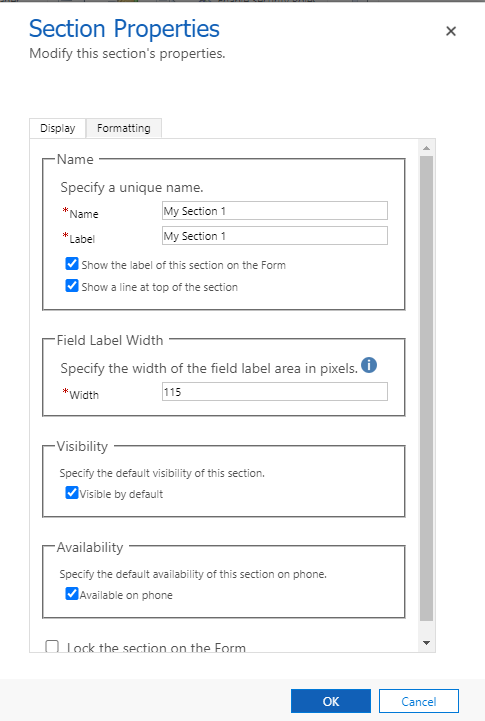

Click on Ok so that the section changes gets reflected into your form.
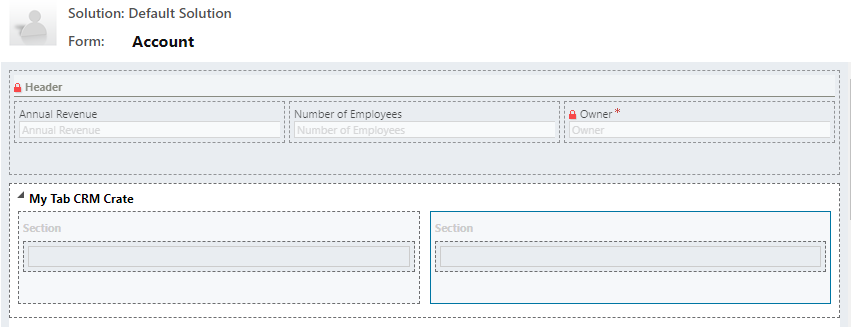
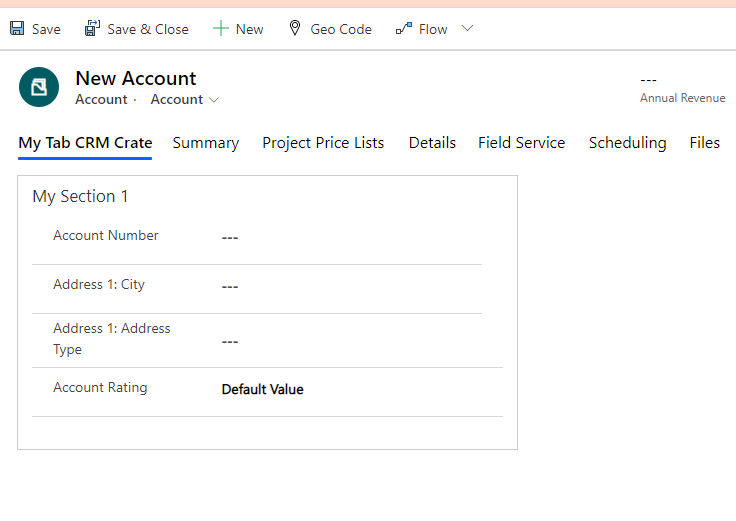
So now our tab and section is successfully configured and ready to use. For testing this tab and section add the desired fields in it. Save and Publish the form.
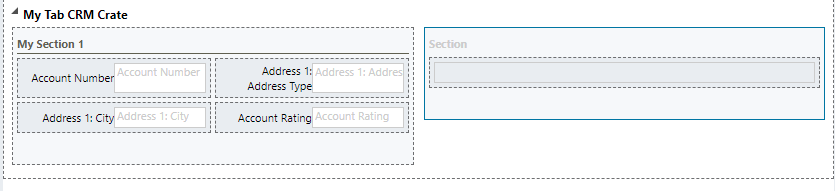
Once you visit the record where our form is placed, the above created tab and section will look somewhat like this –
To understand more about form customization click here.


