
We will learn to programmatically publish customization in Dynamics 365 CRM. Before we start, make sure to subscribe to CRM Crate so that you stay up to date in the field of Dynamics 365.

What are the different ways to publish the customizations in Dynamics 365?
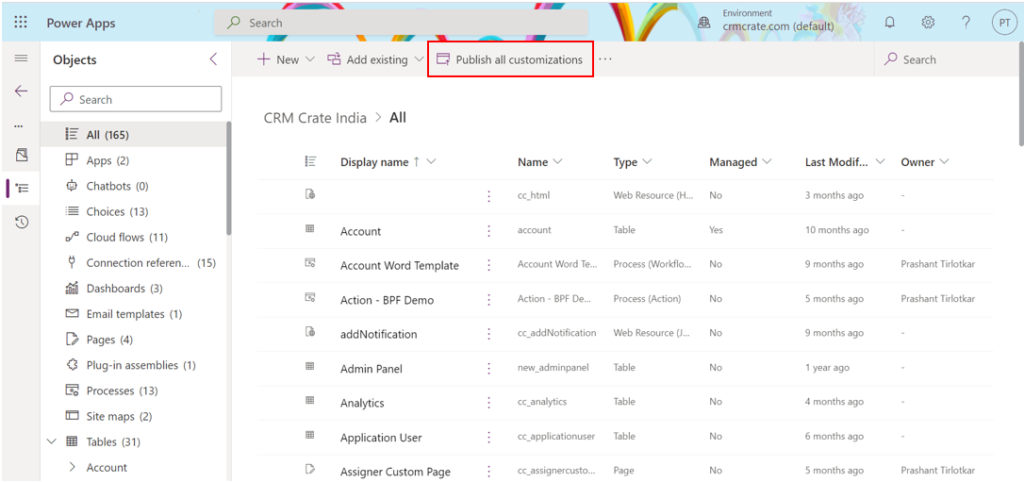
As a Dynamics 365 Maker / Developer, we prefer to publish the customization manually in the solution explorer. These manual publishing includes a single component specific publishing or a complete environment specific publishing.
But other than the out-of-the-box ways, we can also publish the customizations programmatically as shown below,
Using PublishAllXml Action for publishing component customizations
We can leverage and use Dynamics 365 OOTB action called “PublishAllXml” for programmatically publishing our solution. Below are few properties of PublishAllXml action.
- The PublishAllXML action is available in Dynamics 365 (online), Dynamics 365 (on-premises), Dynamics CRM 2016, Dynamics CRM Online.
- Publishes all changes to solution components.
- This Web API action corresponds to the organization service PublishAllXmlRequest.
- PublishAllXml action does not require any parameters.
- PublishAllXml action is not bound to any entity types.
- PublishAllXml action does not return a value.
JavaScript Code for publishing customizations in D365
Before starting with the code, we will first need to create the “PublishAllXml ” Action / Web API URL for our organization as shown below.
Action / Web API URL –
Service Root Url / PublishAllXml
In our case, the Service Root URL is “https://crmcrateindia.api.crm8.dynamics.com/api/data/v9.2/“. Thus, the complete Web API URL will be “https://crmcrateindia.api.crm8.dynamics.com/api/data/v9.2/PublishAllXml“.
The below JavaScript function is called during the form’s ribbon button click event.
function CallMethod (executionContext) {

//Displaying Progress Indicator
Xrm.Utility.showProgressIndicator("CRM Crate - Publishing Customizations");

//Calling Web API
var req = new XMLHttpRequest();
req.open("POST", Xrm.Page.context.getClientUrl() + "/api/data/v9.2/PublishAllXml", true);
req.setRequestHeader("OData-MaxVersion", "4.0");
req.setRequestHeader("OData-Version", "4.0");
req.setRequestHeader("Accept", "application/json");
req.setRequestHeader("Content-Type", "application/json; charset=utf-8");
req.onreadystatechange = function() {
    if (this.readyState === 4) {
        req.onreadystatechange = null;
        if (this.status === 204) {

			//Closing Progress Indicator
			Xrm.Utility.closeProgressIndicator();

			//Force Refreshing A Form.
						parent.window.location.reload();
        } else {
            Xrm.Utility.alertDialog(this.statusText);
        }
    }
};
req.send();
}
Note: – We can also use the “Xrm.WebApi.online.execute” client API for calling the PublishAllXml action. Click on the given link to learn more about calling an action from the given client API – https://www.crmcrate.com/action/how-to-call-an-action-using-xrm-webapi-online-execute/.
Validate the functionality in Dynamics 365 CRM
Once the JavaScript web-resource is published, navigate to the Dynamics 365 CRM and verify whether the customizations are getting programmatically published as shown below.

Thus, we learned to programmatically publish the customization in Dynamics 365.


