
In this blog post, we will learn to dynamically Add, Rename, Hide & Show table columns in Canvas App (Power Apps).. Before we start, make sure to subscribe to CRM Crate so that you can stay up to date in the field of Power Platform.

Power FX is a user-friendly, low-code formula language employed in Microsoft Power Platform applications, such as Power Apps. It’s crafted to be intuitive and expressive, enabling users to devise logic and calculations without needing advanced coding skills. Power FX finds application in constructing formulas and expressions within canvas apps, facilitating automations in Power Automate (previously Microsoft Flow), and supporting model-driven apps in Power Apps.
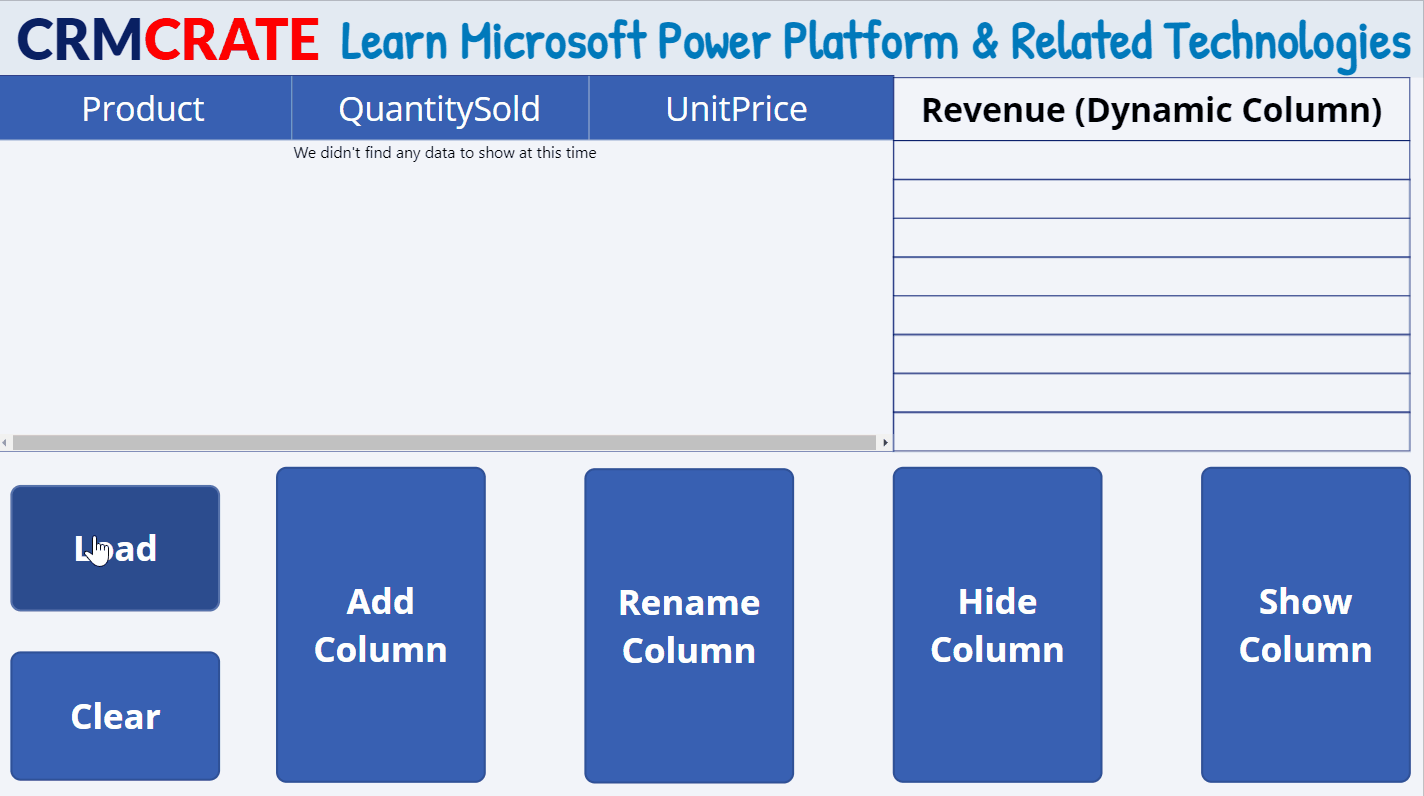
How to Add, Drop, Rename & Show columns in Canvas App?
In a canvas app using Power Apps, adding a column typically involves creating a calculated column in a data source or manipulating the data within the app. If you’re working with a collection or a table of data, you can use Power FX formulas to add a new column, remove, rename and show an existing column.
AddColumns() function in Canvas App
The AddColumns function lets you include a new column in a table, with the values in that column defined by a formula. It’s important to note that any existing columns in the table will stay unchanged. This formula is evaluated for each record of the table. While working with the formula, you can access the fields of the record being processed. You can do this by using the “ThisRecord” operator or by directly referring to the fields by their names, just like you would with any other value. Additionally, you can use the “As” operator to give a name to the record being processed, making your formula more readable and allowing easier access to nested records. Check out the examples below and learn more about working with record scope for additional insights.
AddColumns( Table, ColumnName1, Formula1 [, ColumnName2, Formula2, … ] )
Table – It is a required parameter and should contain a table to operate on.
ColumnName(S)- It is a required parameter and should contain name of your dynamic column.
Formula(S)- It is a required parameter & should contain formula to evaluate
In the below example, we will add a new column named “Revenue” in a existing table “crmcrateCollection” and formulate it for calculating value (UnitPrice * QuantitySold).
First, we will create a new table “crmcrateCollection” and add three existing columns named “Product”, “Unit Price” & “QuantitySold”.
ClearCollect( crmcrateCollection,
   Table(
       { Product: "Web Blogs", UnitPrice: 7.99, QuantitySold: 145 },
       { Product: "Development", UnitPrice: 5.99, QuantitySold: 55 },
       { Product: "Maintainance", UnitPrice: 7.50, QuantitySold: 79 },
       { Product: "Service Level 1", UnitPrice: 8.50, QuantitySold: 79 },
       { Product: "Service Level 2", UnitPrice: 9.50, QuantitySold: 79 },
       { Product: "Service Level 4", UnitPrice: 8.50, QuantitySold: 79 },
       { Product: "Service Level 5", UnitPrice: 9.50, QuantitySold: 79 },
       { Product: "Service Level 6", UnitPrice: 8.50, QuantitySold: 79 }
   )
)
Then, we will use AddColumn() function to create a new column “Revenue” which will contain calculated values obtained from original table “crmcrateCollection” and finally store it in new collection “new_crmcrateCollection”. Finally we save the value from the newly added Revenue column into a local variable for demonstration purpose.
ClearCollect(new_crmcrateCollection, AddColumns( crmcrateCollection, "Revenue", UnitPrice * QuantitySold ));
Set(localVariable, LookUp(new_crmcrateCollection, Product = "Web Blogs", Revenue ));
DropColumns() function in Canvas App
The DropColumns function removes specific columns from a table, leaving all other columns unaffected. In contrast, while DropColumns excludes columns, the ShowColumns function includes them.
DropColumns( Table, ColumnName1 [, ColumnName2, … ] )
Table – It is a required parameter and should contain a table to operate on.
ColumnName(s) – It is a required parameter and should contain name of your dynamic column.
The below example excludes the “Revenue” column from the result. Use this function to exclude columns, and use ShowColumns to include them.
DropColumns( new_crmcrateCollection, "Revenue" )
ShowColumns() function in Canvas App
The ShowColumns function incorporates specific columns from a table while discarding all others. It’s useful for creating a new table with only selected columns from a multi-column table. Remember, ShowColumns involves including columns, whereas DropColumns involves excluding them.
ShowColumns( Table, ColumnName1 [, ColumnName2, … ] )
Table – It is a required parameter and should contain a table to operate on.
ColumnName(s) – It is a required parameter and should contain name of your dynamic column.
The below example includes only the Product column in the collection result. Use this function include columns, and use DropColumns to exclude them.
ShowColumns( new_crmcrateCollection, "Product" ) RenameColumns() function in Canvas App
To rename columns in a table, you can employ the RenameColumns function. This involves providing pairs of arguments, where the first part specifies the current name of a column you want to change (the old name), and the second part designates the new name you wish to assign (a name not currently in use). It’s crucial that the old name already exists in the table, and the new name is not already taken. Each column name should only appear once in the argument list, serving either as an old or new column name. If you need to rename a column to an existing name, you can either first remove the existing column using DropColumns or rename it by nesting one RenameColumns function within another.
RenameColumns( Table, OldColumnName1, NewColumnName1 [, OldColumnName2, NewColumnName2, … ] )
Table – It is a required parameter and should contain a table to operate on.
OldColumnName – It is a required parameter and should contain the name of a column to rename from the original table.
NewColumnName – It is a required parameter and should contain the replacement name.
The below example renames the UnitPrice and QuantitySold columns in the result collection.
RenameColumns( IceCreamSales, "UnitPrice", "CRM Crate Unut Price", "QuantitySold", "CRM Crate Selling Quantity")
In conclusion, the Power FX functions within Canvas Apps, namely AddColumns, DropColumns, ShowColumns, and RenameColumns, provide users with powerful tools for manipulating and enhancing data tables.


