
In this course, we will learn to call the Power Automate from the Canvas App. Before we start, make sure to subscribe to CRM Crate so that you stay up-to-date in field of Microsoft Dynamics 365 CRM.
Why do we need to call the Power Automate flow from the Canvas App?
We can utilize the Power Automate in Canvas App for the actions such as logically retrieving records / rows from a data source, send emails, call web services etc.
Step 1- Open your existing Canvas App in the Power App Studio.
- Navigate to https://make.powerapps.com/ and open your desired Canvas App.
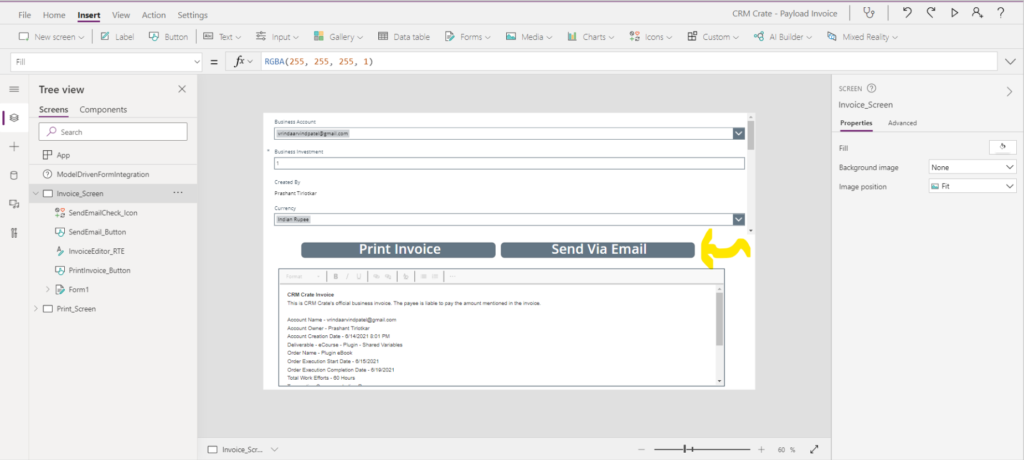
Step 2- Configure the Canvas App component
- Lets consider a scenario where we will call the Power Automate to send the email during the OnSelect event of the button control.
- Create a new button and place it into the App’s screen.

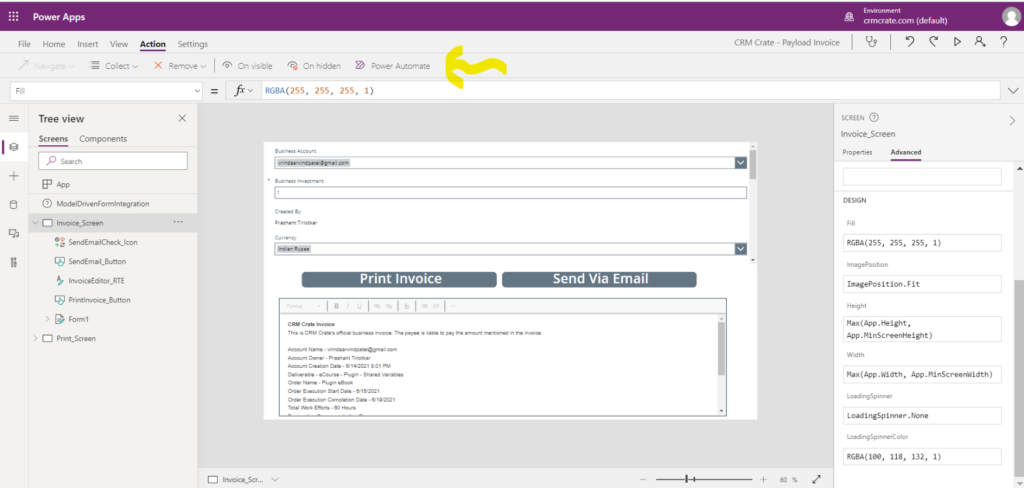
- In the Power App window, select the above created button and navigate to the “Action” tab >> Click on the button “Power Automate” as shown below.
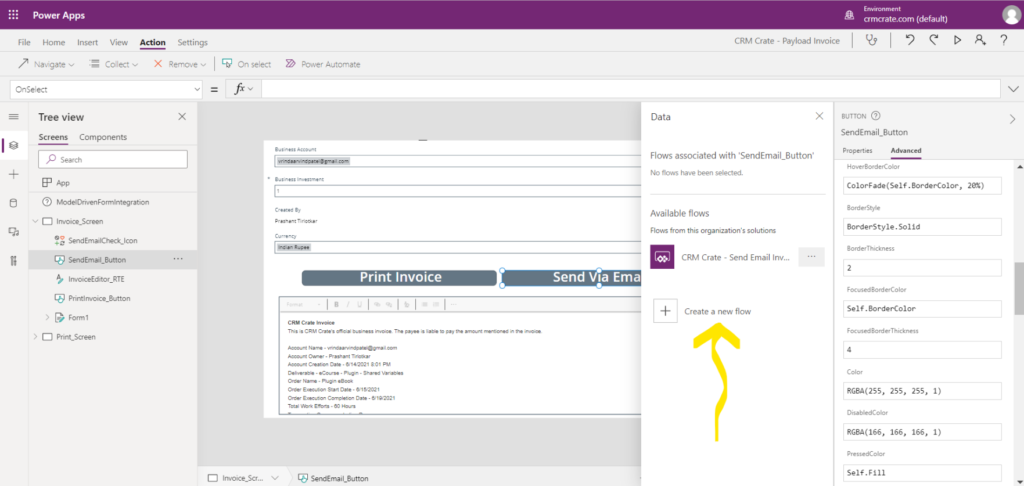
- Now, all the Power Automate flows (With trigger point as Power App) which are under the current Power App environment will be populated in the “Available Flows” window. Lets Create a new Power Automate.

- Click on the button “Create a new flow” to open and create the new Power Automate Flow as shown below.
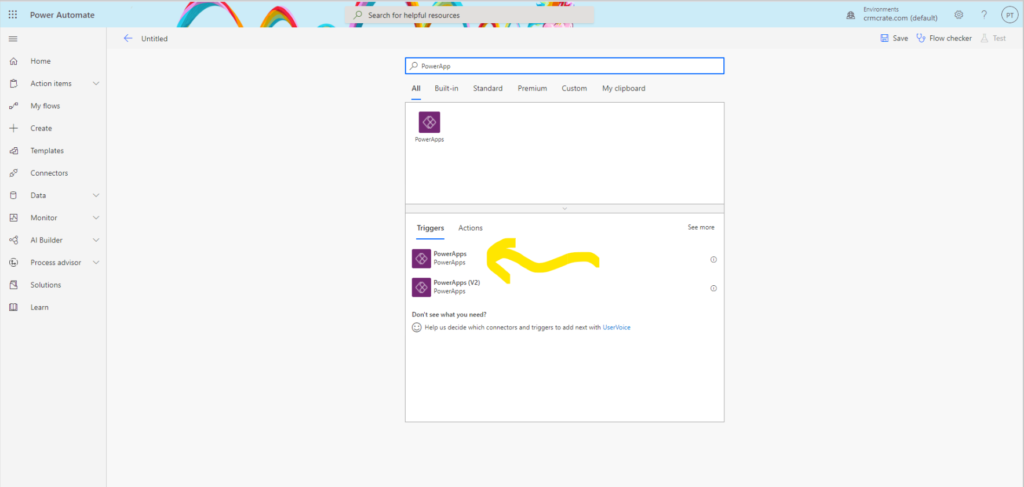
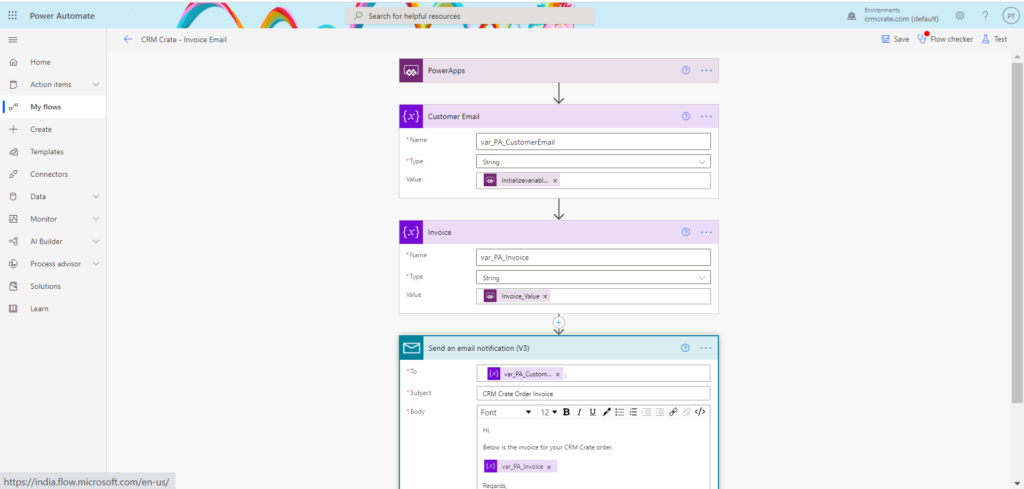
- In the Power Automate window, search for the trigger called “PowerApps”.
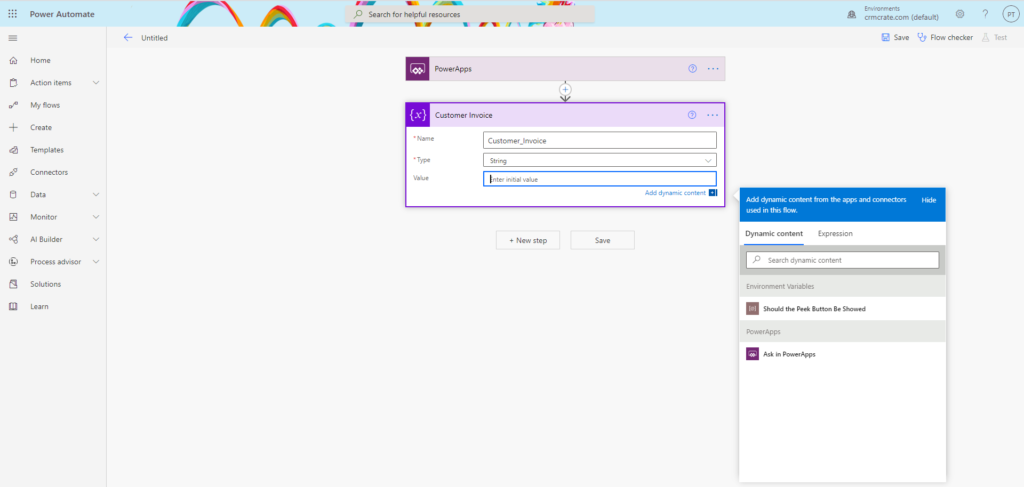
- Now, lets create the variables in Power Automate so that we can store them as an input parameters which will be recieved from the Power App. In our case, we will store the “Customer Email” and “Invoice” as an input storing variable.
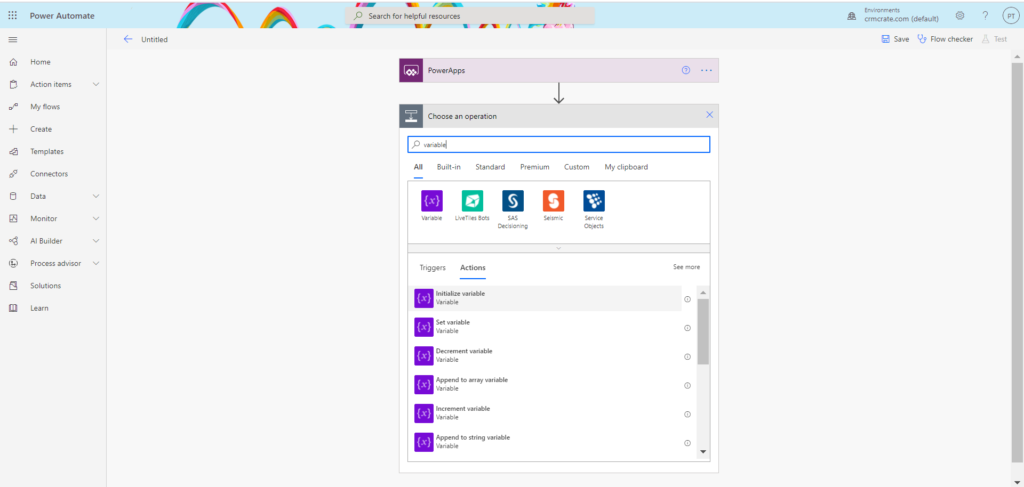
- Click on New Step, search for an Action called “Variable” and select “Initialize variable” as shown below.
- Within the new variable, navigate to the field “Value” >> Dynamic Content >> Search and select the control called “Ask in PowerApps”.
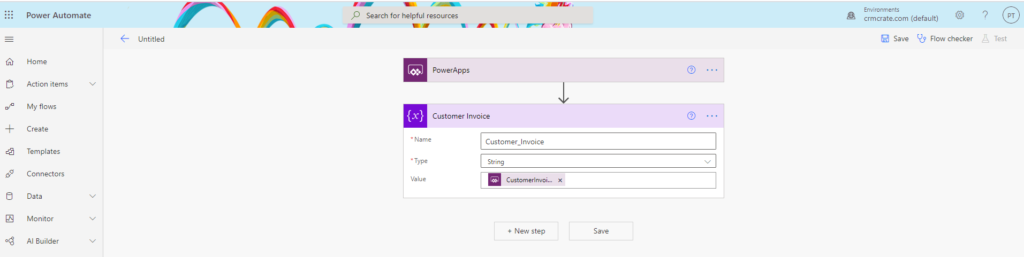
- We have similarly added one more variable and call an action to send the email. Now, our Power Automate flow has 2 parameters (Customer Email & Invoice). Save and publish the flow.
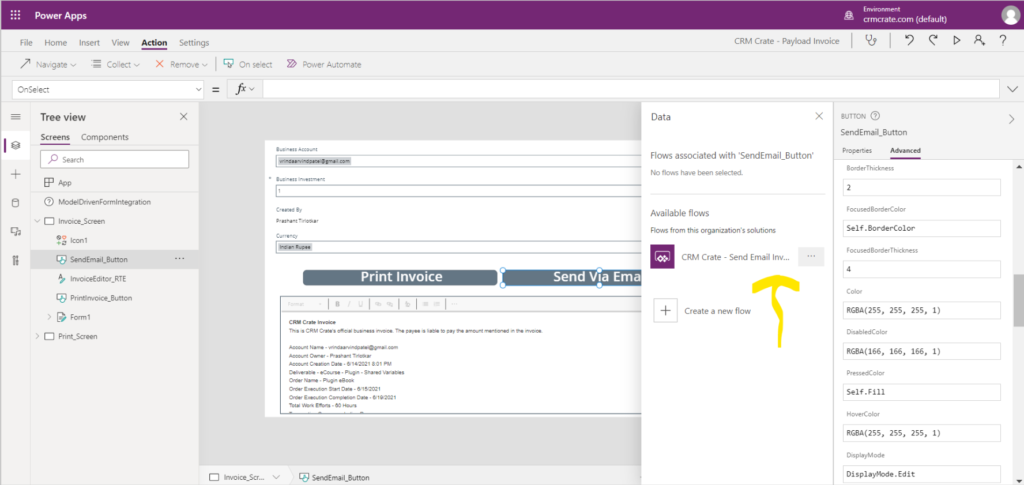
- Navigate back to the Power App and select the newly created flow as shown below.
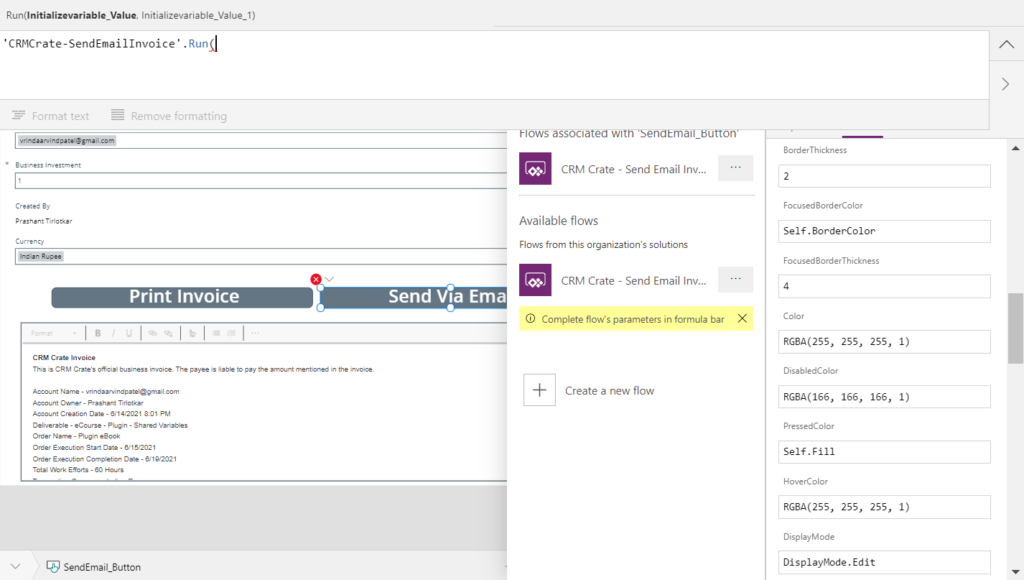
- Now, the Power Automate invoking syntax will be auto-populate in the button’s OnSelect expression.
- Pass the output parameters from the current Canvas App as shown below.
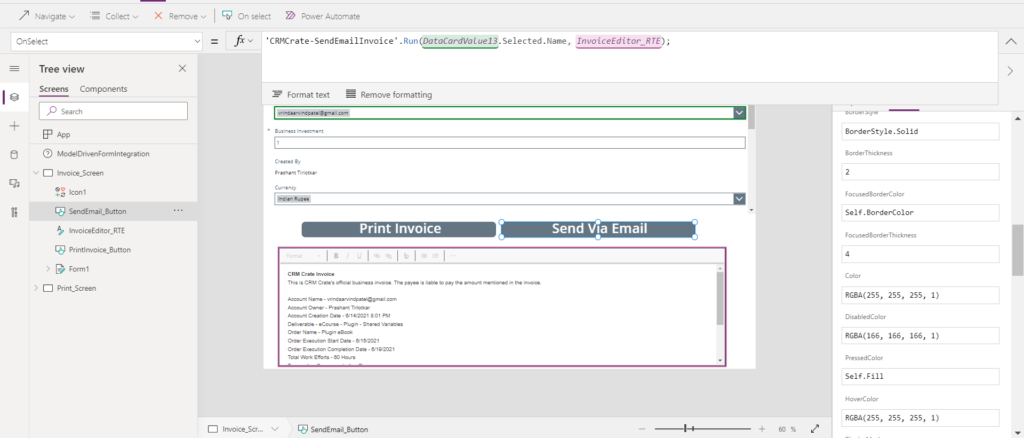
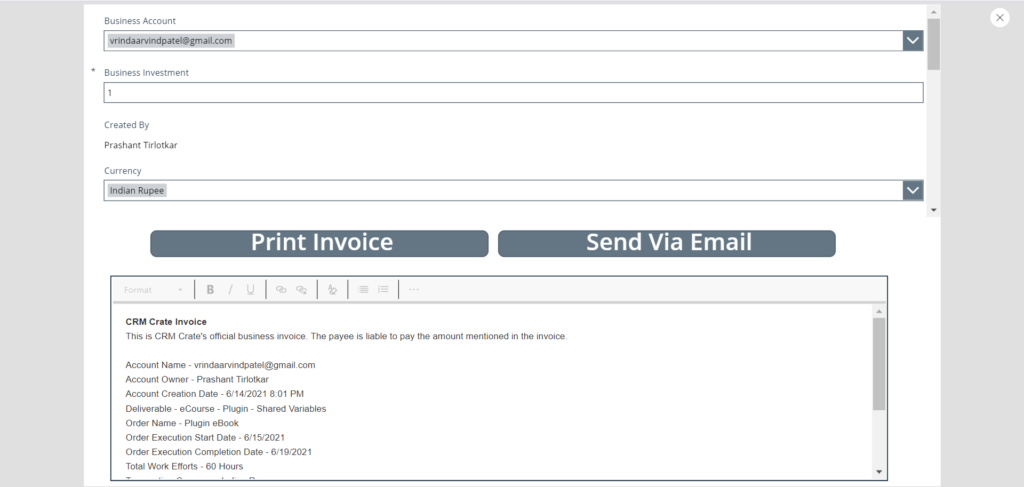
- Thus, during the OnSelect event of the button “Send Via Email”, the related Power Automate flow will get called and perform the dedicated action.
Step 3 – Test the Canvas App in real time.
- Play the Canvas App in preview mode, enter valid value in the output parametrize input and click on the button “Send Via Email”.
- Navigate to the previously created Power Automate flow >> Open the flow history and validate the execution of the flow (Email Action).


