
In this course, we will learn to create a portal in Power Apps for Dynamics CRM. In year 2019, Microsoft released the new Power Apps Portals which is a combination of Canvas Apps and Model-Driven Apps present in the Power Apps family. Power Apps Portal was a long-awaited module addition to the power suite.

Understanding Power Platform

The “Power Platform” is a collective term for 3 Microsoft based products which are Power BI, PowerApps and Power Automate (previously known as Flow). They provide the means to help people easily surface, manipulate, automate and analyze data and can be used with Office 365 and Dynamics 365 (as well as other third-party apps and other Microsoft services). The Power Platform leverages the Common Data Service (CDS), which is the underlying data platform that provides a unified and simplified data schema structure so that applications and services can inter-operate with each other.

Below are the core tools which are part of the Power Platform family.
- Power BI – for building business intelligence dashboards and reports.
- Power Apps – for building custom applications to capture information.
- Canvas Apps – for building apps starting from a blank canvas.
- Model-Driven Apps – for building apps generated from your data model and business process.
- Portals – for building websites for external and/or authenticated users.
- Power Automate – for building workflows to process information.
- Power Virtual Agents – for building chatbots.
Need of using Power Portals?
There are two primary needs of using and leveraging the capabilities of Power Portals.
- You want to create an new age, sophisticated, responsive and integrated experience with other Microsoft technologies such as,
- Triggering a workflow when a user submits a record or a form on your website.
- Embedding a Power BI dashboard or report into your website.
- Use Application Insights to track your application usage.
- Leverage Azure Blob Storage and/or SharePoint to store documents.
- You want to build a public–facing interactive website that can be accessed by anonymous and/or authenticated users according to the business needs.
Structural architecture of Power Apps Portals
The Power App Portal uses the Bootstrap 3.3.x framework to control the appearance of the solution, as well as the template language Liquid.
It is built on top of Common Data Service (CDS). The CDS database will host all the portal’s data like pages, page templates, forms, forms’ data etc.

We have completed the theoretical part of understanding Power Apps Portal, now lets create a new Power Apps Portal from scratch.
Create a new Power Apps environment
Before we start, make sure that you have your own Power App Account. Click here to know the step by step guide for creating a new Power App account.
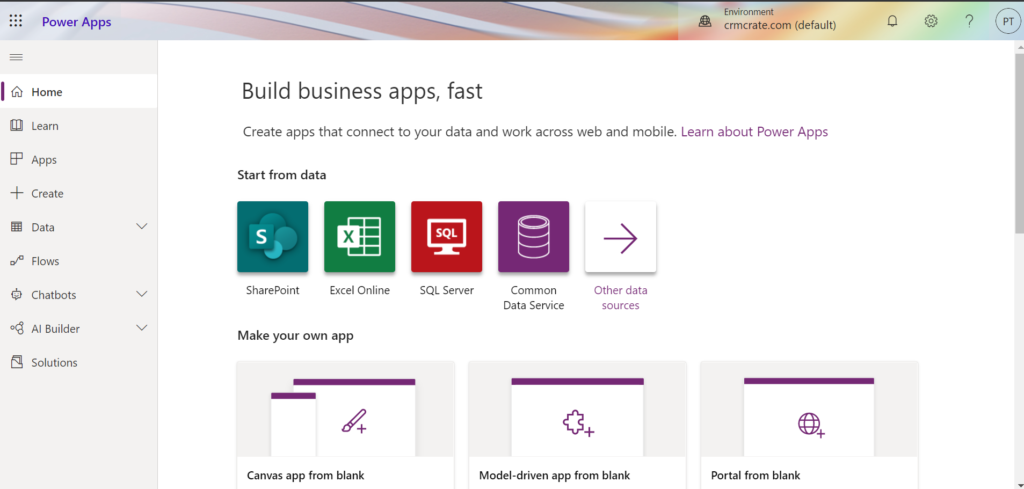
- Open and navigate to https://make.powerapps.com.
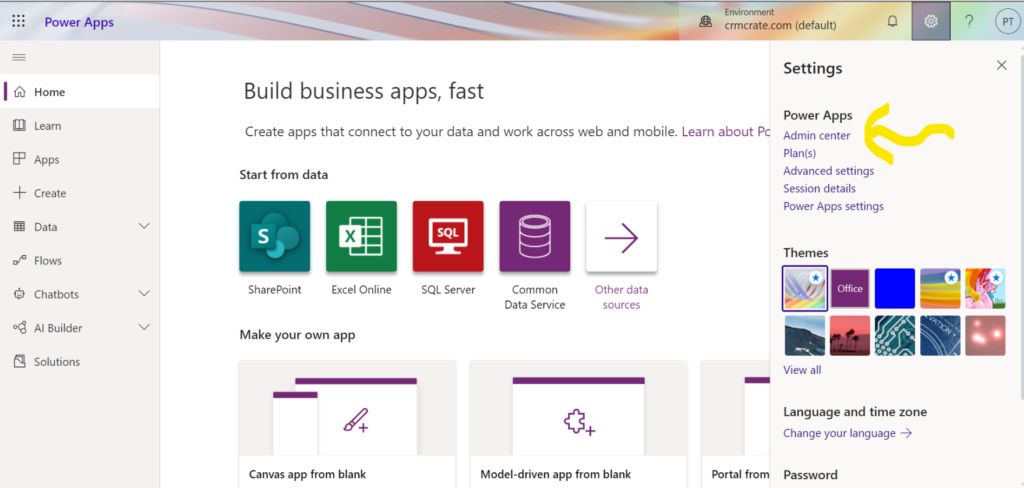
- Navigate to the upper right hand corner of the screen and click on the gear box >> Admin Center.
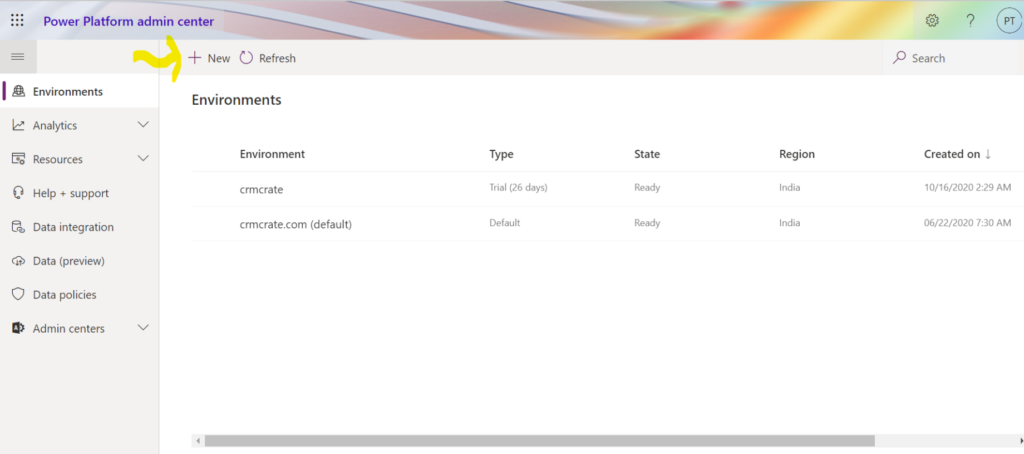
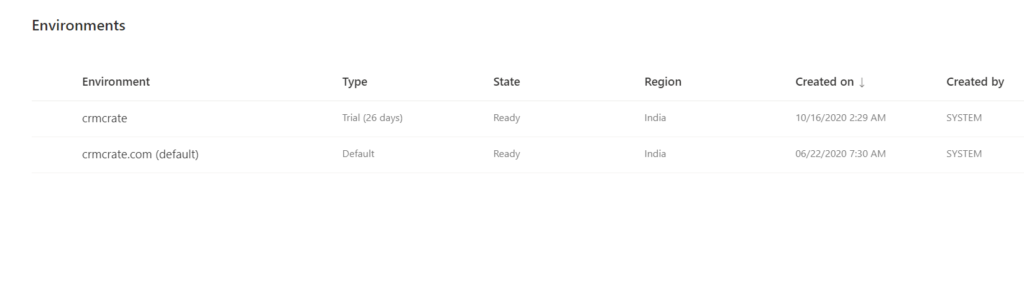
- Click on Environments button which is present in the left hand side of the screen. Click on + New for creating a new environment.
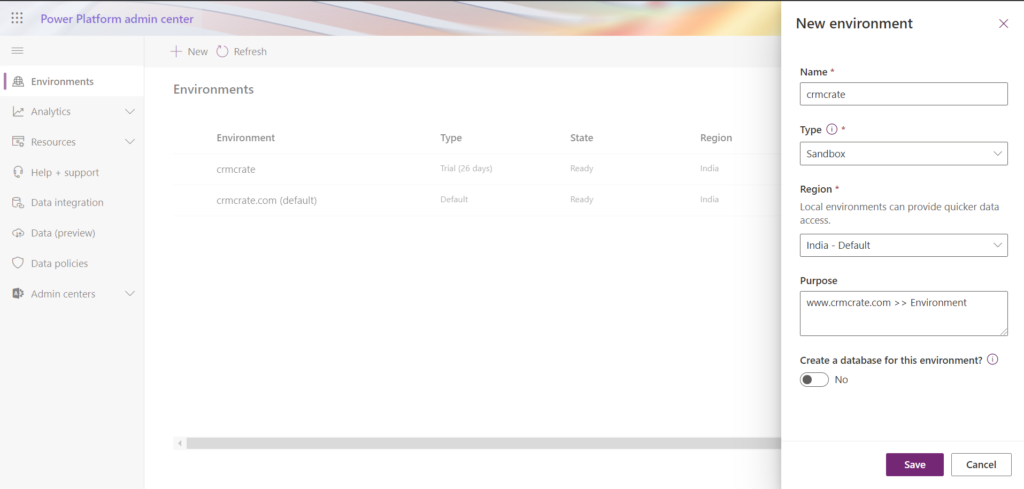
Fill the necessary details and click on Save as shown below.
Your environment should be created in few moments. Once your environment is ready, it will get auto-populated under the Environments tab.
Create an Entity in Power App
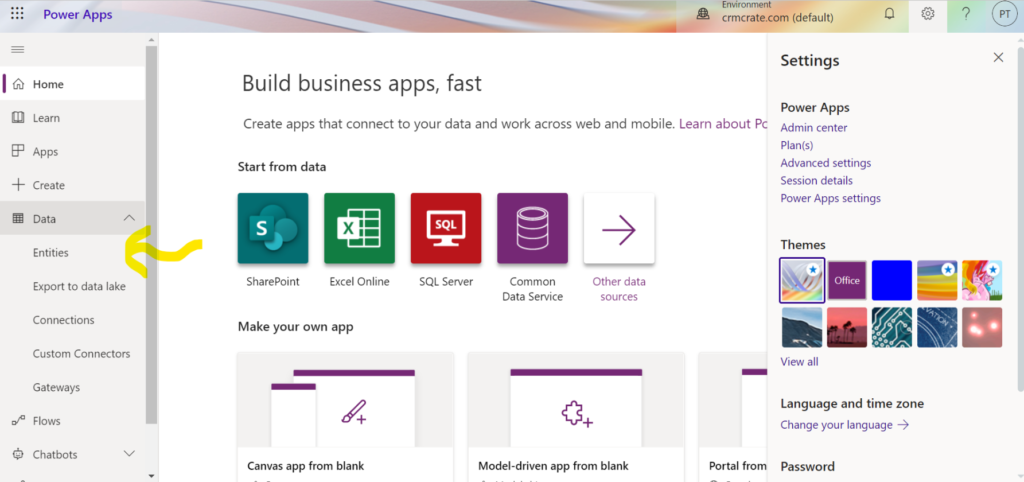
- Navigate back to https://make.powerapps.com.
- Click on Data >> Entities present in the left navigation bar as shown below.
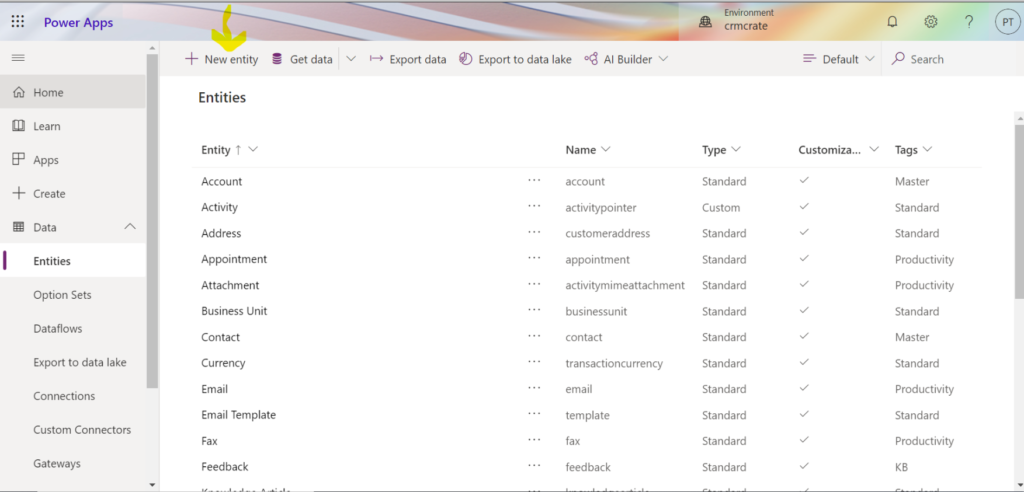
- Now, click on + New entity in order to create a new entity in your Power App.
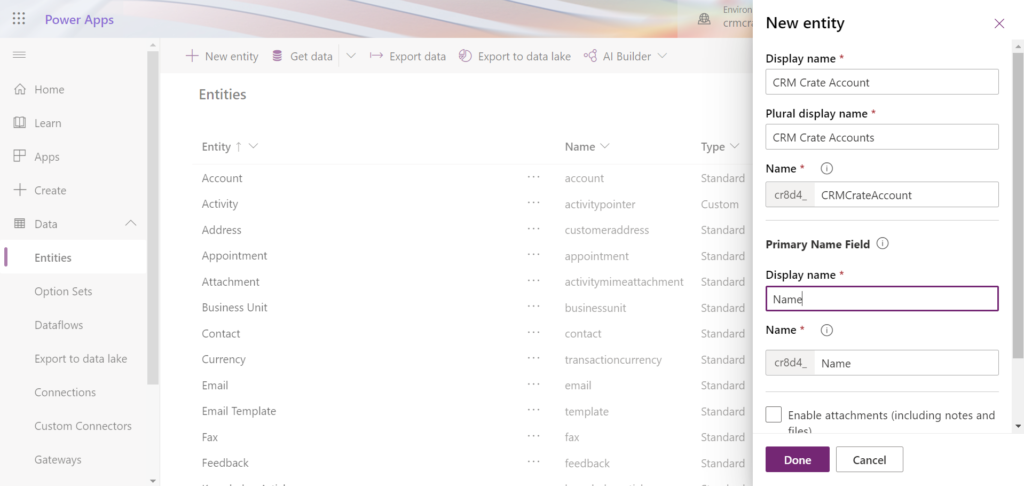
- Fill the Entity information according to your need as shown below.
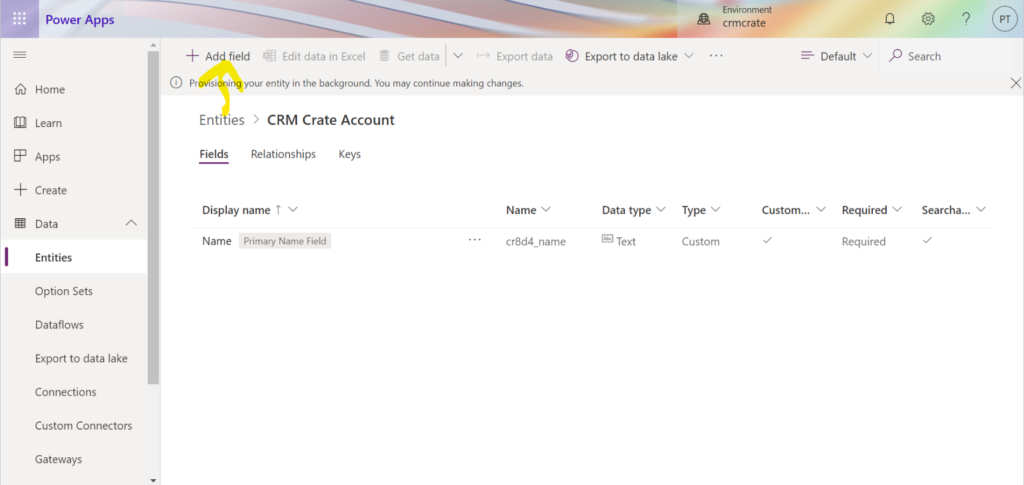
- Once your Entity is ready, you have to add fields so that user can input his/her data in your portal page. In your newly created Entity, navigate to the top ribbon bar and click on + Add Field as shown below.
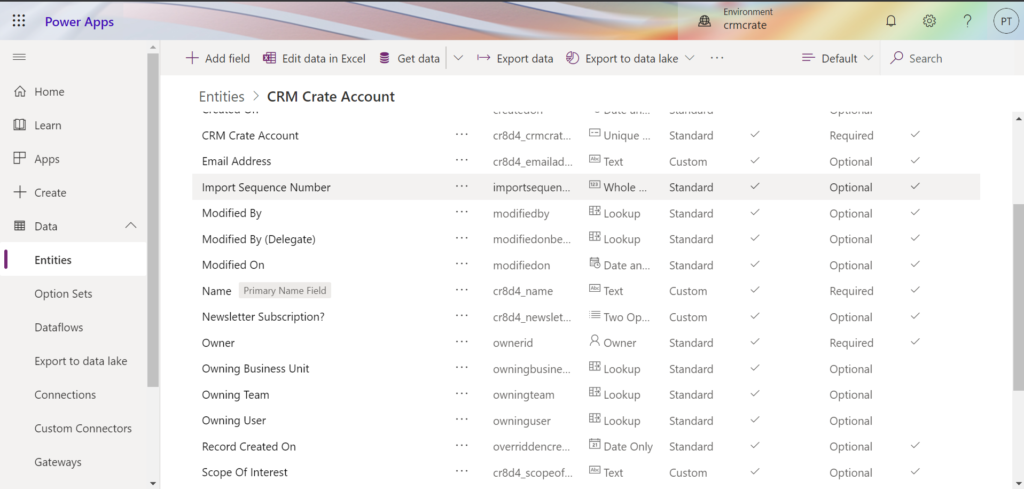
Add as many fields you want in the newly created entity. Once you finish adding the fields, click on Save entity. Your newly created fields will get auto populated in the Entity’s field section.
Create a new Form for your newly created Entity
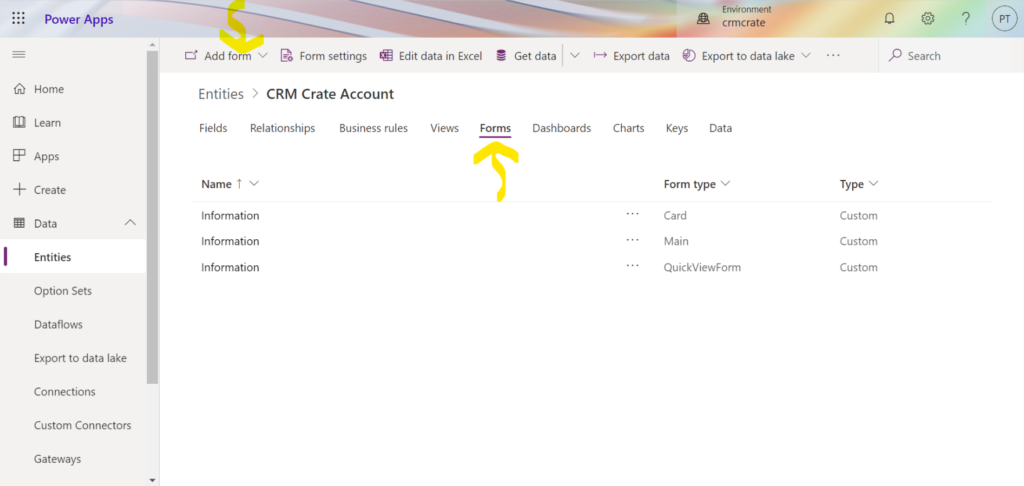
- In your entity page, navigate to the ribbon bar and click on Forms. Click on Add Form to create a new form. (You can choose form type as Main)
- Now the Portal Form Editor will get open, here you can add the fields to the form by simply dragging and dropping according to your own need.
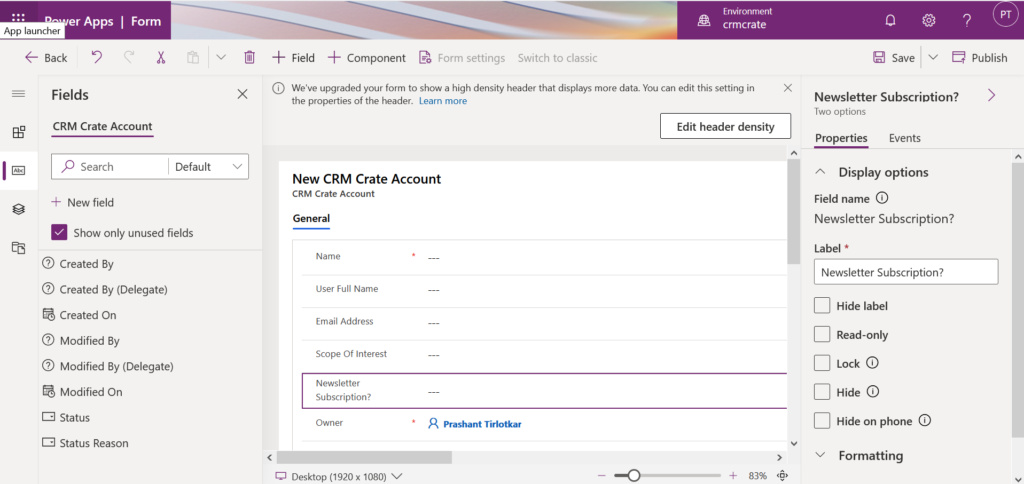
Click on Save once you finish with adding fields in your form. Now we have create our environment, entity and form.
Create Power Apps Portal
- Navigate back to https://make.powerapps.com.
- Click on Portal from blank as shown below.
- Fill the necessary portal form details and click on Create.
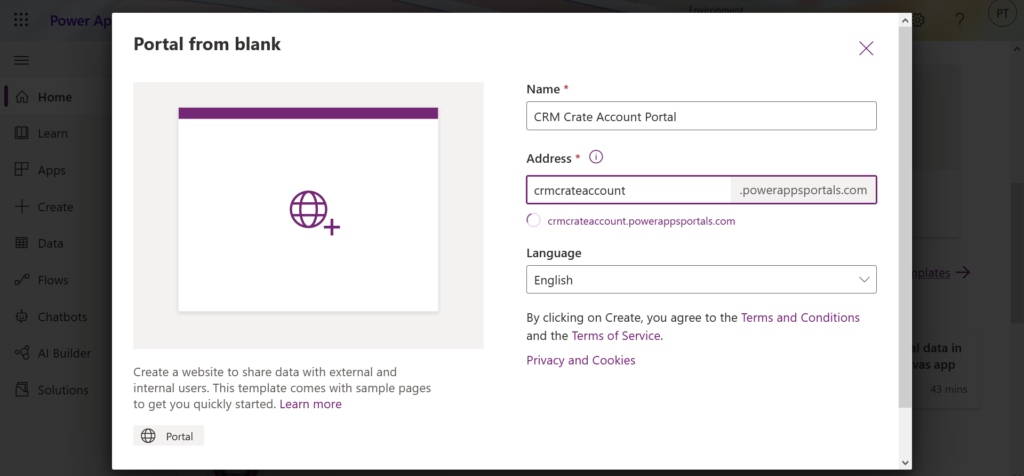
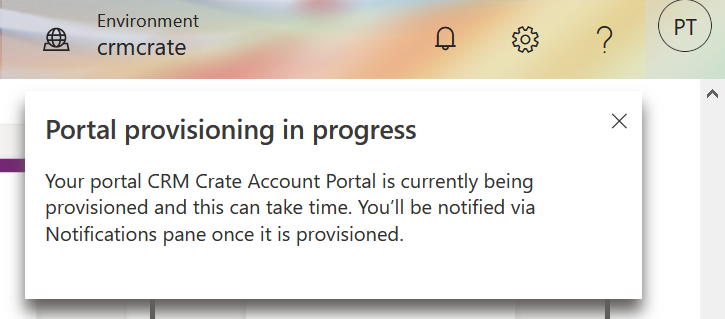
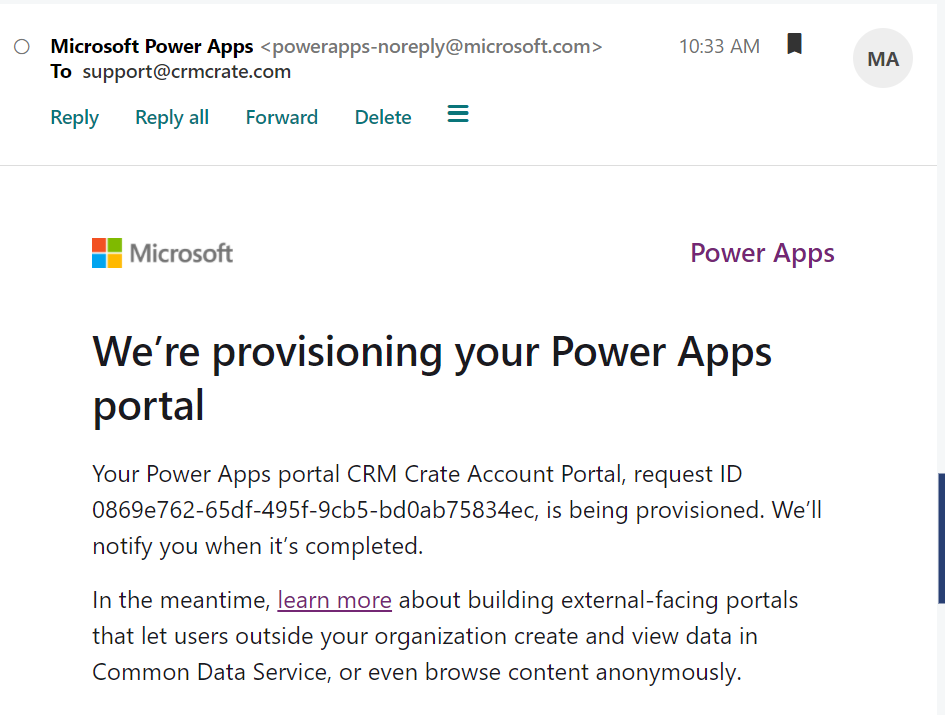
Note : – Portal will take up to 5 to 10 minutes for deploying and creating to the Portal.
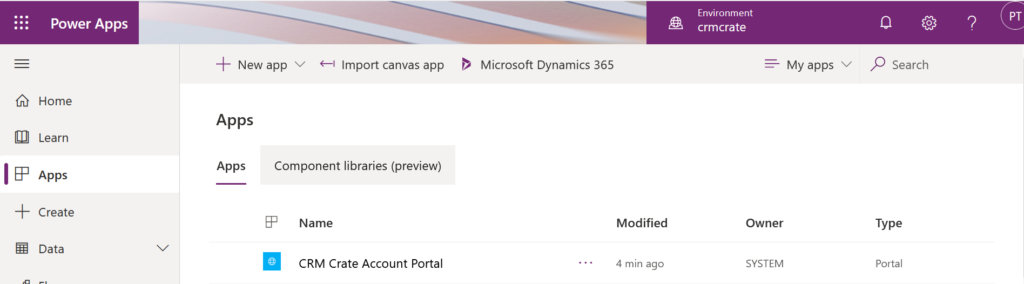
- Once the portal is deployed, navigate to Apps as shown below. The provisioned Power App Portal will get populated in the Apps section as shown below.
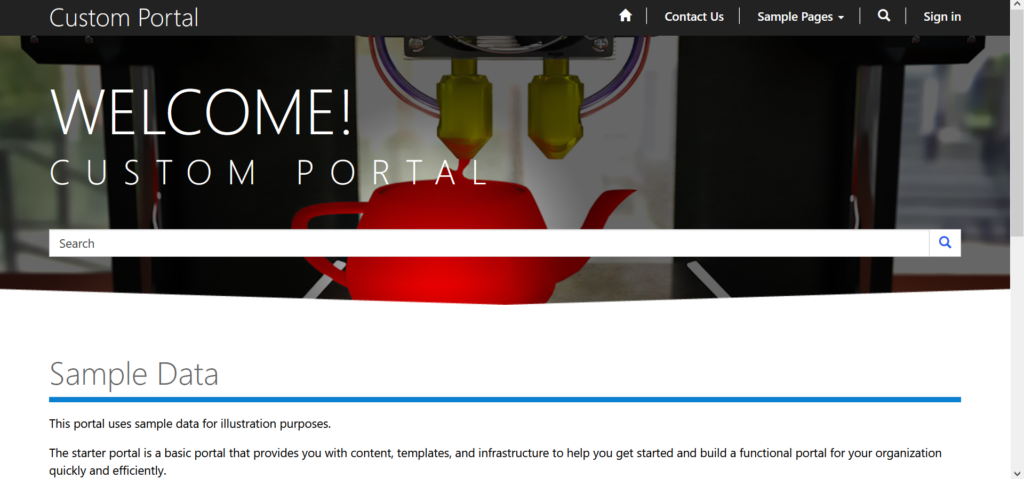
- Click the Portal to open it in new tab, now the basic portal template will get populate in form of a new website.
Embed the form in the Portal
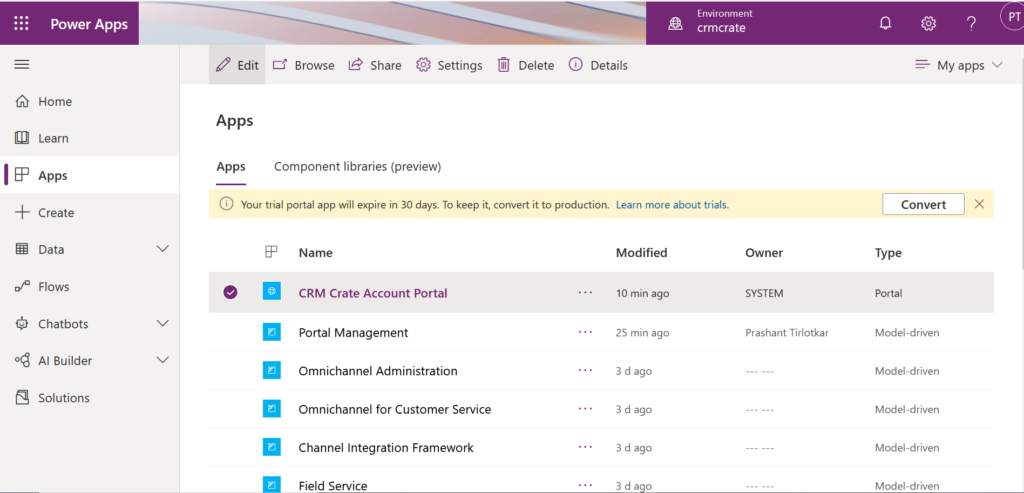
- Open the portal editor by selecting the portal in Apps and clicking on button called Edit.
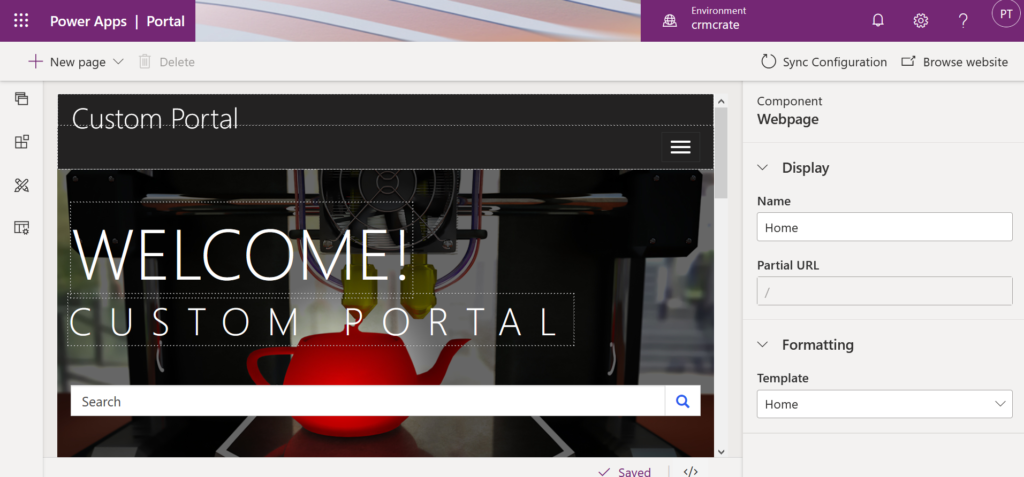
- Now lets modified the default home page. In the portal editor, simply delete few default templates which are not required.
- Navigate to the left hand panel, click on Components and select Forms.
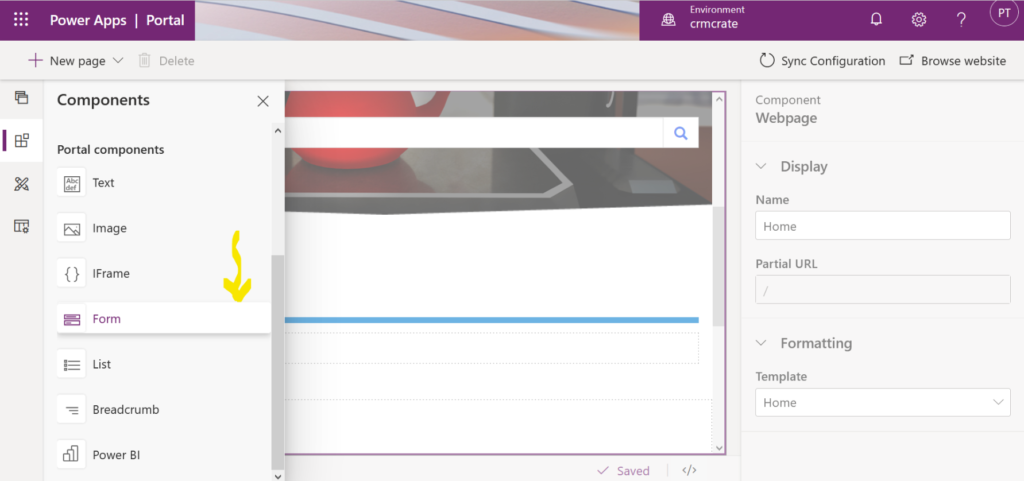
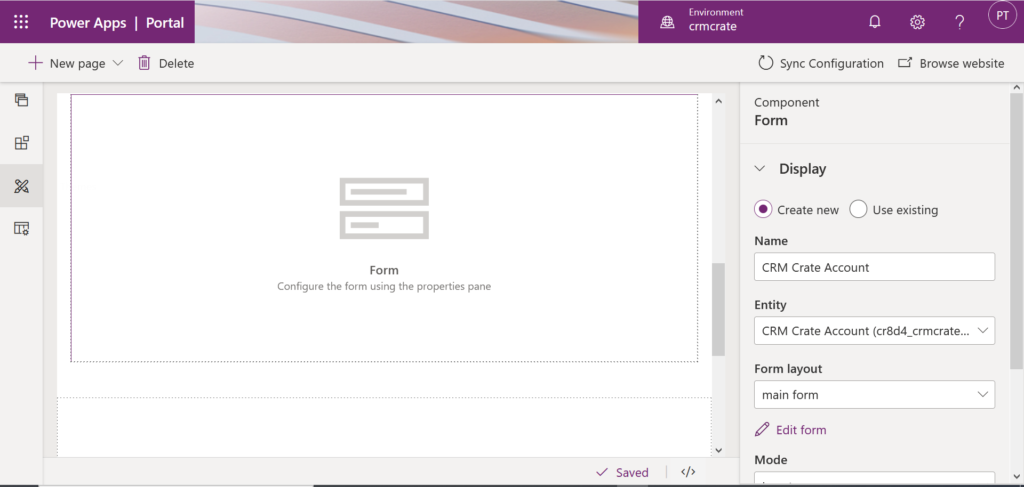
- Select the newly created entity from the data as shown below. Later, click on Sync Configuration to deploy the changes on Portal.
- Now, navigate back to the Power App Portal website, the above created entity form will now be placed in the actual portal website as shown below.
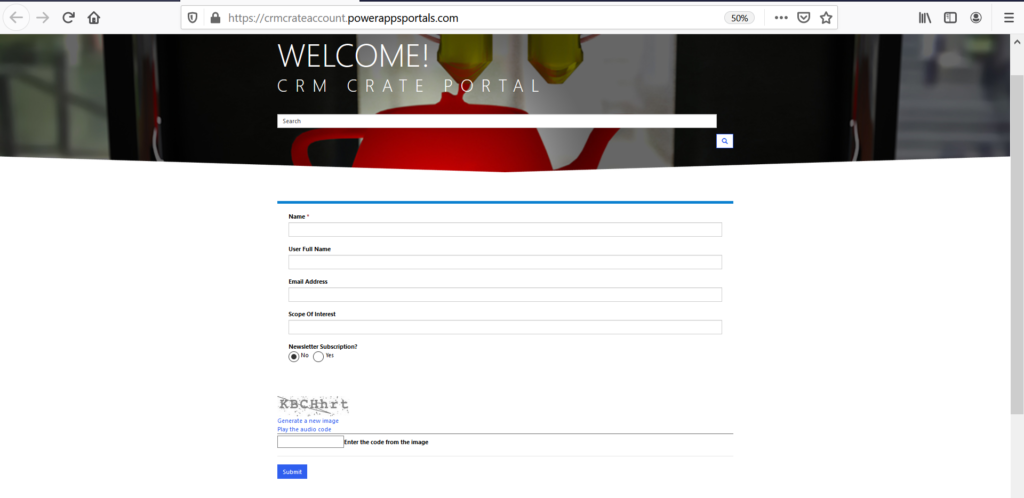
- Thus, our Power App Portal is ready to use by both CRM Licensed users and external users. As soon as any user fill the forms and clicks on Submit, the data will get created in your above used entity.
Conclusion
You can build basic sites in Portals such as template website, user input forms, integration websites etc.


