
In this course, we will learn to create a custom PCF control and implement it in Dynamics 365 CRM. The PCF / PowerApps Component Framework is used to create custom components in model-driven apps to provide an enhanced user experience for the users to view and work with data in forms, views and dashboards.

Understanding PowerApps Component Framework
PCF custom control helps the professional developers and app makers to create code components for model-driven and canvas apps to provide enhanced user experience for the users to work with data on views, dashboards, and forms. You create variety of controls with help of PCF such as converting a whole number field into a dial or slider component.
The PowerApps Component Framework works only with the Unified Interface and not with the old Web Client version of Dynamics 365 CRM. Also the PCF control is not supported for the on-premises instances.
What is the difference between PCF and Web Resources?
In PCF, unlike HTML web resources the code components are rendered as a part of the same context which eventually provides a real time user interface experience for the users.
Below are few advantages of using PCF over web resources.
- Reusability with help of code components.
- Optimizes for instance performance.
- Access to a rich set of framework APIs that expose capabilities like component lifecycle management, contextual data, and metadata.
- Seamless server access via Web API, utility and data formatting methods, device features like camera, location and microphone, along with easy-to-invoke UX elements like dialogs, lookups, and full-page rendering.
- Bundle all files into a single solution file.
- Support for modern web practices.
Why custom PCF control?
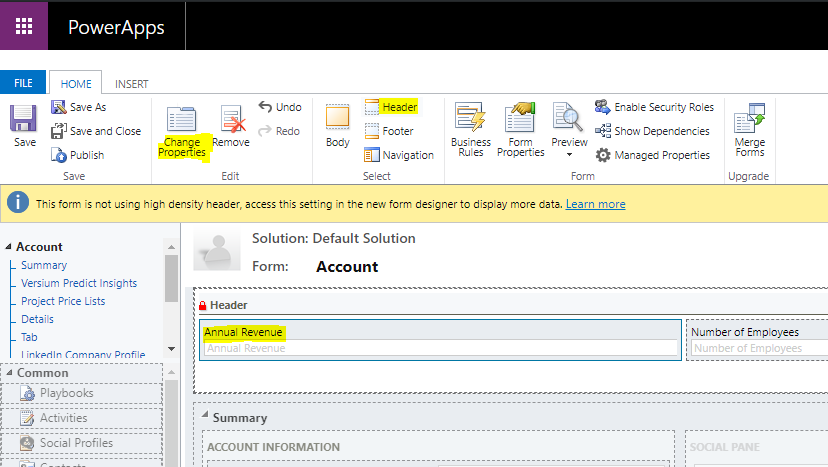
In Dynamics 365, there are multiple types of fields Single Line of Text, Whole Number, Currency etc. For example, in Account entity, there is a field called as “Account Number” which is a simple text field.
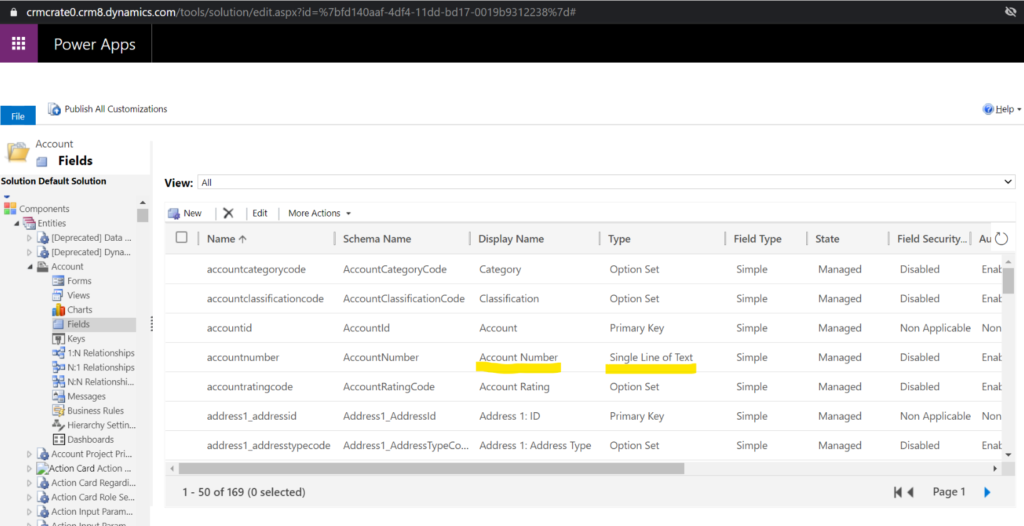
If we open an Account form >> navigate to Account Number field, Field Properties >> Controls. Here we can see that the current used control is a text box.
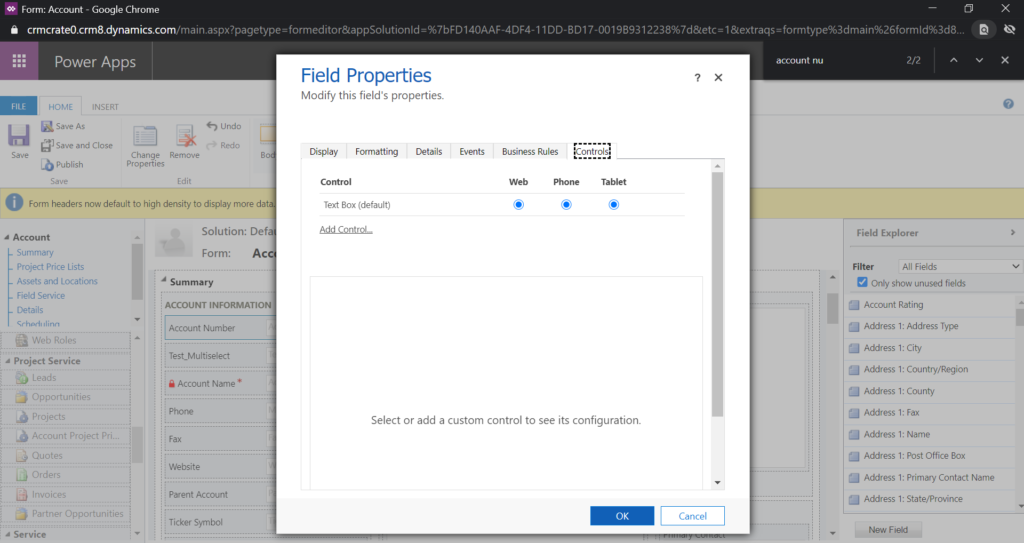
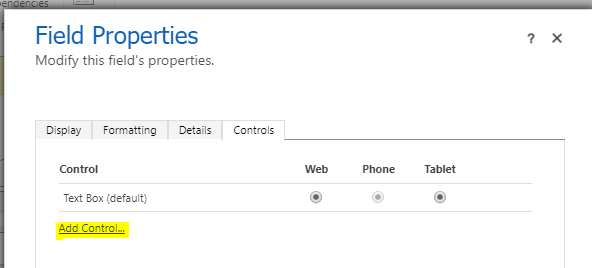
By clicking on Add Control, we can see the out-of-the-box controls provided by Microsoft as given below.
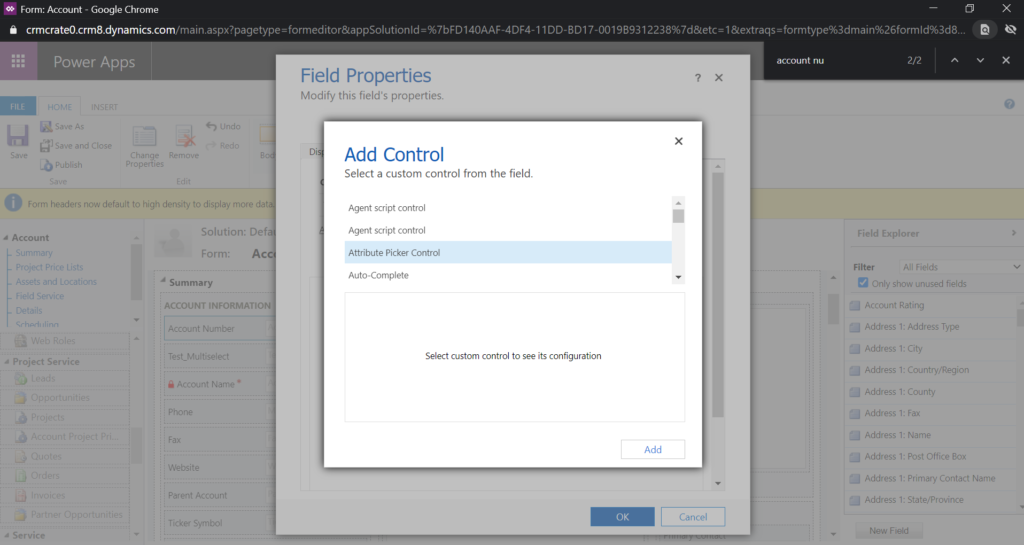
This controls are great, but there are possibilities where the type of control or UI we want is not provided in the out-of-the-box controls. This is where the PowerApps Component Framework comes in. The PCF allows us to build our own controls, which opens PowerApps controls to interesting use cases.
Create a custom PCF control
We will learn how to create a custom PCF control from scratch in Dynamics 365 CRM.
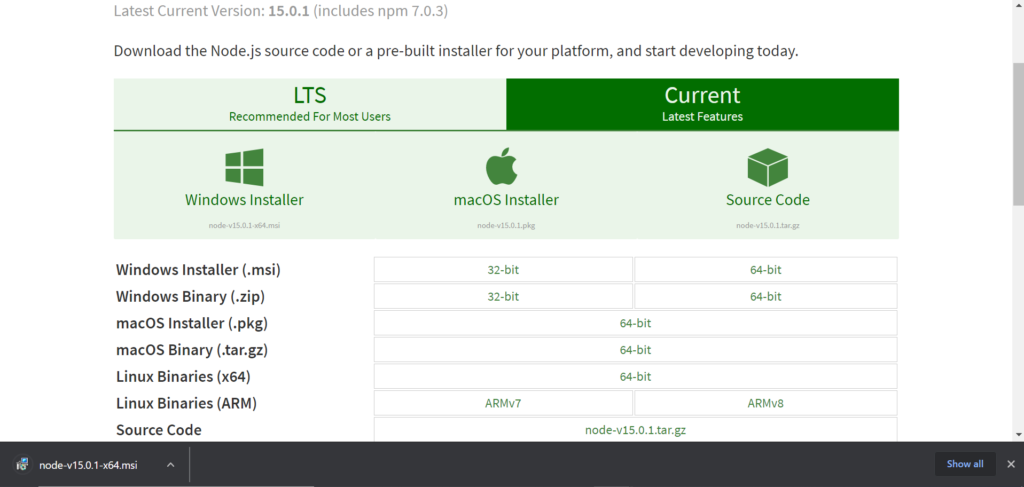
- Install Node.js
- Click here to open Node.js downloader.
- Download the MSI file and run the downloaded msi setup.
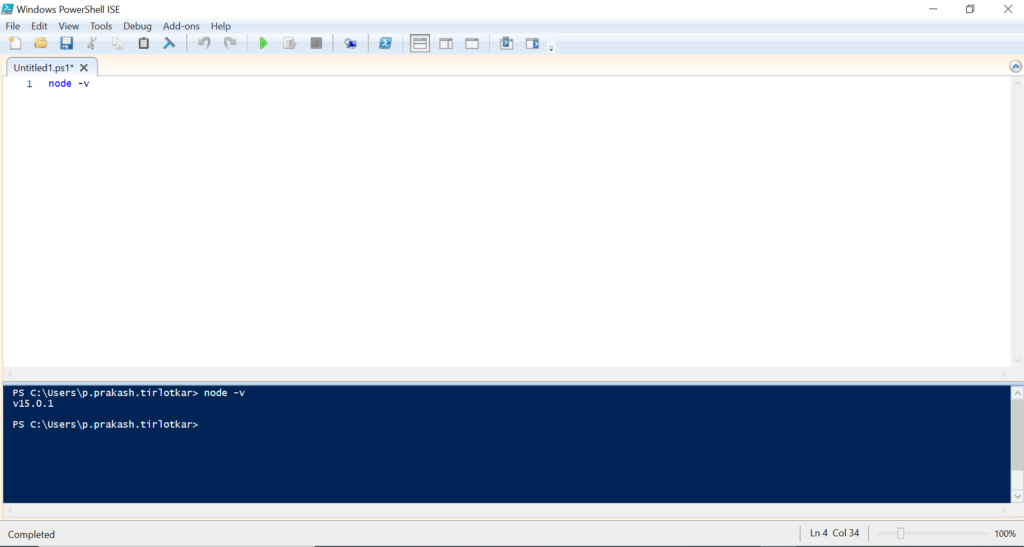
3. Once the installation is complete, open the Windows PowerShell and enter the below code.
node -v
- Download and install Visual Studio Code.
Click on the link to download and install Visual Studio Code.
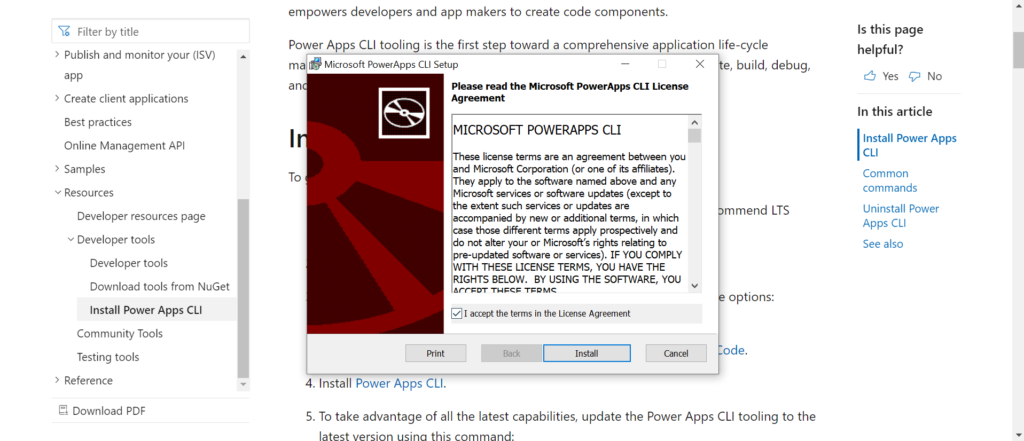
- Install Power Apps CLI
- Click here to download Power Apps CLI.
- Once downloaded the MSI file, install the Power Apps CLI as shown below.
3. Validate the your Power App CLI is updated by entering the below code in the command prompt.
pac install latest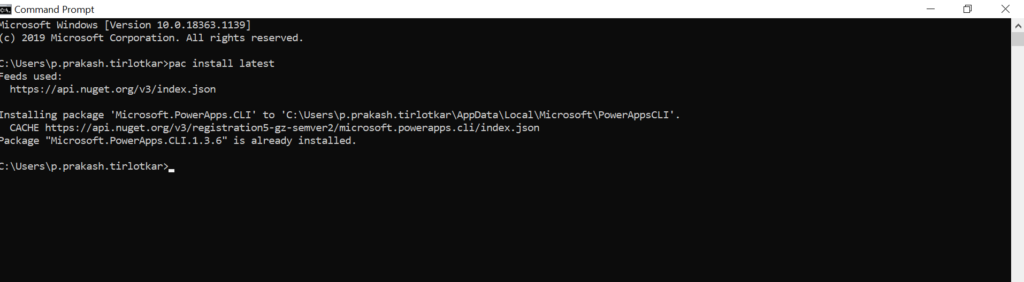
- Create a PCF Project.
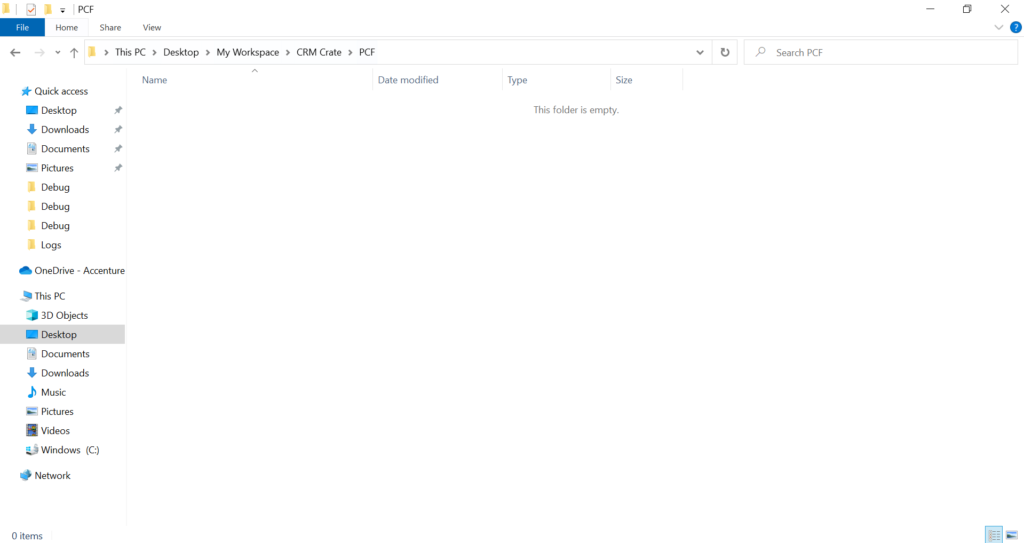
- Create your own projection folder in your local machine as shown below.
2. Open the Command Prompt and change the location to the folder path as shown below.

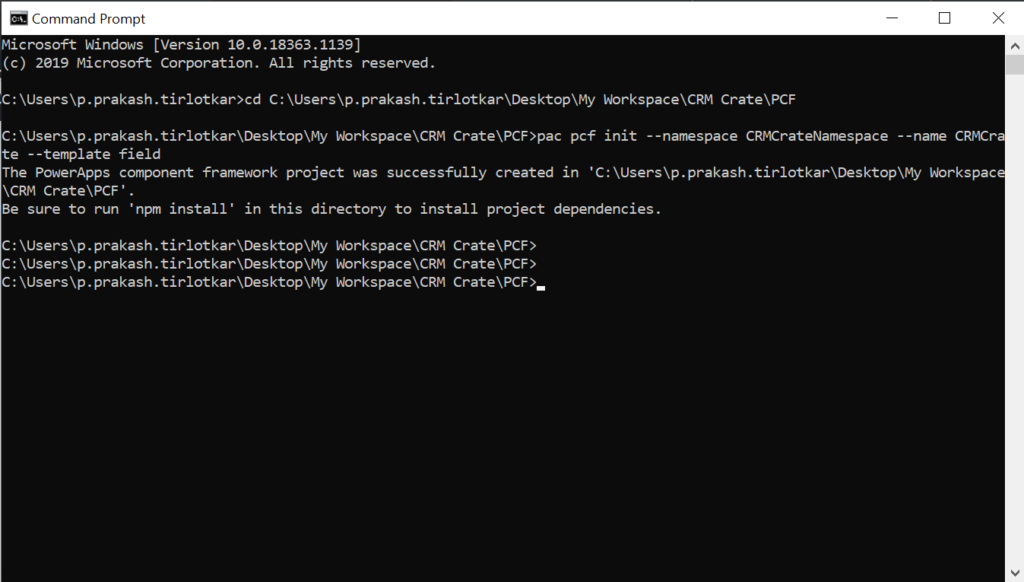
3. Enter the command in below format to create the control.
pac pcf init –namespace <specify your namespace here> –name <put component name here> –template <component type>
So in our case we will run the below code.
pac pcf init --namespace CRMCrateNamespace --name CRMCrate --template field
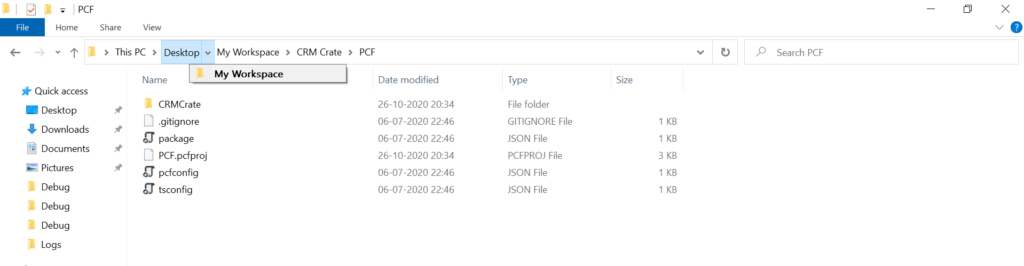
4. Now, open the above created folder and validate that the project is control project is successfully created there as shown below.
5. Now enter the below command in the Command Prompt.
npm install
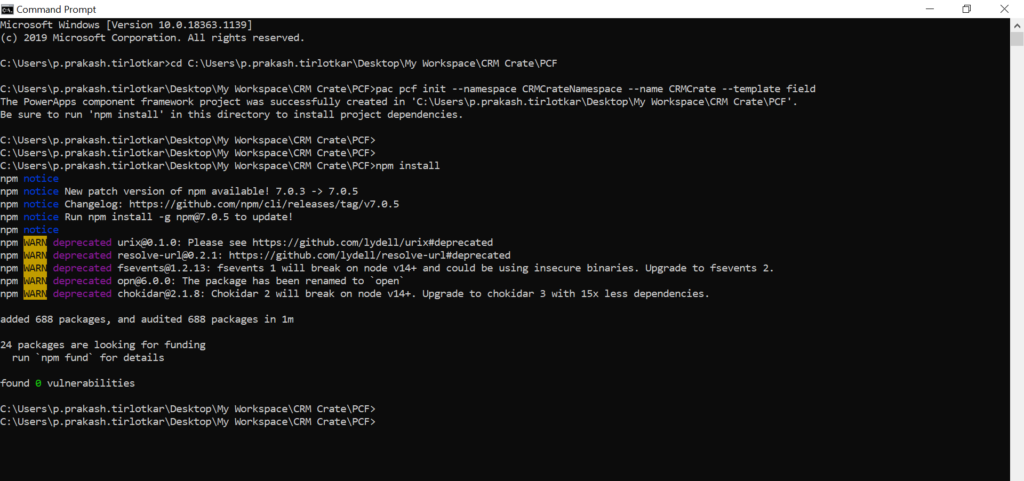
Now, the above created solution contains the sample PCF Control code.
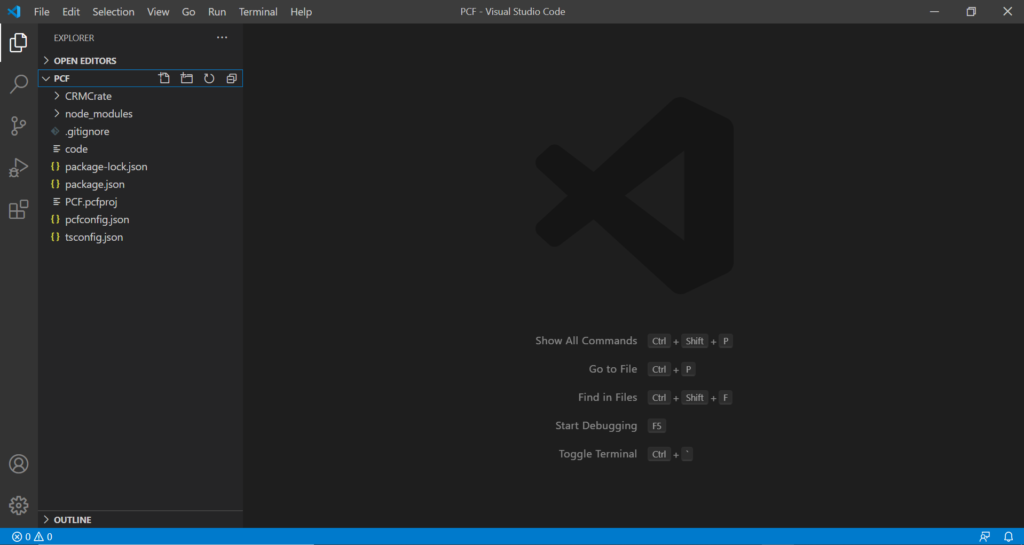
- Develop the control in Visual Studio Code.
- Open the above project path in Visual Studio Code .
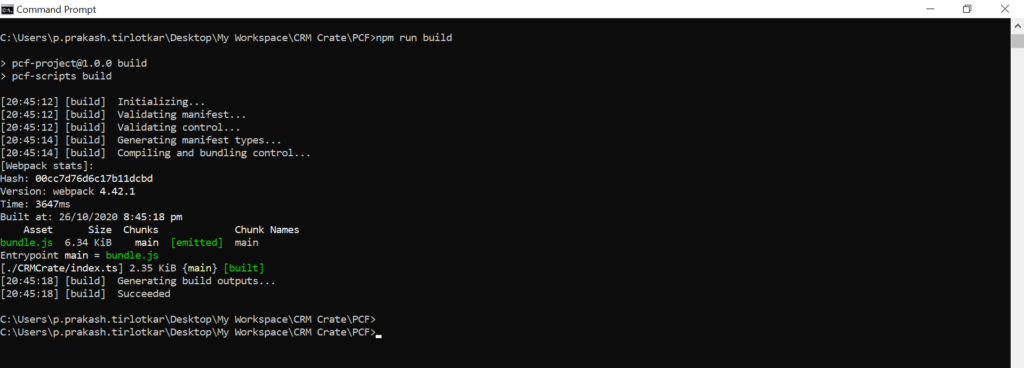
2. Enter the below code in Command Prompt to run or build the project.
npm run build
3. Now to start the project, enter the below code.
npm start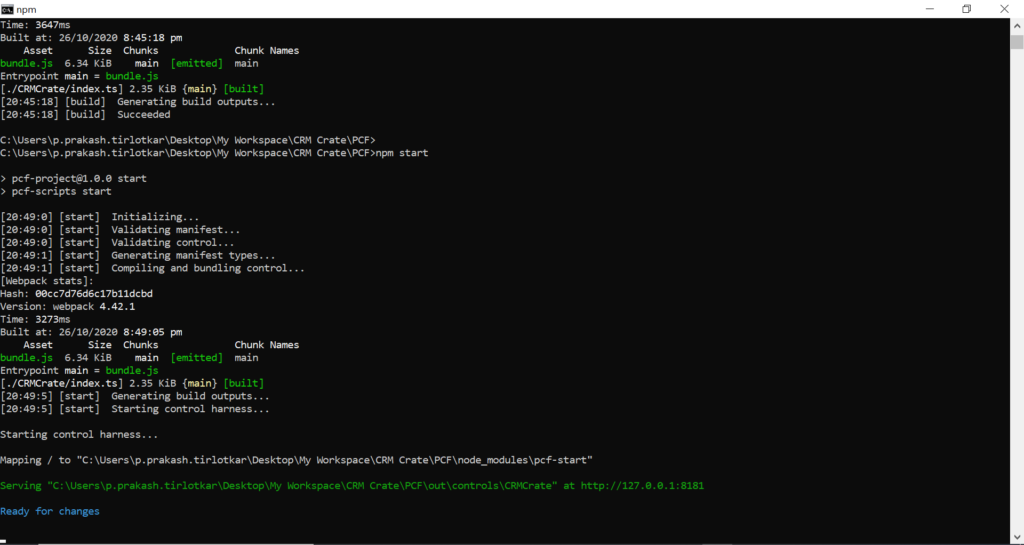
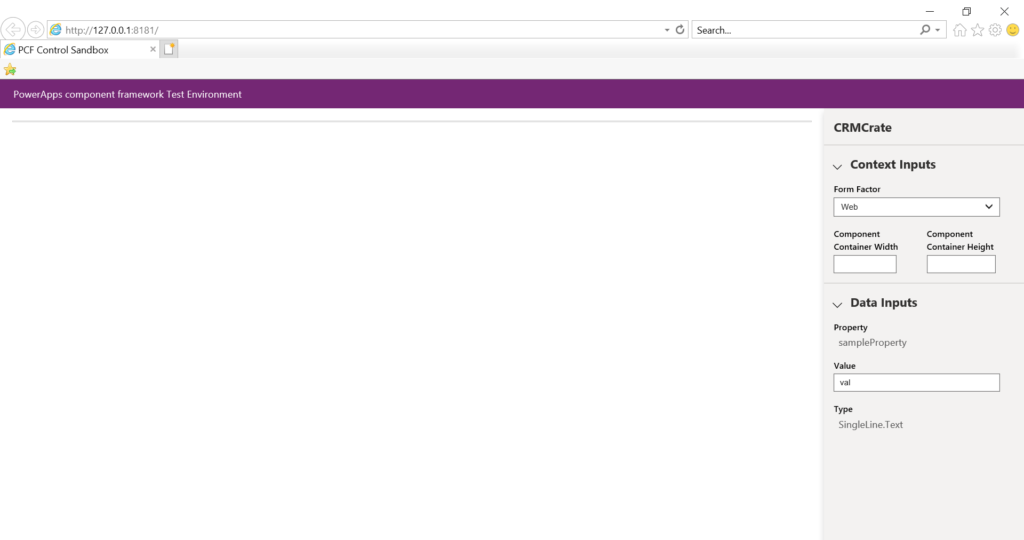
Once you run the control project, the PCF control sandbox will get automatically opened in the internet browser as shown below.
- Develop the custom PCF Control.
Create a new PCF project by entering the below command.
pac pcf init --namespace SampleNamespace --name TSLinearInputComponent --template field

npm install
- Open the PCF control project in the Visual Studio Code. Expand the main folder and open the file called ControlManifest.Input.xml as shown below.
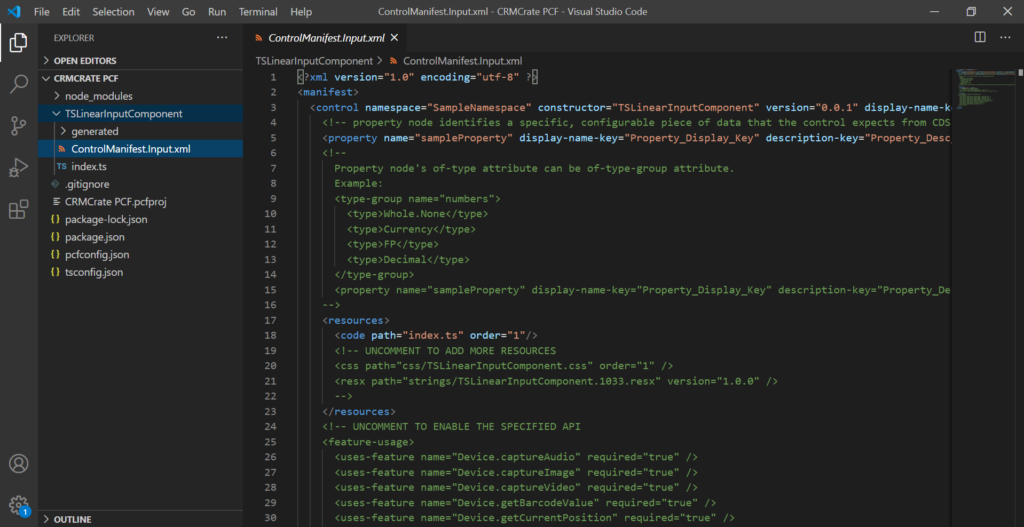
2. Update and override the default xml code with our custom code. Copy the below code and paste it in the ControlManifest.Input.xml. Later save the file.
<?xml version="1.0" encoding="utf-8" ?>
<manifest>
<control namespace="SampleNamespace" constructor="TSLinearInputComponent" version="1.0.0" display-name-key="Linear Input Component" description-key="Allows you to enter the numeric values using the visual slider." control-type="standard">
   <type-group name="numbers">
     <type>Whole.None</type>
     <type>Currency</type>
     <type>FP</type>
     <type>Decimal</type>
    </type-group>
   <property name="sliderValue" display-name-key="sliderValue_Display_Key" description-key="sliderValue_Desc_Key" of-type-group="numbers" usage="bound" required="true" />
  <resources>
    <code path="index.ts" order="1" />
    <css path="css/TS_LinearInputComponent.css" order="1" />
  </resources>
</control>
</manifest>
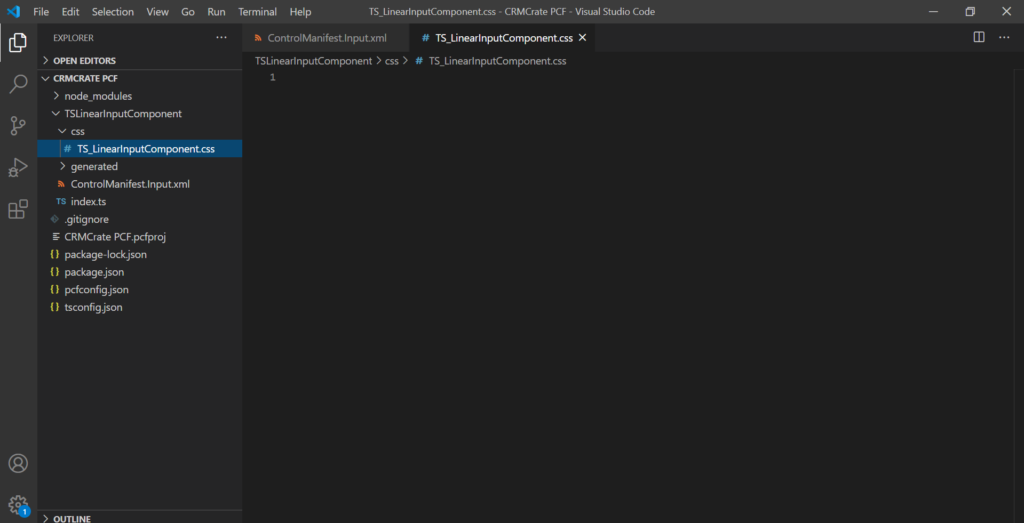
3. Within the main folder, create a new folder called css by right clicking on main folder. Later add a new file in it called TS_LinearInputComponent.css.
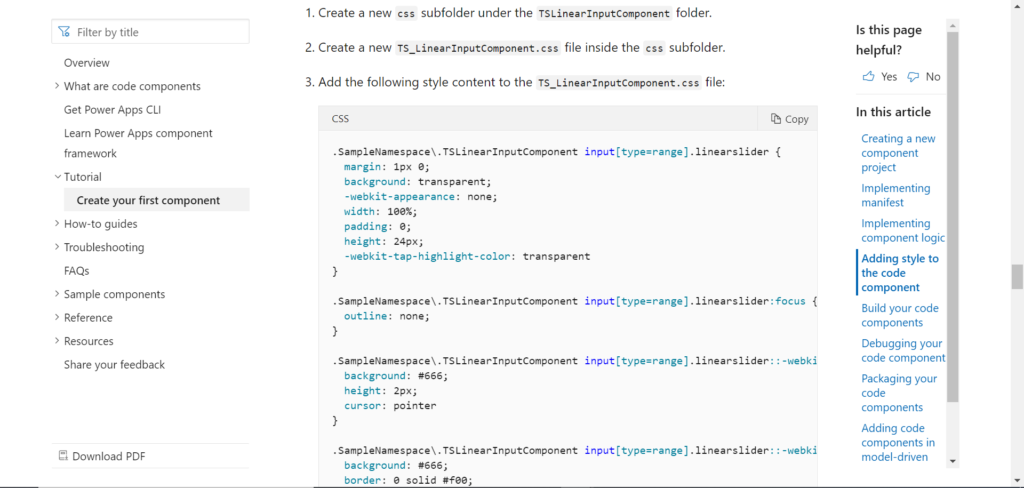
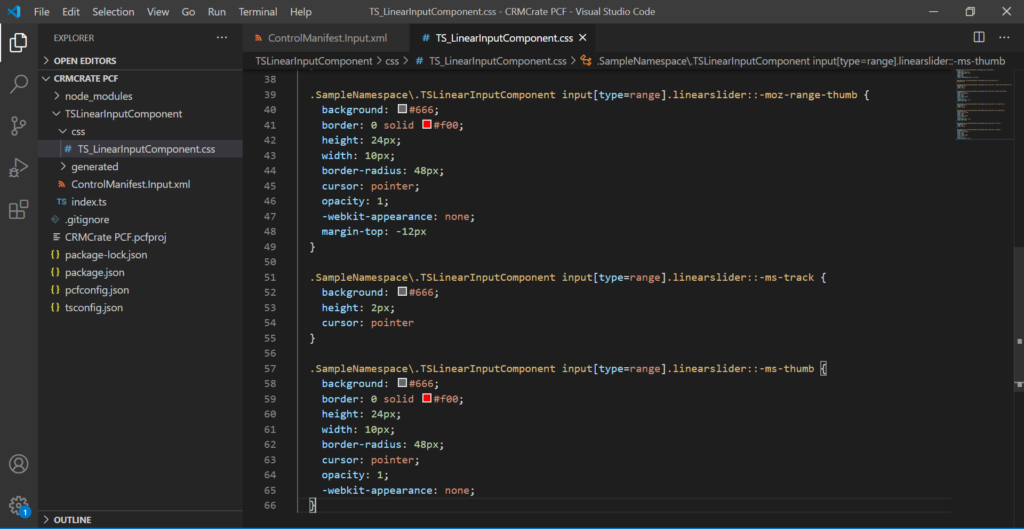
Click here to copy the css code from the Microsoft link and paste it in the above created new TS_LinearInputComponent.css file.
4. Lets write the logic, click here to open the Microsoft link and copy the code from section Implementing Standard Logic.
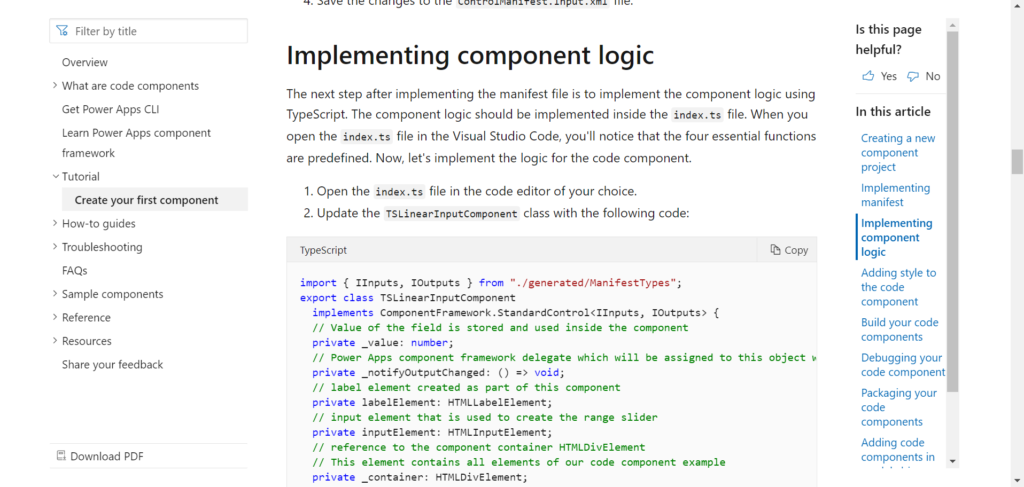
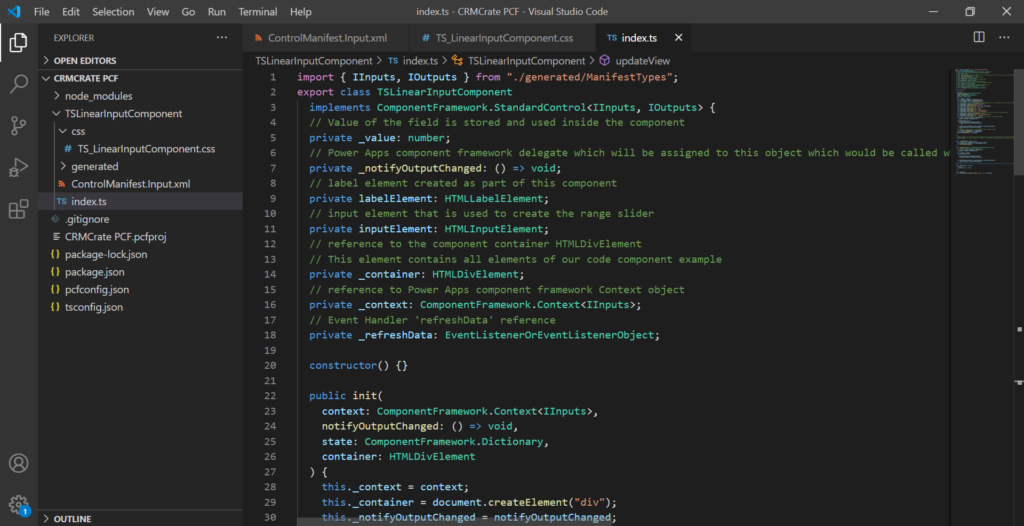
In Visual Studio Code, open the Index.ts file and override it by pasting the above code.
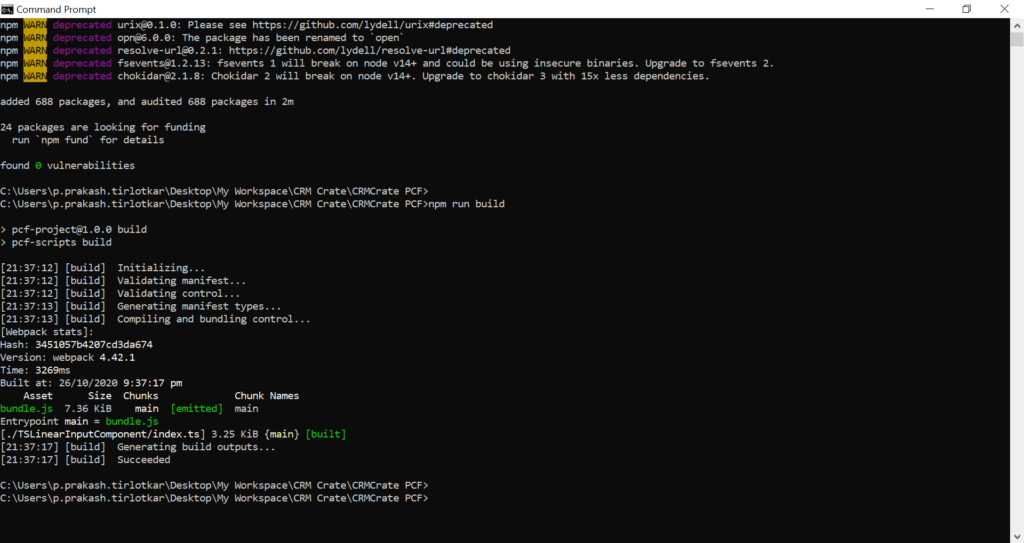
5. To build the project, enter the below code in the Command Prompt.
npm run build
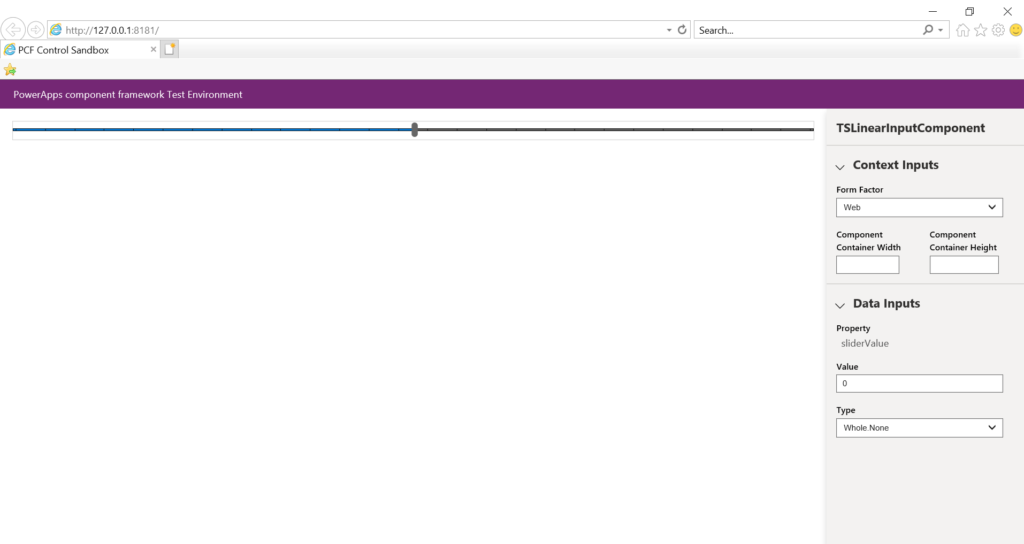
6. For debugging, enter the below command. This will open the control in the browser.
npm start
Our control is now developed, ready and visible in the browser as shown below.
- Deploy the PCF control in Dynamics 365 CRM.
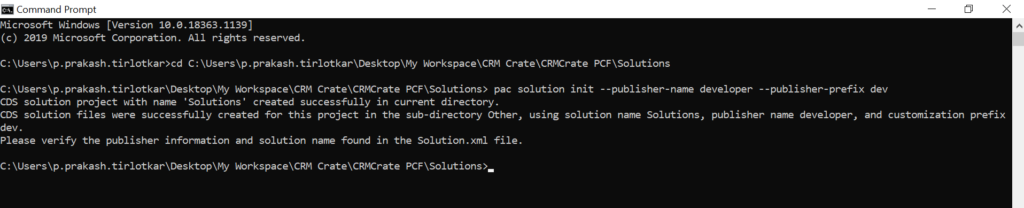
- We have to create a package and deploy the above created new control in our Dynamics CRM. Enter the below command to create a new folder called Solution in the your project directory.
pac solution init --publisher-name developer --publisher-prefix dev

2. Now we need to add the reference to state where our component location is. Enter the below command and change the directory name as your folder name.
pac solution add-reference --path c:/YourFolderPath
3. Run the solution directory by using the below command.
msbuild /t:restore
If you find the message as “msbuild does not exist”, then you can find it in your Visual Studio directory with path such as C:\Program Files (x86)\Microsoft Visual Studio\2019\Enterprise\MSBuild\Current\Bin\amd64\MSBuild.exe:
Note : – you may have issues using the MSBuild located in Program Files or the .NET Framework directory, in which case use the Visual Studio directory.
Once done, again run the below code.
msbuild
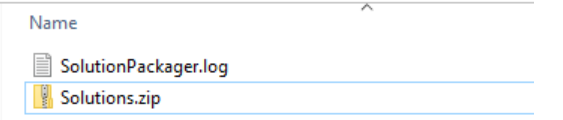
This will create a zip solution file in the above created Solutions folder as shown below.
4. Now lets install this solution in the Dynamics 365 CRM by navigating to https://make.powerapps.com/ and select Solutions as shown below.
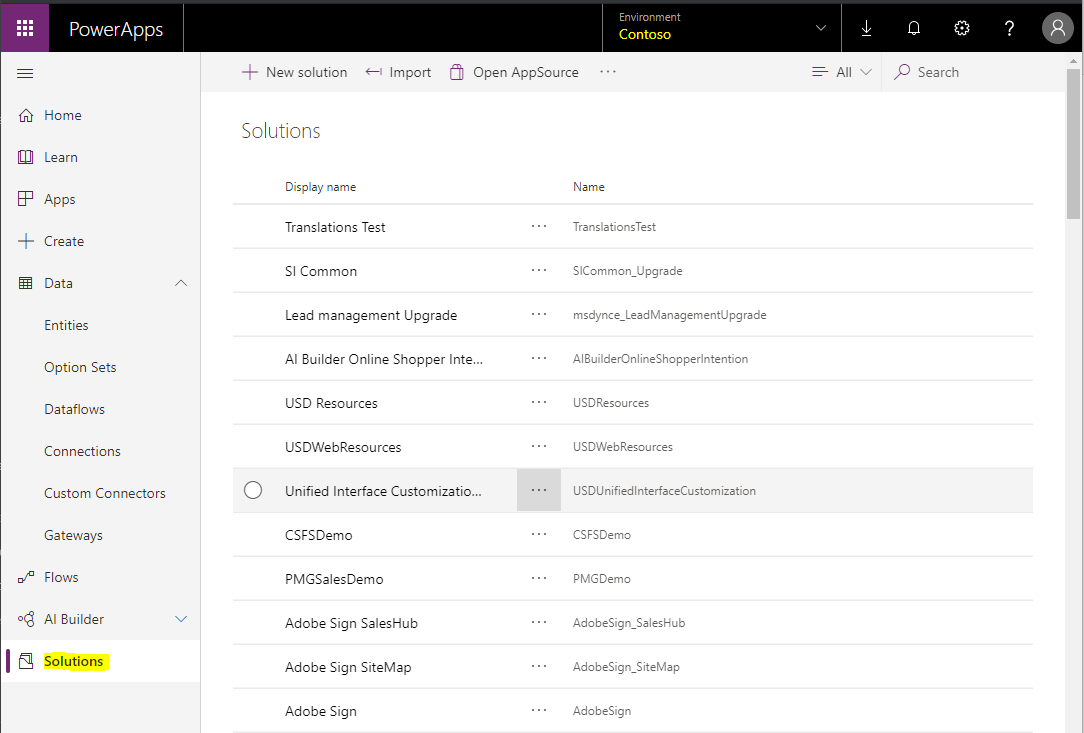
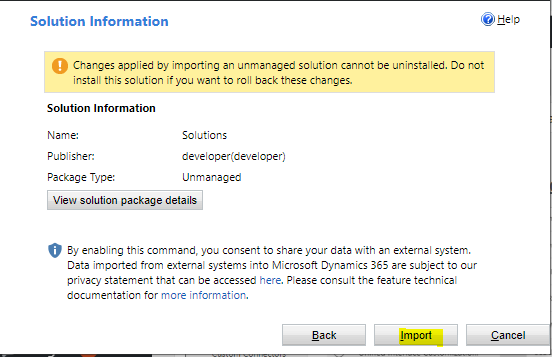
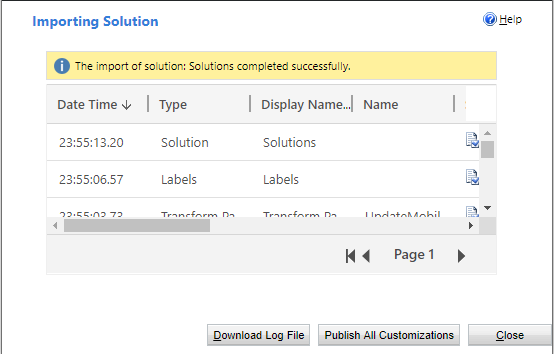
Select the above zip solution file and import the solution.

- Add the imported custom control in Dynamics CRM field.
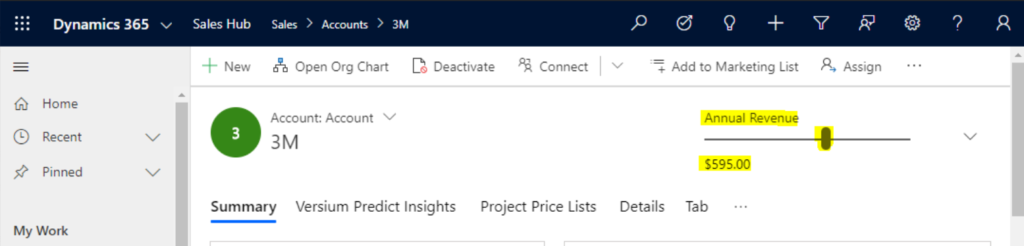
In the above steps we have created and imported our custom control solution in the Dynamics CRM. Now its time to add the control in our field. In our case, we will add the custom control in field Actual Revenue of Account entity.
- Navigate to Settings >> Customization >> Customize the System > > Entities >> Accounts >> Forms. Select the Actual Revenue field and click on Properties >> Controls.
2. Now, we will see our above created Custom Control as shown below.
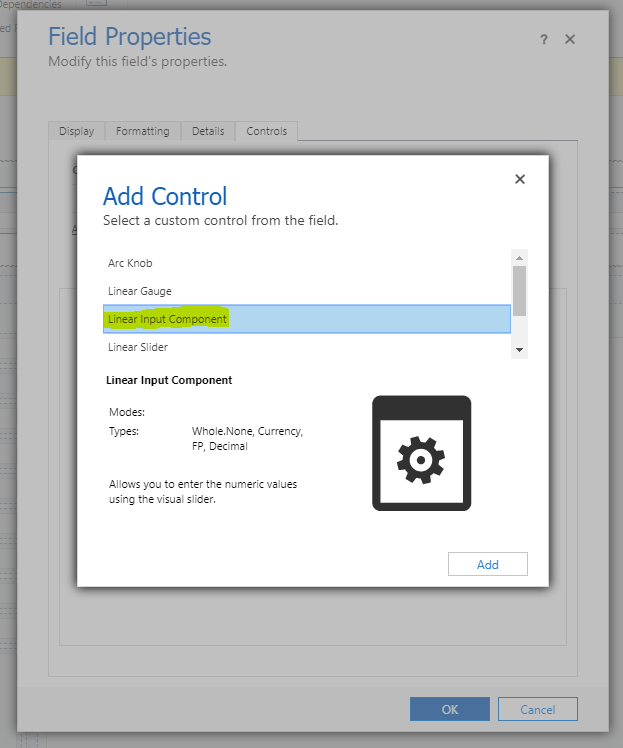
3. Select the custom control and use it as per your need as shown below.
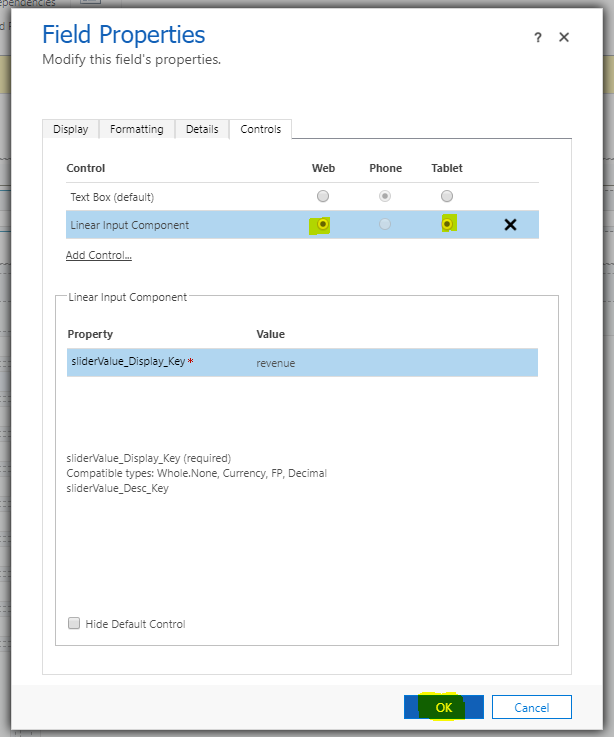
4. Save and publish the form. Navigate to the CRM, open the Account record and validate that the field Actual Revenue is represented in the form of custom control.
Conclusion
Thus we learned how to create, import and use PCF custom control in Dynamics 365 CRM.


