
In this course, we will learn to implement and build a SSRS Report in Dynamics CRM. The Microsoft’s Dynamics 365 CRM and Model Driven PowerApps offers various number of advanced reporting tools. These advanced reports are often necessary when client requirements demand complex calculations, retrieving data from different data sources, grouping large sets of data based on rules, and returning multiple data sets. The Dynamics CRM out-the-box reporting system is not fully capable of driving such complex logics, hence we use SSRS Reports to suffice the above requirements. Lets start with building your own SSRS Report from scratch.
SSDT for Visual Studio (VS) 2015
Click here to download SSDT for Visual Studio (VS) 2015.
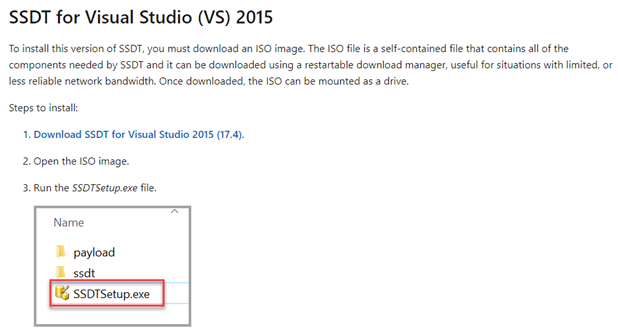
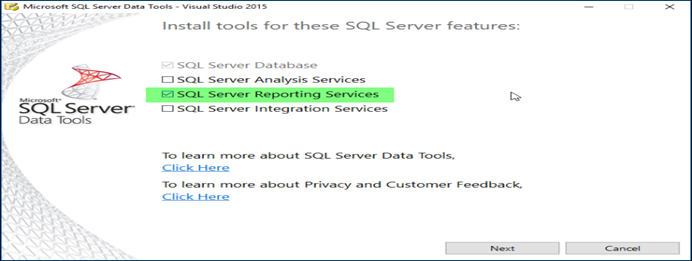
When the download is complete, run the SSDTSetup.exe (as administrator) program to install the tool. When prompted, choose to install SQL Server Reporting Services and click on next as shown below.

Dynamics 365 Report Authoring Extension
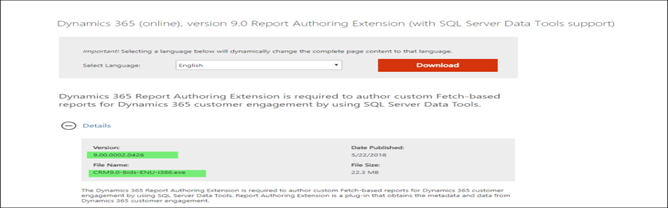
The Dynamics 365 Report Authoring Extension is an addon for SQL Server Data Tools that will allow you to write reports using the FetchXML . Currently, this is the only way to write SSRS reports that can access Dynamics 365 Online data directly.
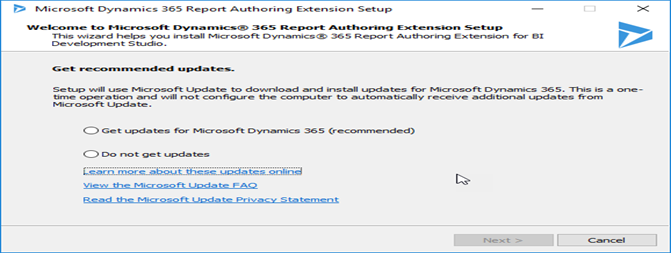
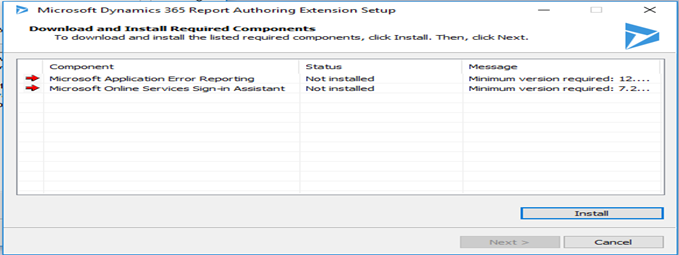
Click here to download the Dynamics 365 Report Authoring Extension. Extract the package and install it in your system.

Create a new SSRS Report
We will create a new SSRS report from scratch using the above downloaded tools.
Create a Reporting project.
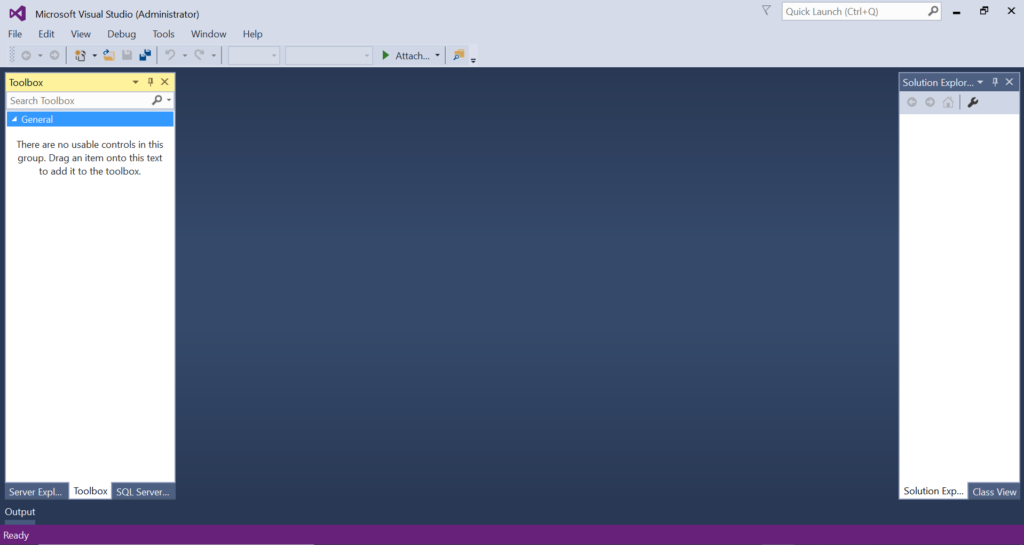
Launch the SQL Server Data Tool (SSDT) 2015 as shown below.
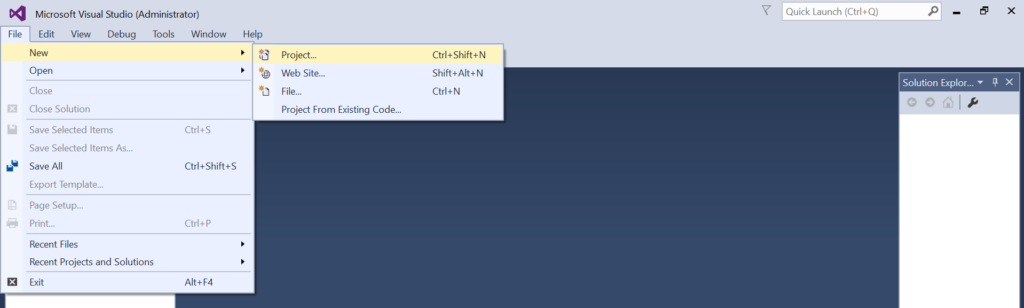
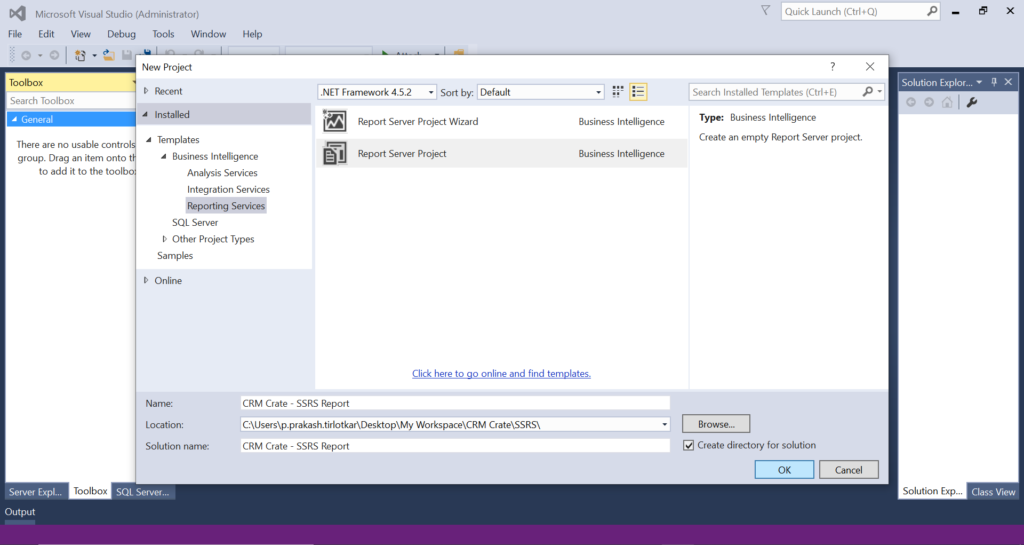
Click on Files >> New >> Project and create a new Project with the Projecting Services as “Report Server Project”, framework as “.Net Framework 4.5.2” or above as shown below.
Add a report in the project file.
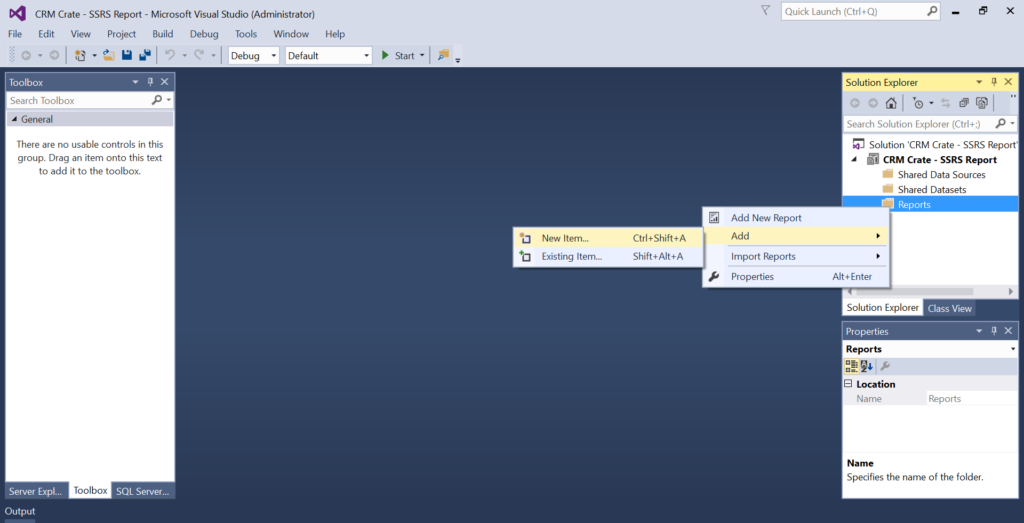
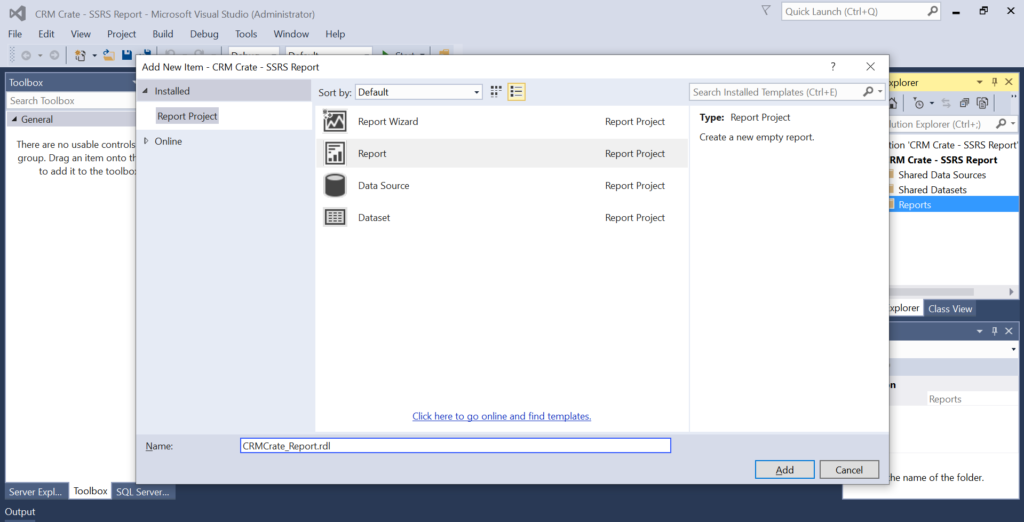
In the project, right click on the folder called “Reports” >> Add >> New. Select the Report Project type as “Report” and click on Add.
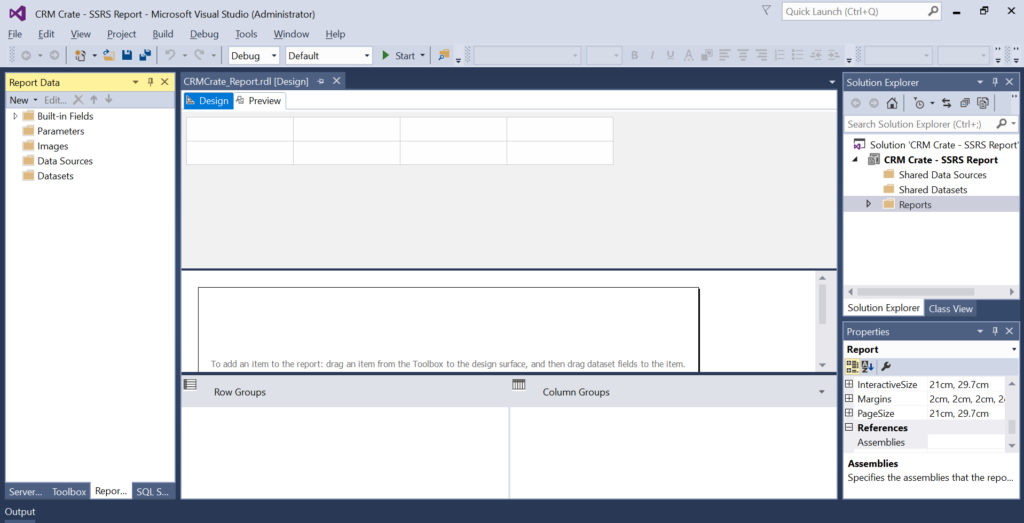
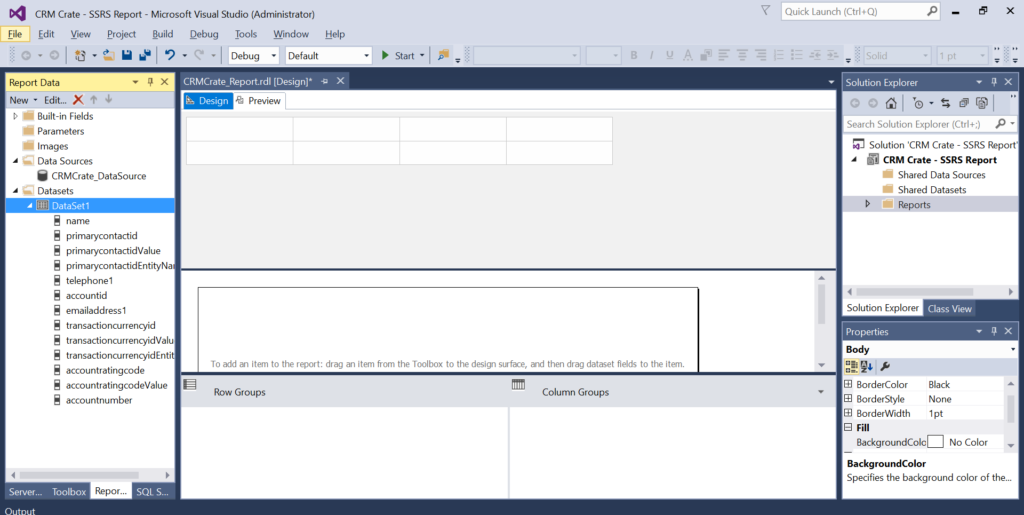
Now we have added a new blank report to our reporting project file. Here you will observe the reporting components such as Data Sources and Data Sets are populated in the Report Data section as shown below.
Add Data Source to your report.
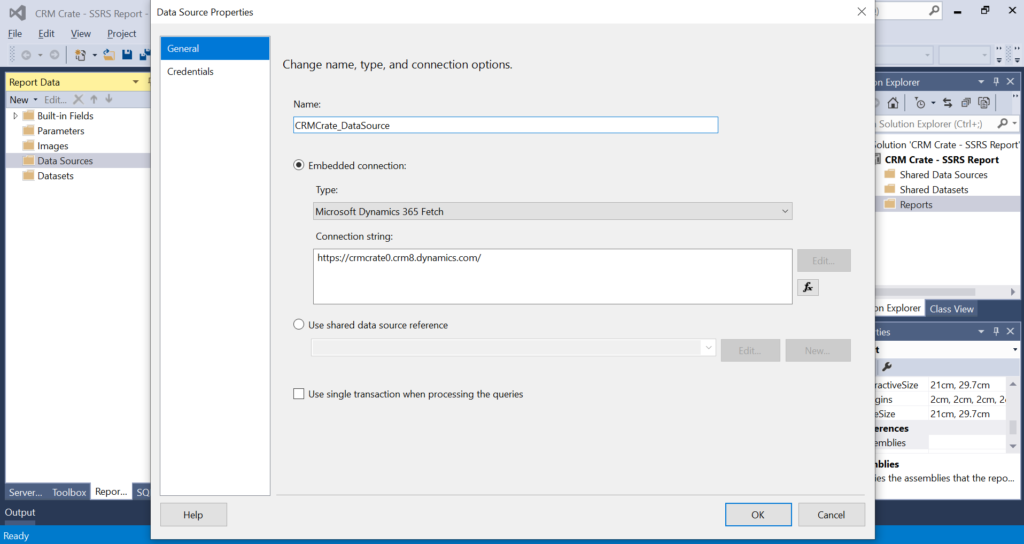
We have to give a data source to your SSRS report. In our case, the Dynamics 365 environment will act as a data source. Right click on the Data Sources >> Add Data Source. In data source, select the Embedded Connection type as Microsoft Dynamics 365 Fetch and enter the CRM Dynamics URL in connection string. (Note : – This is the above downloaded Add-On). Click on Ok.

Add a Data Set to your report.
Once the data source is added, now its the time to add the data set. The data sets are the tables which are used to store the data from the data source. As our data source in Dynamics CRM, you will use the fetch XMl as your data set.
Consider the scenario where you have to create a SSRS Report to display data of Account entity. To do so, navigate to CRM >> Advance Find >> Query the Account entity (Add the columns as per your need) and click on Download Fetch XML as shown below.

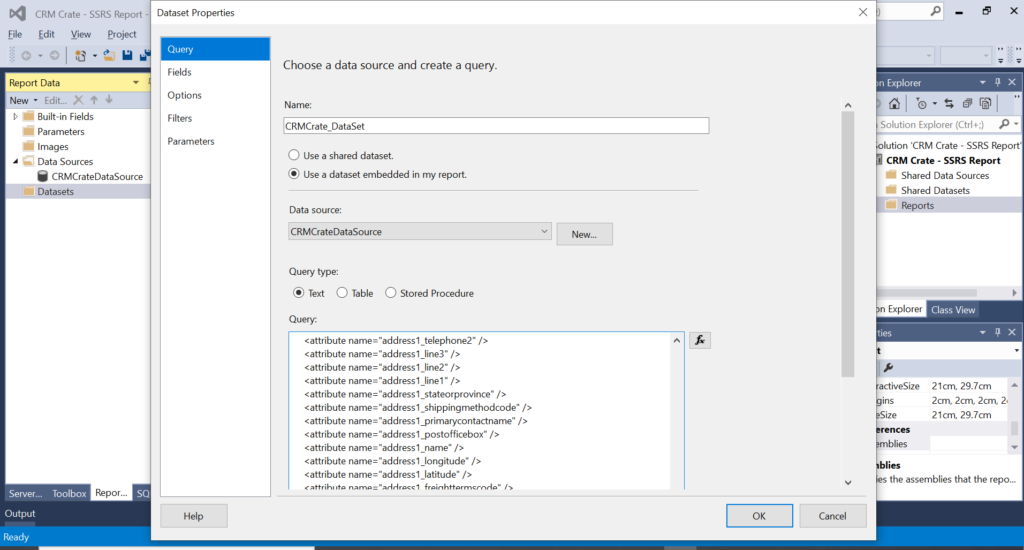
Copy the downloaded Fetch XML, navigate back to report project, right click on the Datasets >> Add Dataset. Select the above created Data Source, set Query Type as Text and paste the above downloaded Fetch XML query in the Query text area as shown below. Click on Ok.
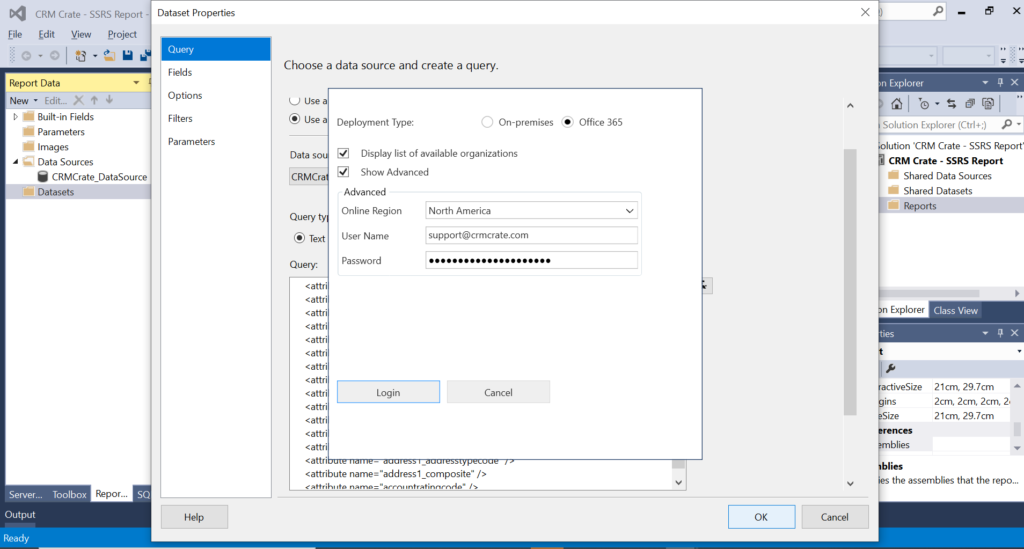
Once you click on Ok, the SSDT data set will get connected with your Dynamics CRM. Enter the credentials and help SSDT will establishing the connection.
Now, you can see the data set is successfully created in form of tables as shown below.
Create a table and insert data.
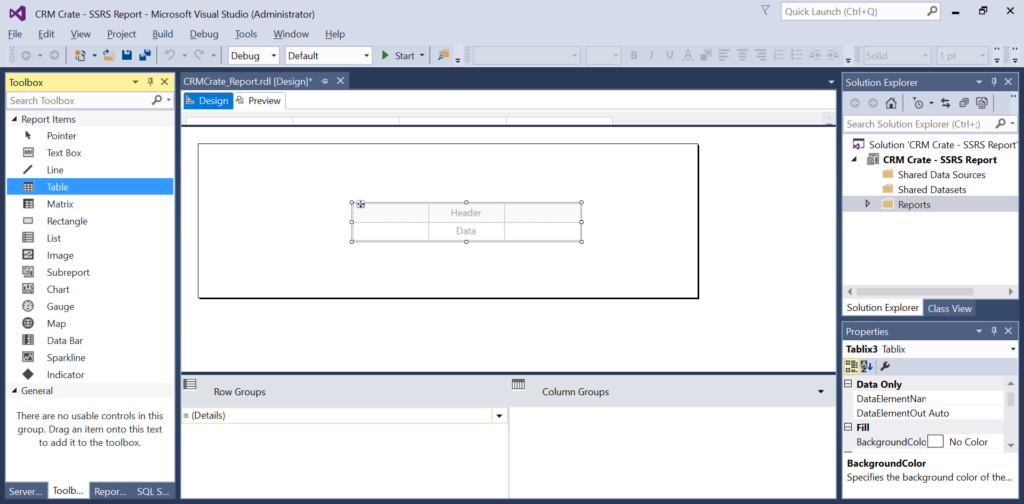
In the same project, open the tool box, select component “Table” and drag it in the designer panel as shown below.
You can add multiple rows and columns by right clicking on table >> Add new Row / Column. Below is the table created for demo purpose.

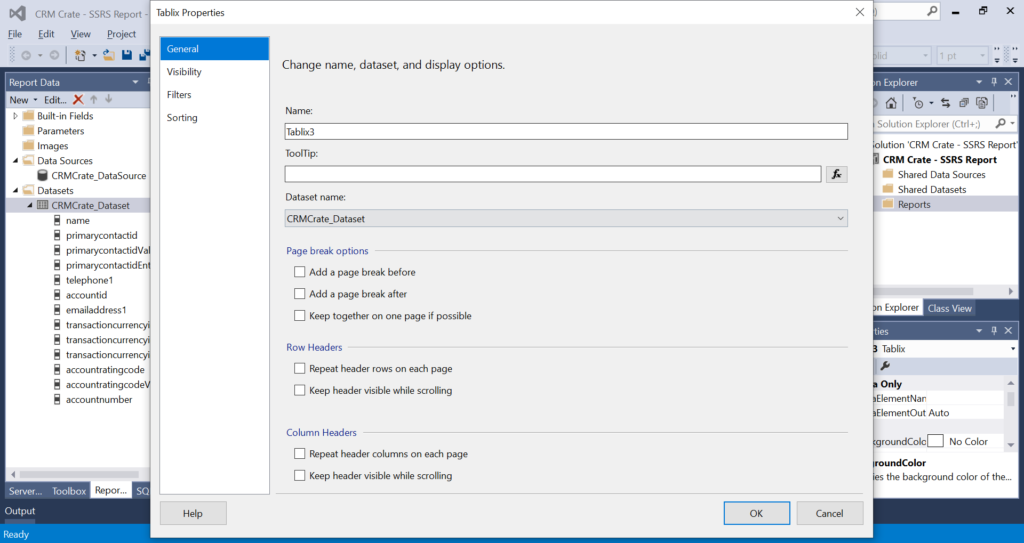
Right click on the Table/ Tablix >> Tablix Properties and select the data set which was created above.
Lets add the data to our table, right click on the below row component and select “Expressions”.

We can perform complex operational logics and calculation with of the Expressions. In Expressions, navigate to the section called “Fields”. Here you can find all the fields or columns available in the data set. Add the expressions (Fields mapping) in each of the rows as per your need.

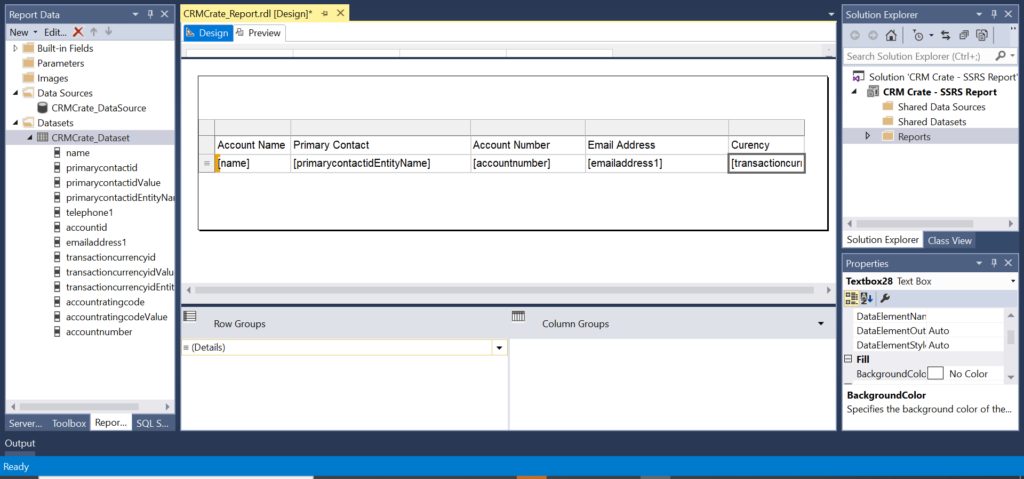
Now our table is ready with the necessary data. Lets deploy this table in the Dynamics CRM.
Deploy the SSRS Report in Dynamics 365 CRM
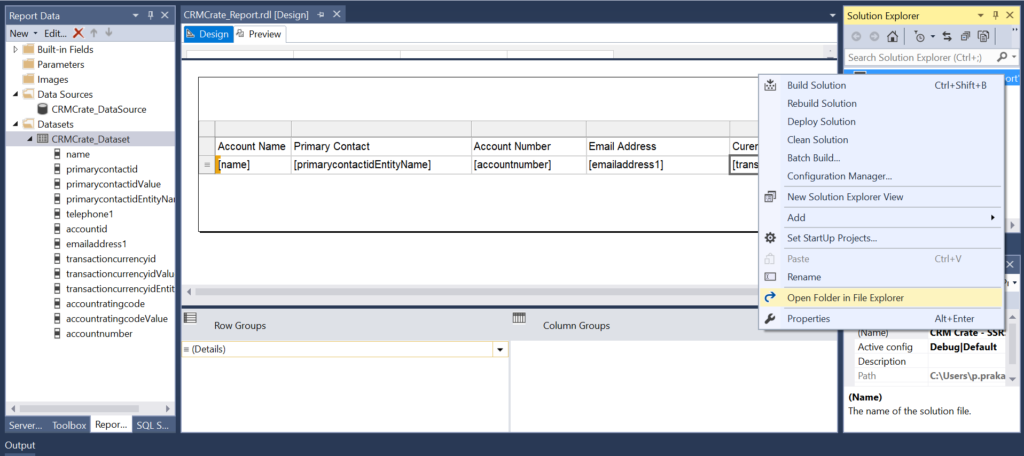
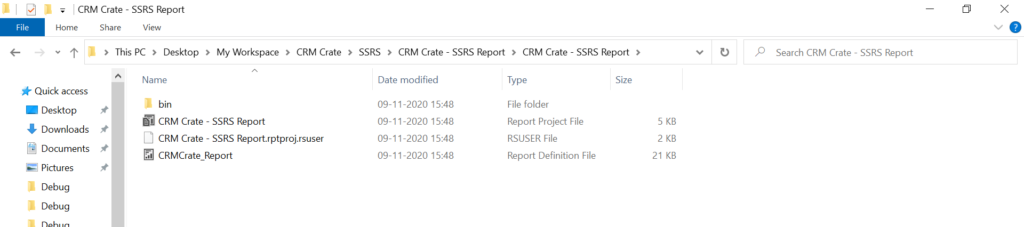
Rebuild the above created report and go the project’s local folder and copy the .rdl file (Report Defination File) as shown below.


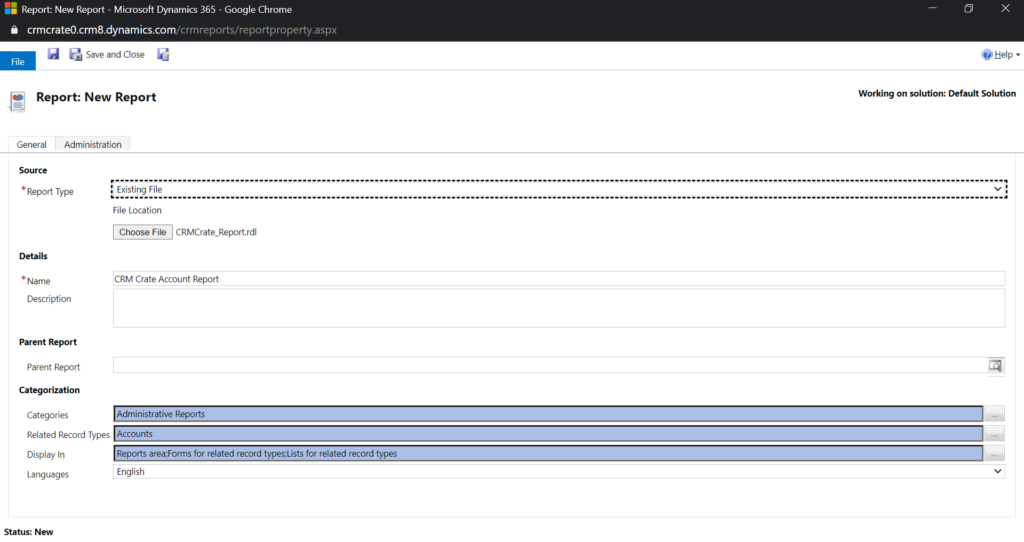
Now, navigate back to the Dynamics CRM. Open the Advance Find >> Reports >> New Report. Select report type as “Existing File”, upload the above obtained .rdl file in this section. We have done the categorization in order to display the report in Account entity’s report section as shown below. Click on Save.
Now, the report is deployed in Dynamics CRM.
Test the deployed SSRS Report
In CRM, navigate to the Account record >> Ribbon Bar >> Run a Report. In the section “Run a Report”, you will find the report which we have created above.


