
We will learn to create our own custom language detection API using the Azure Cognitive Services and use it in Dynamics 365. Before we start, make sure to subscribe to CRM Crate so that you can stay up to date in the field of Dynamics 365.

What is an Azure Cognitive Service?
Azure Cognitive Services are cloud-based services with REST APIs, client library SDKs, and user interfaces available to help you build cognitive intelligence into your applications. You can add cognitive features to your applications without having artificial intelligence (AI) or data science skills. Cognitive Services comprises various AI services that enable you to build cognitive solutions that can see, hear, speak, understand, and even make decisions.
Language detection is one of the features offered by Azure Cognitive Service for Language, a collection of machine learning and AI algorithms in the cloud for developing intelligent applications that involve written language. Language detection can detect the language a document is written in, and returns a language code for a wide range of languages, variants, dialects, and some regional/cultural languages.
Steps for creating a custom API for language detection.
We will use the Azure Cognitive Service’s language detector & Azure Functions for achieving the language detection in Dynamics 365.
Step 1 – Create a translator in the Azure Cognitive Service
- Open the Azure Portal (https://portal.azure.com/) and sign-in with the valid Azure credentials.
- In the services, open the “Cognitive Services” and navigate to “Translator” as shown below.
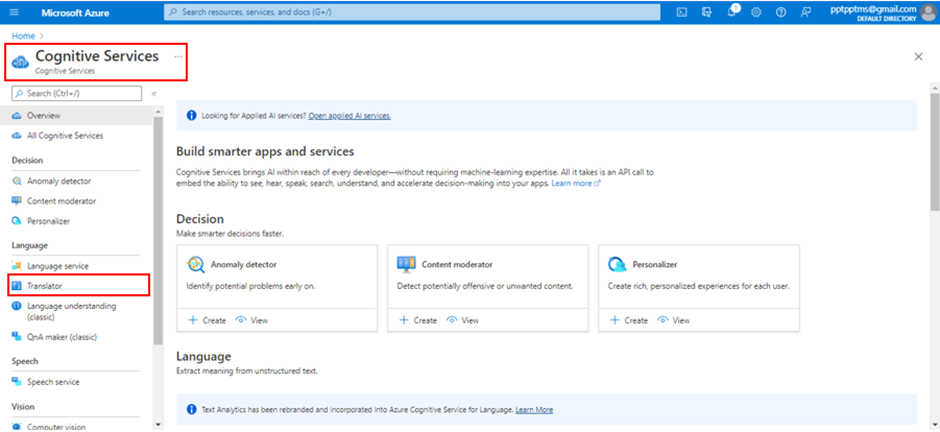
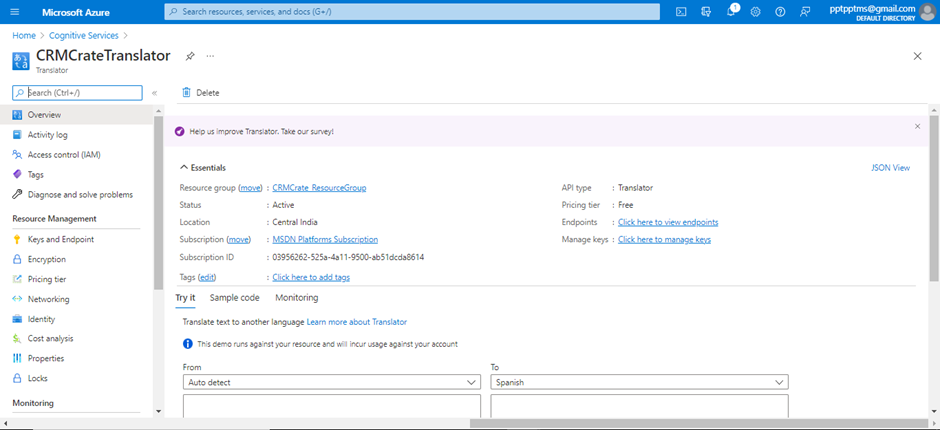
- Create a new translator as per your pricing preference.
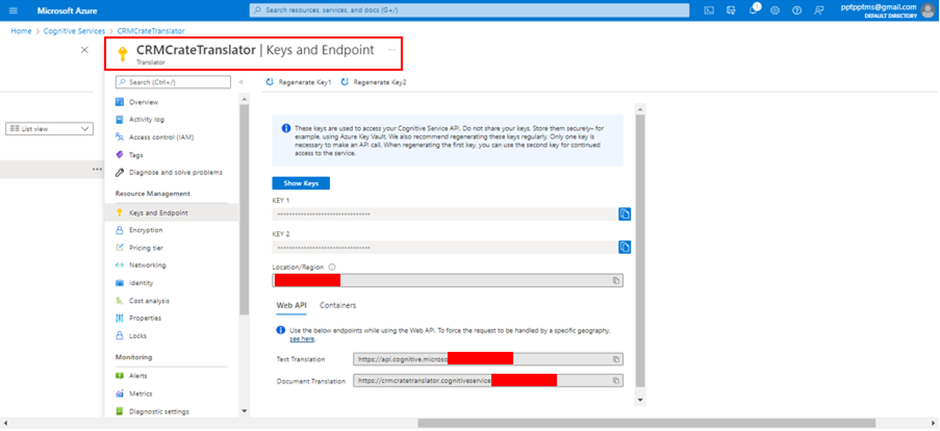
- Copy the essential authentication information such as “Key”, “Endpoint” and “Region” which will be required later while consuming the Cognitive Service from an Azure Function as shown below.
Step 2 – Create an Azure Function for communicating with the Cognitive Service
We have used an Azure Function as a middle layer for communicating with our Azure Cogntive Service.
- Create & configure a HTTP based Azure Function for communicating with the Cognitive Service as per the code given below.
#r "Newtonsoft.Json"

using System.Net;
using Microsoft.AspNetCore.Mvc;
using Microsoft.Extensions.Primitives;
using System.Collections.Generic;
using System.Net.Http;
using System.Text;
using System.Threading.Tasks;
using Newtonsoft.Json;

public static async Task<IActionResult> Run(HttpRequest req, ILogger log)
{

    //Retrieving HTTP Content.
    string inputText = req.Query["inputText"];

    //Deseriallizing The Data.
    string requestBodyPre = await new StreamReader(req.Body).ReadToEndAsync();
    dynamic data = JsonConvert.DeserializeObject(requestBodyPre);
    inputText = inputText ?? data?.inputText;

    //Variable Declaration.
    string responseOutput = "";
    string route = $"/detect?api-version=3.0";
    string textToTranslate = inputText;
    string subscriptionKey = "YOUR_KEY";
    string subscriptionRegion = "YOUR_LOCATION";
    string endpoint = "YOUR_ENDPOINT";

    //Defining Request Body.
    object[] body = new object[] { new { Text = textToTranslate } };
    var requestBody = JsonConvert.SerializeObject(body);

    //Requesting CRM Crate Azure Cognitive Services For Language Detection
    using (var client = new HttpClient())
    using (var request = new HttpRequestMessage())
    {
        //Build the request.
        request.Method = HttpMethod.Post;
        request.RequestUri = new Uri(endpoint + route);
        request.Content = new StringContent(requestBody, Encoding.UTF8, "application/json");
        request.Headers.Add("Ocp-Apim-Subscription-Key", subscriptionKey);
        request.Headers.Add("Ocp-Apim-Subscription-Region", subscriptionRegion);
        HttpResponseMessage response = await client.SendAsync(request).ConfigureAwait(false);
        string responseBody = await response.Content.ReadAsStringAsync();
        dynamic result = JsonConvert.DeserializeObject(responseBody);
        var text = result[0].language;
        responseOutput = text;
    }

    //Returning Service API Response.
    return new OkObjectResult(responseOutput);
}- Deploy your Azure Service function once the configuration is completed.
Step 3 – Utilize the newly created Azure Function in Dynamics 365
We will feed the inputs from the Dynamics 365 entity record to our Azure Function which will eventually communicate with the Cognitive Service.
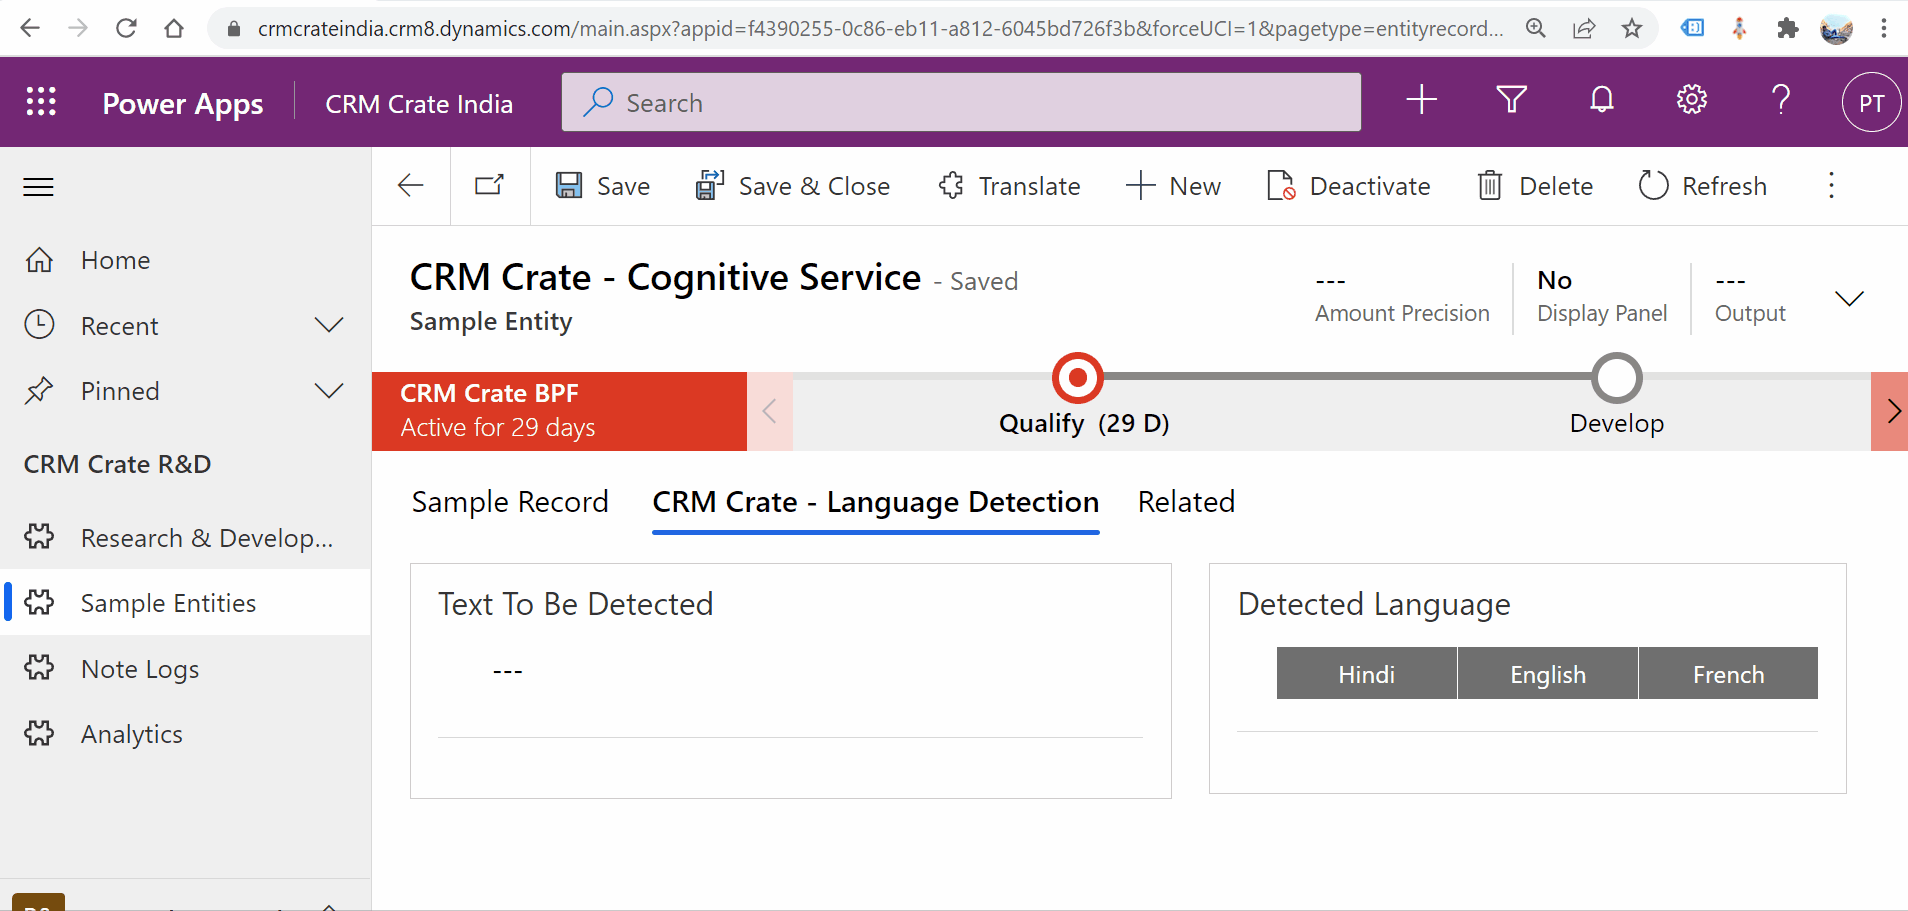
- We have created the fields in Dynamics 365 for driving the language detection. This fields include the input language and the output detected language fields as shown below.
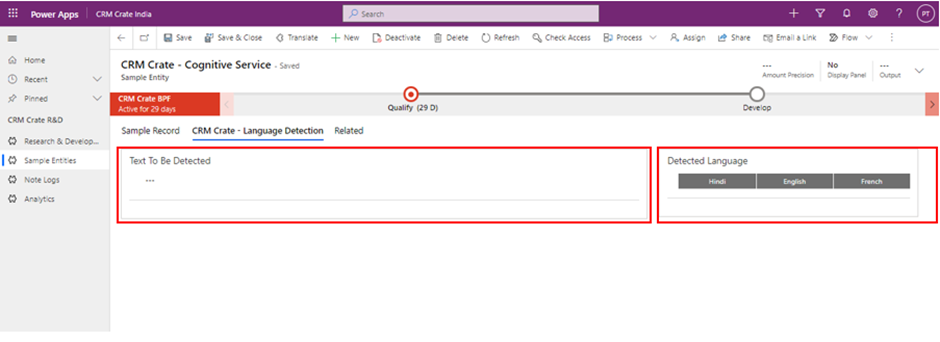
- One filling the language text (Which needs to be detected) information, we have called our Azure Function during the “OnChange” event of form’s field. Further, we have displayed the output provided by our Custom API in another Dynamics 365 attribute.
Validating our implementation in Dynamics 365
Once the above steps are completed, navigate to the Dynamics 365 CRM and validate the language detection implementation as shown below.
Thus, we learned to create our own language detection API using the Azure Cognitive Services and used it in Dynamics 365.


