
Business Process Flow is also called as BPF or chevron. We will learn how to create a business process flow in Microsoft Dynamics 365. BPF in Dynamics 365 is a tool which provides the visual presentations of organization’s processes. Click here to understand what is business process flow in detail.
Creating Business Process Flow
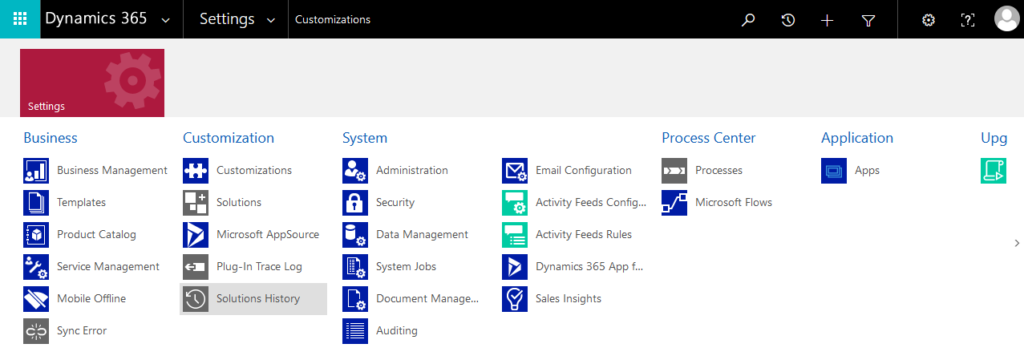
Open your CRM and navigate to Settings >> Process.
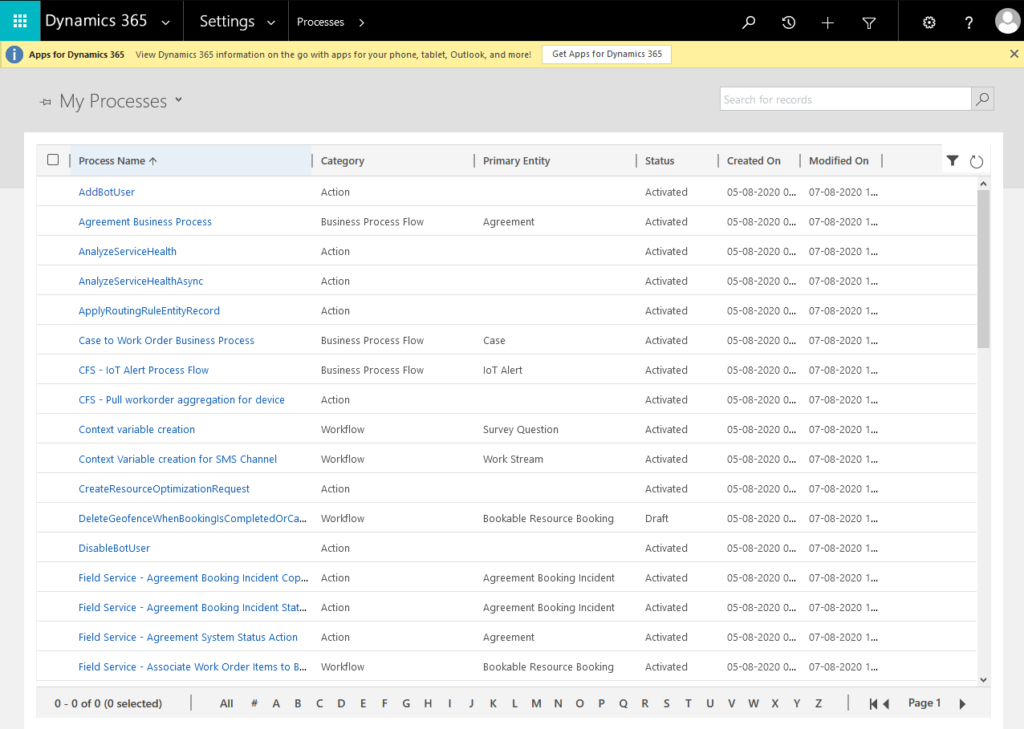
As shown in the above image, we already have few default Business Process Flow in our Dynamics 365. Now lets create a new BPF from scratch.
To create BPF, click on New in the Process. Add the necessary details, in the field Entity select the entity for which you have to build the BPF. In field category select Business Process Flow.
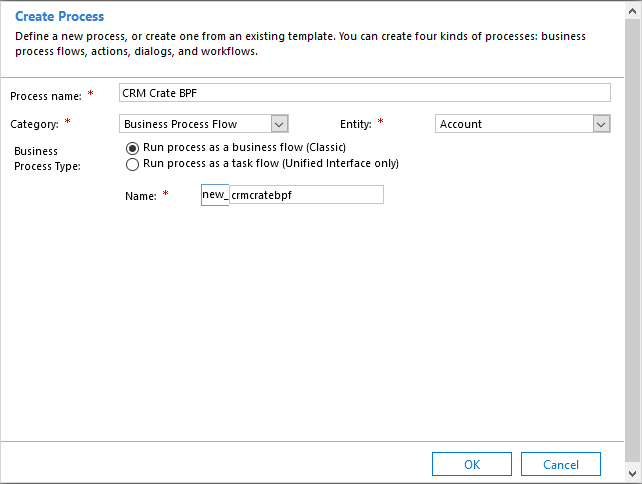
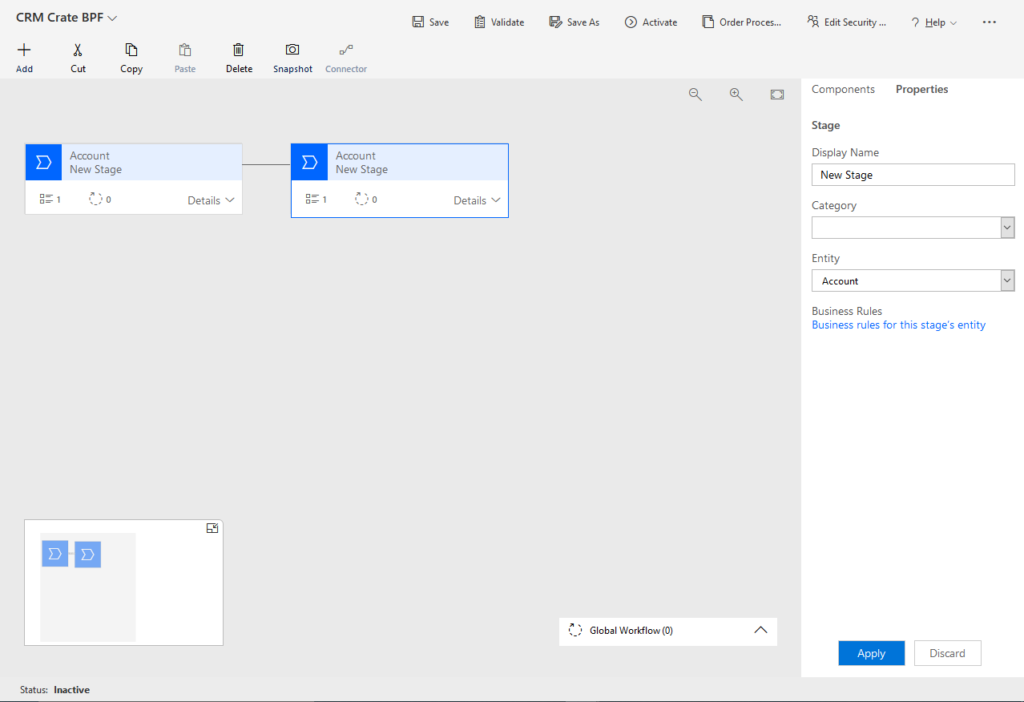
Click on Ok button. Now the BPF editor window should get open as shown below. A new process is been auto created, and the business process flow designer opens with a pre populated single stage created for you. The designer screen has different tools and options to setup Process Flow in Dynamics 365.
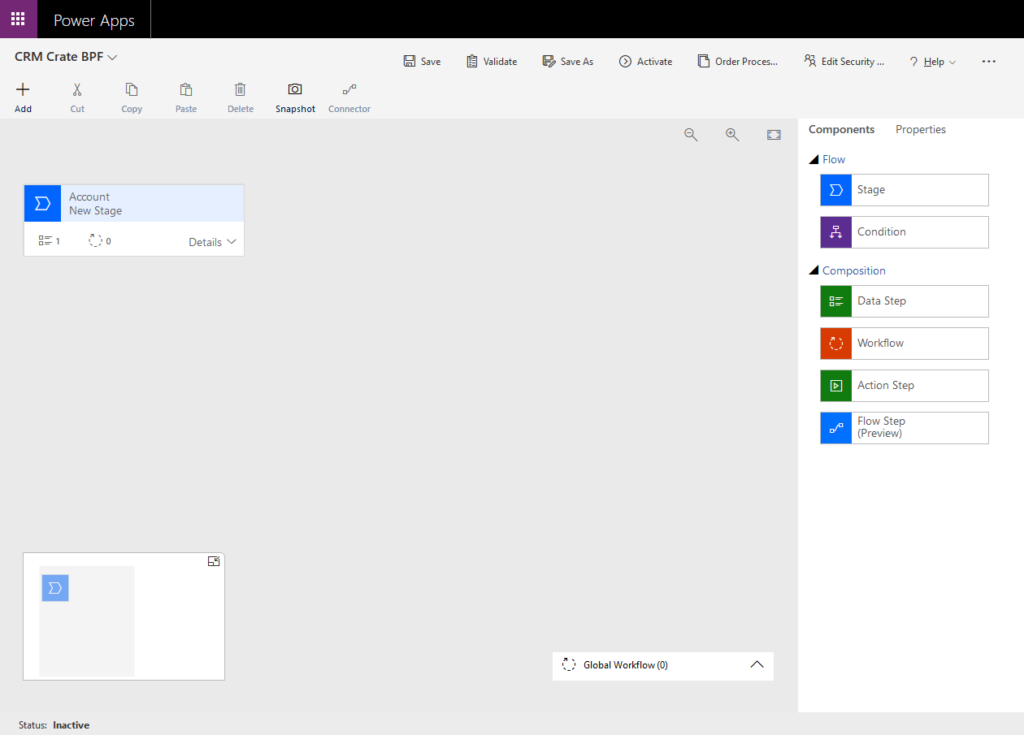
Now we will add our new Stage in our BPF. Click on + Add in the top ribbon bar. We can add Stage, Condition, Data Step, Workflow and Action by using this button.
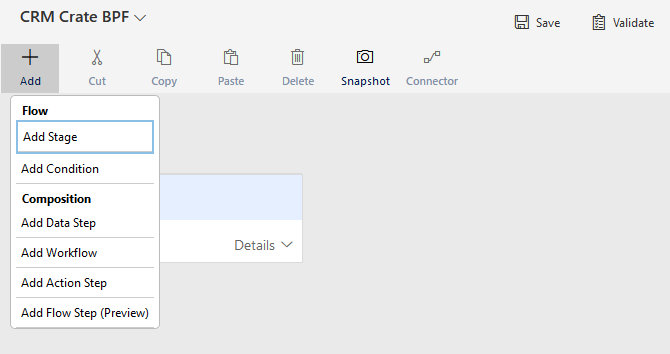
To add the stage select the Stage. Now you can see a extra stage is created beside our pre-populated stage.
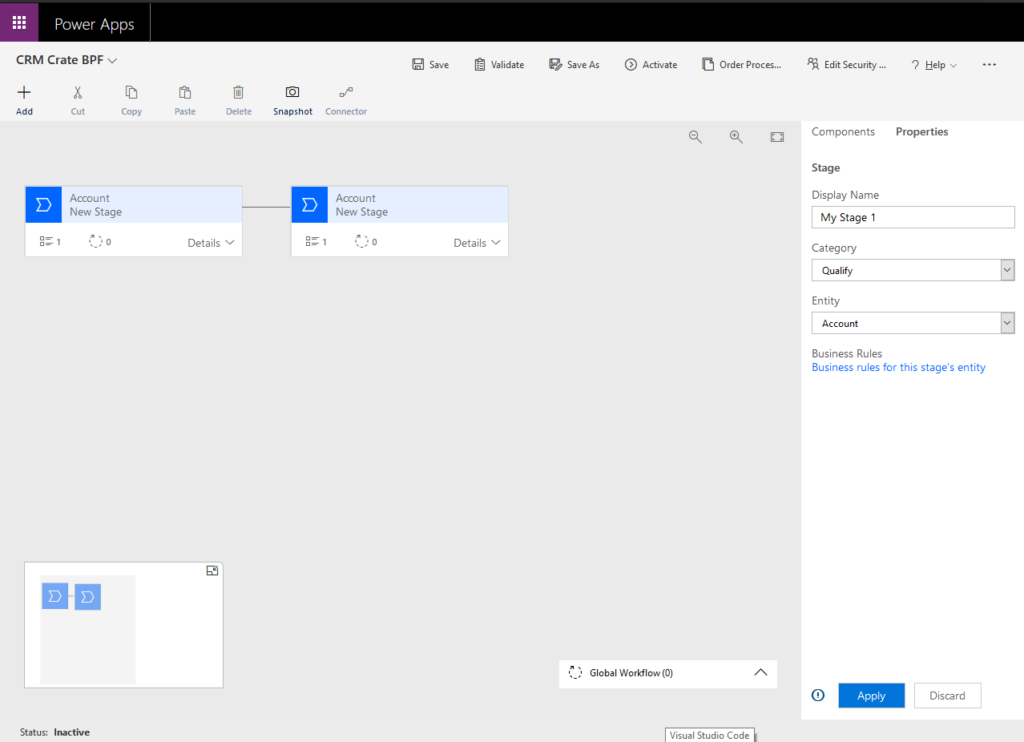
You can name the stage according your preference. Select the category which denotes your purpose of stage. Select entity which denotes your entity of choice.
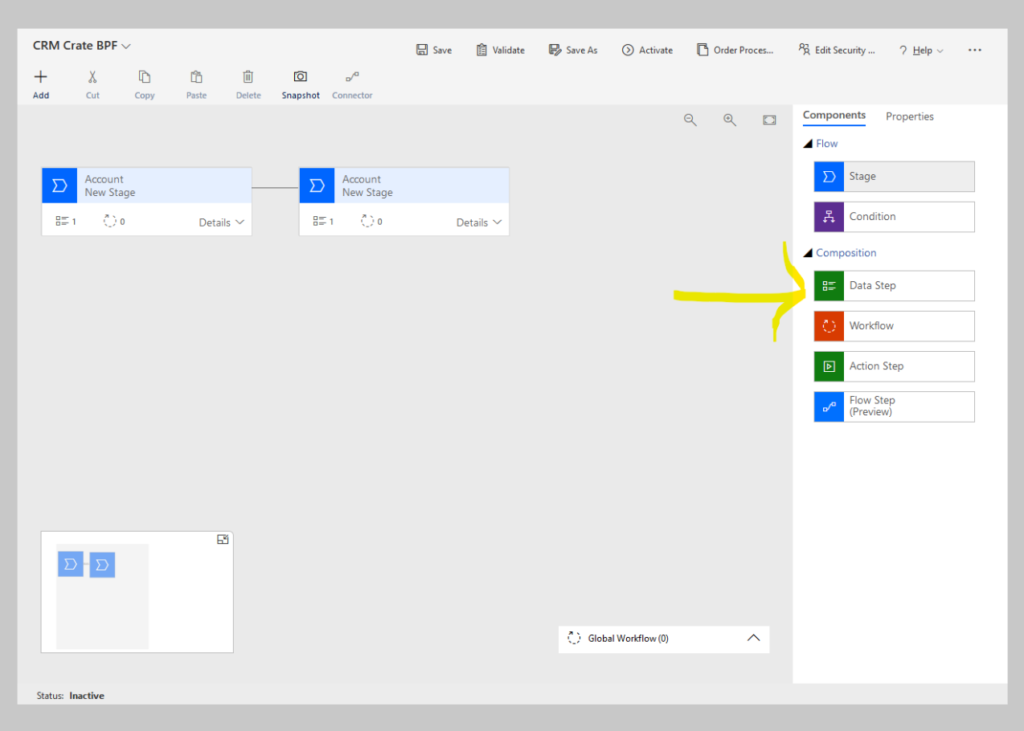
Now we can added our stage, lets now add data types to it which are the steps. To add the step into the stage navigate to the Component panel, select the Step and drag the Step into your Stage.
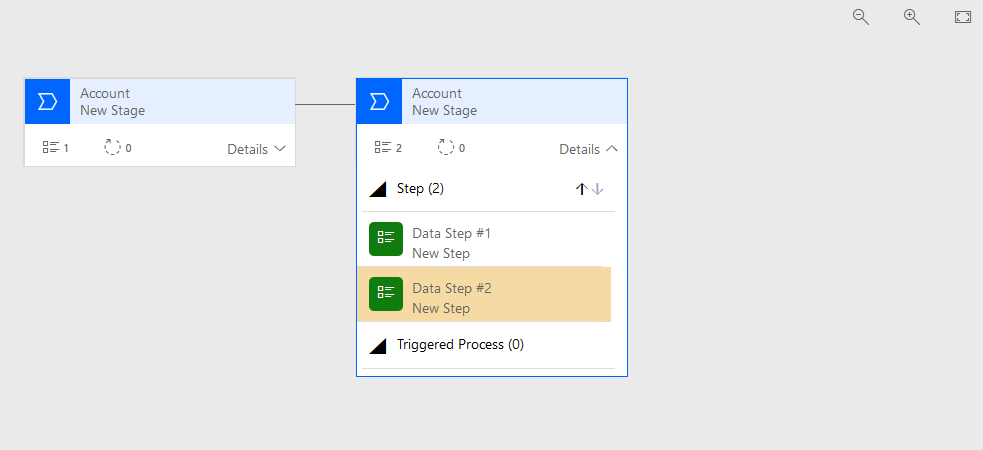
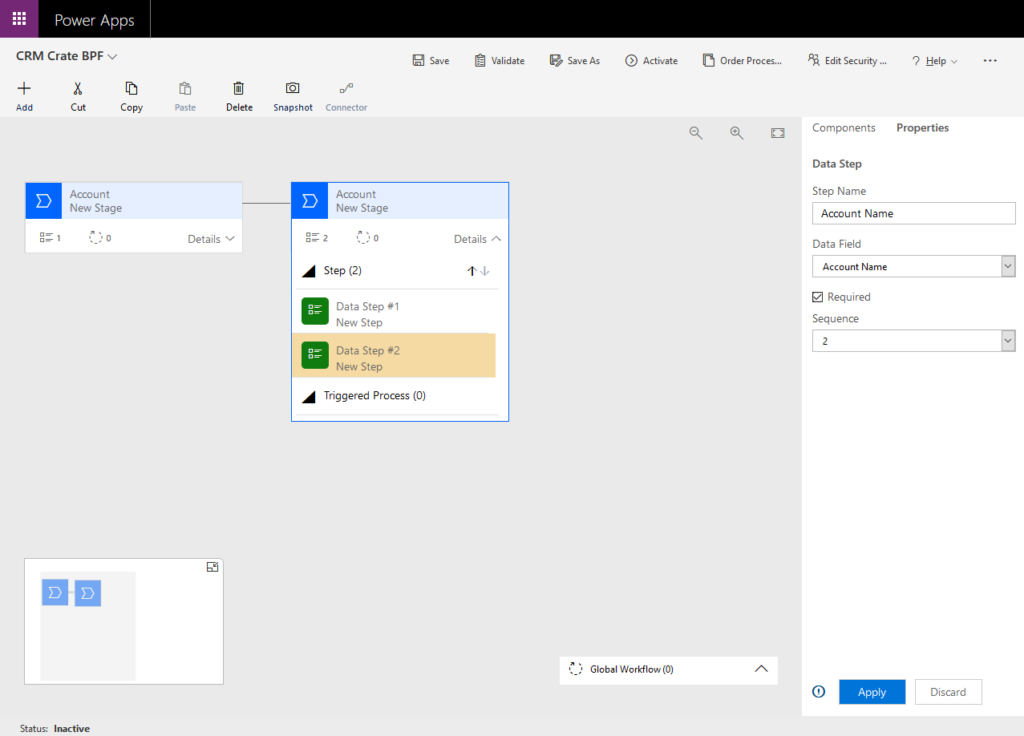
We have added Data Step #1 and Data Step #2 in our Stage 1. Each Step contains data set which means the attribute or the field. So lets now associate a field from our entity into the added step. Click on Data Step, navigate to the left component panel, there you can find the option to select the field. We can also configure the mandatory behavior of field and select the sequence which will determine the sorting of the multiple Steps within the Stage. After adding the field click on Apply to save the changes.
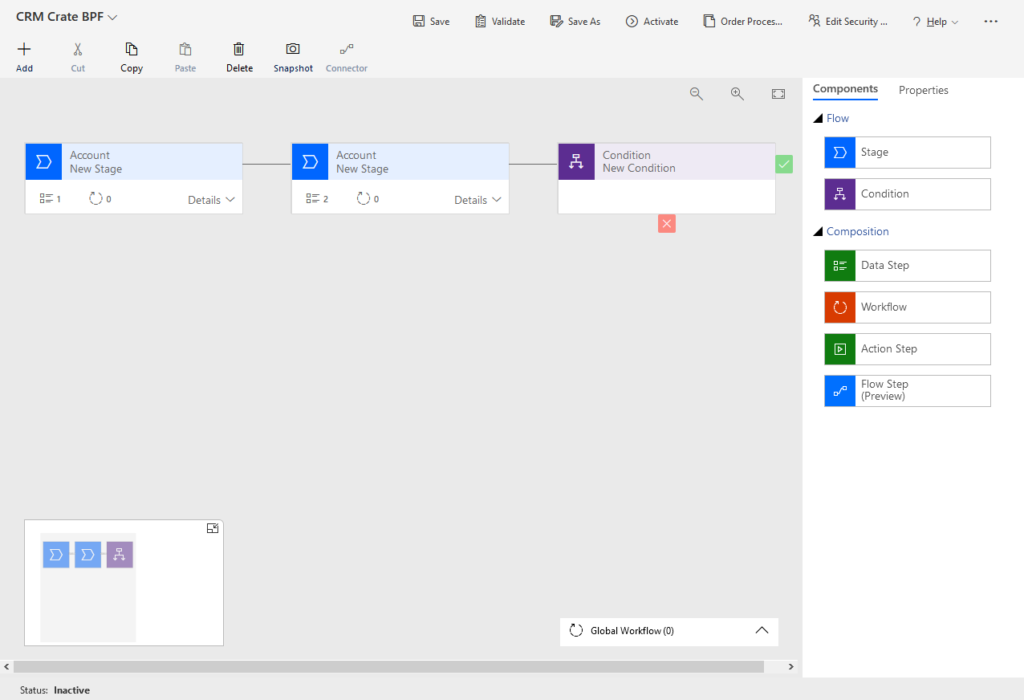
You can also add a branch (condition) to the process. To add a branching condition, Drag the Condition component from the Components tab to a + sign between two stages as shown below.
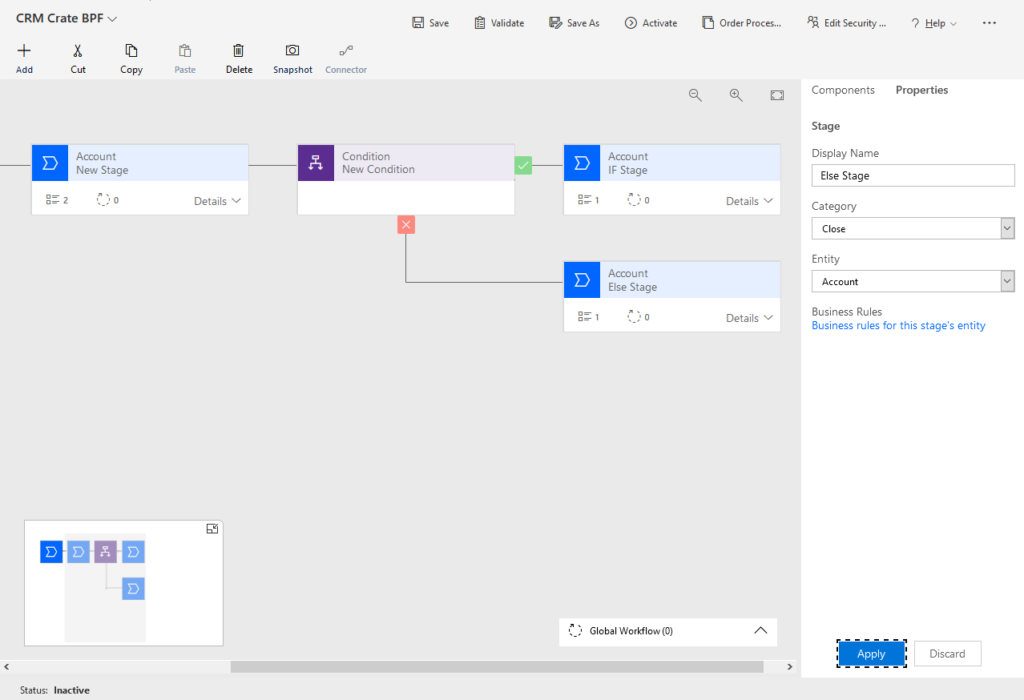
The Condition block is basically an If-Else statement. We can add different stages in the If condition and different stages in Else condition depending upon the need. In our example, our condition the If case is if the field “Account Name” equals “CRM Crate”. After the completion of Condition configuration click on Apply.

As told above we also have added different stages which will be hidden/shown based on the condition.
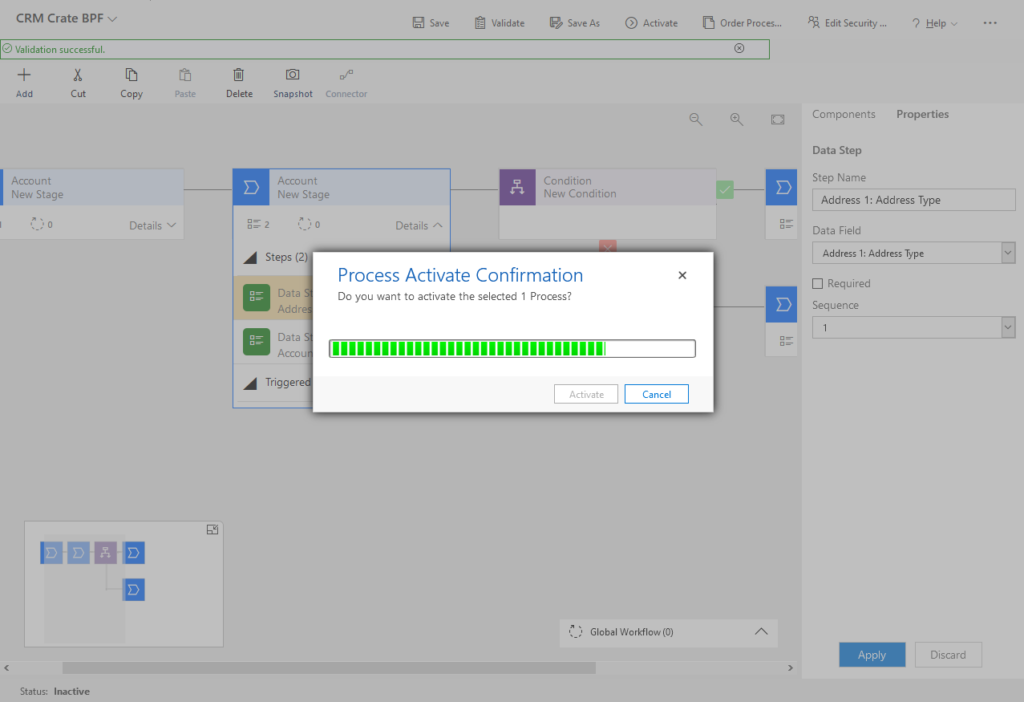
Now our basic Business Process Flow is completed. Now lets publish this BPF and validate in CRM record. For publishing click on “Save” and “Activate”.
If you have any invalid configuration within the BPF then system will display the error while activating the BPF as shown below.
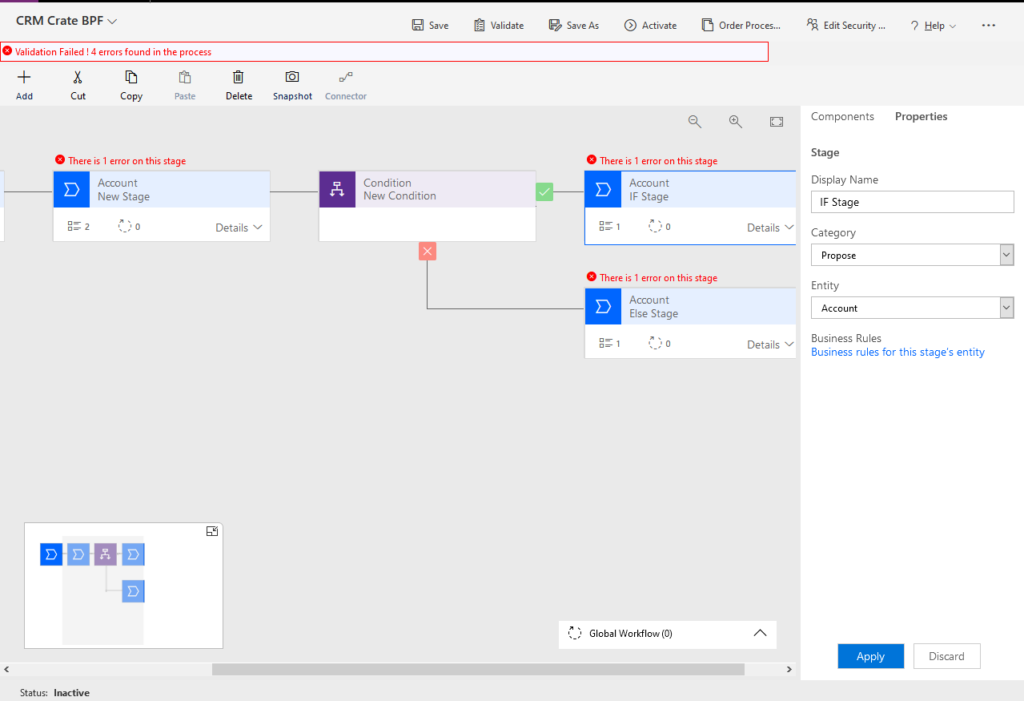
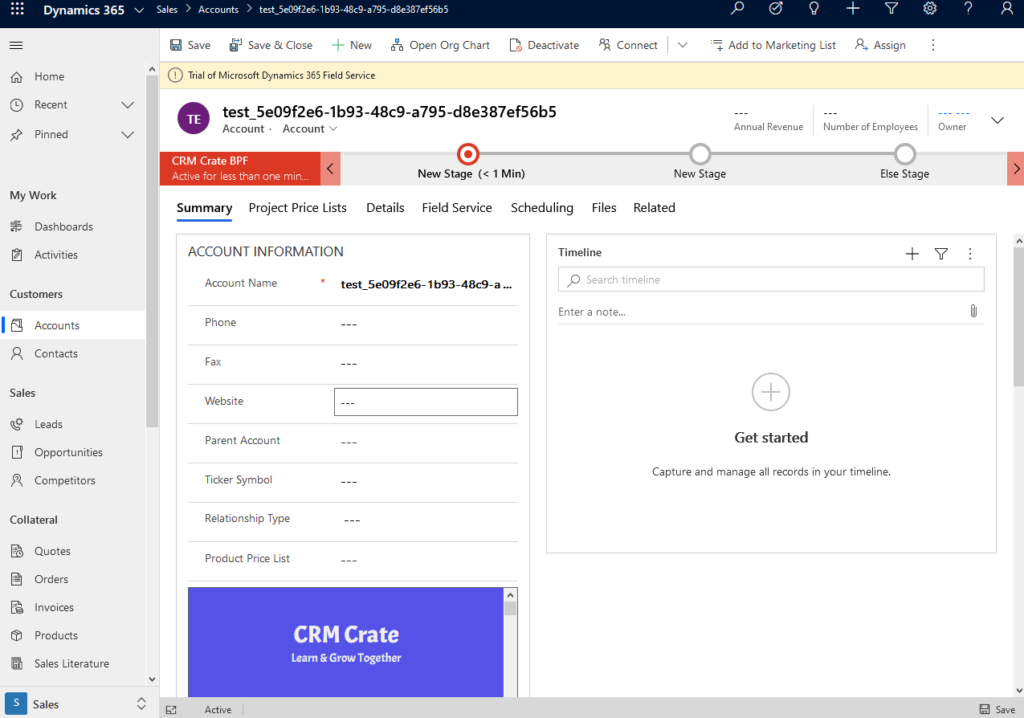
Solve the system notified error if any and again click on Activate. Once the BPF is activate navigate to the CRM entity which you have select above and open any of its record.
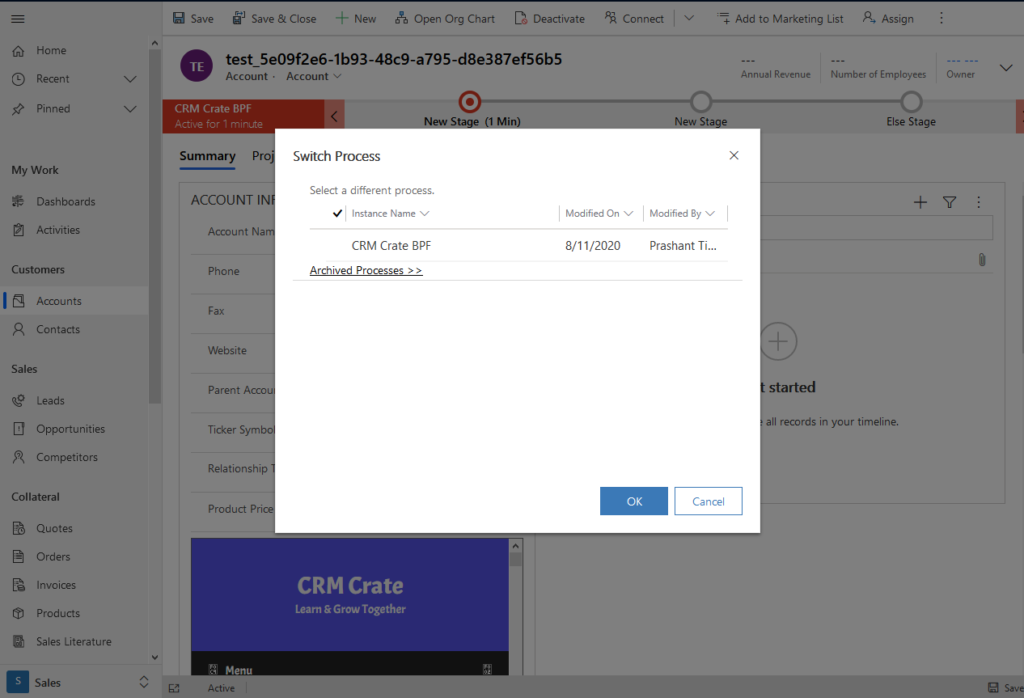
Note: – If you want to check the above BPF for any existing records then you need to click on ribbon “Switch Process” to switch the Process and select the BPF as shown below.
So by this we can learned how to create a business process flow in complete details.


