In this course, we will learn about solutions, patching the solutions and cloning the solutions in Dynamics 365 CRM. Before we start, make sure to subscribe to CRM Crate so that you receive all latest courses and updates in the field of Microsoft Dynamics CRM.
What is a solution in Dynamics CRM?
The solutions provide a method or a framework for packaging, installing, and uninstalling the CRM components to match your organization’s functionalities. Solutions allow the customizers and developers to author, package, and maintain units of software within the CRM. All the customizations, extensions, or configurations performed in CRM are packaged, managed, and distributed using solutions. The solutions are been exported as a zip file from the source (Child) organization, which can then be imported in the target (Parent) organization.
Different types of solution in Dynamics CRM
There are two types of solutions in Dynamics CRM, these are called as Managed Solutions & Unmanaged Solutions.
A. Managed Solution
A managed solution is a solution that is completed and intended/planned to be distributed and installed in the further client instances. Managed solutions can be installed on the top of the system solution or other managed solutions.
Below are few features of Managed Solutions.
- By default, a managed solution can’t be customized in the target organization. However, using the concept of managed properties you can define whether a solution component will be customizable and if yes, then which specific parts of the component will be customizable once the solution gets exported as a managed solution.
- If you export a managed solution from one organization and import it to another, you can’t edit the solution in the new organization.
- Uninstalling a managed solution uninstalls all the customizations associated with the solution.
- A managed solution does not directly reference the system solution.
B. Unmanaged Solution
An unmanaged solution is a solution that is still under development and not intended to be distributed. An unmanaged solution contains all the unmanaged customizations of CRM components including any added, modified, removed, or deleted components. By default, any new solution is an unmanaged solution. However, you can export an unmanaged solution as a managed or unmanaged solution.
Below are few features of Unmanaged Solutions.
- An unmanaged solution directly references the system solution. Hence, the changes made to one unmanaged solution will be applied to all the unmanaged solutions that references the same components, including the system solution.
- Uninstalling an unmanaged solution does not remove the associated customizations. It just deletes the solution from the system, but the changes you made will still be there.
- If you delete a solution component from an unmanaged solution, the component gets deleted permanently from the system and will no longer be available. In case you just want to remove the component from specific unmanaged solution, use remove instead of delete.
- If you export an unmanaged solution from one organization and import it to another, you can edit the solution in the new organization.
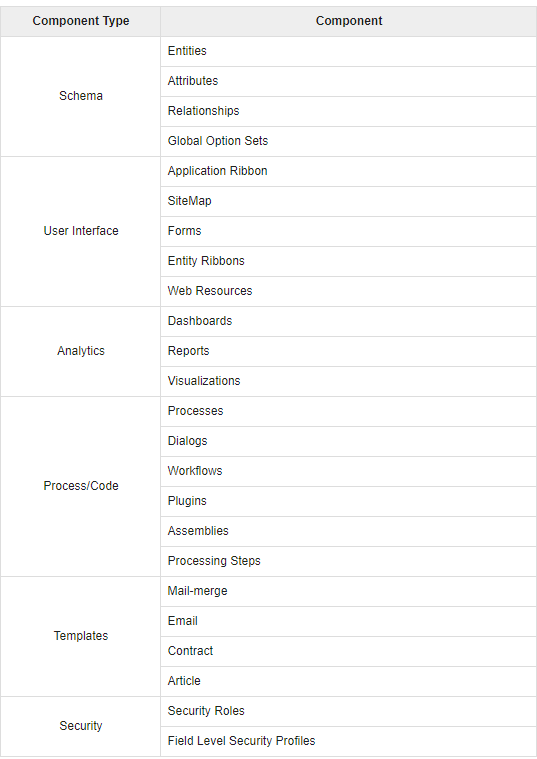
What all components you can add in the Solutions?
Below is the table representing the different types of components which can be added in the solutions.
Creating Managed / Unmanaged solution
- Open the Dynamics CRM >> Advance Settings >> Customizations.
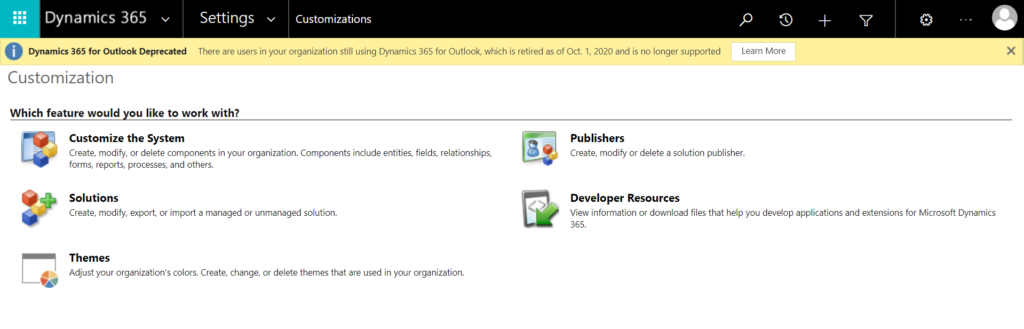
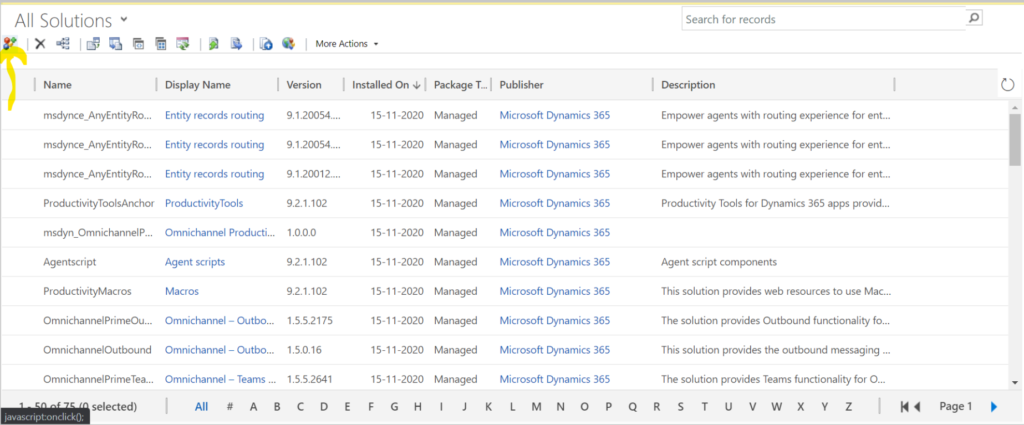
- Click and open Solutions. Here we can view all the existing solution (Also by default solutions) present in your Dynamics CRM.
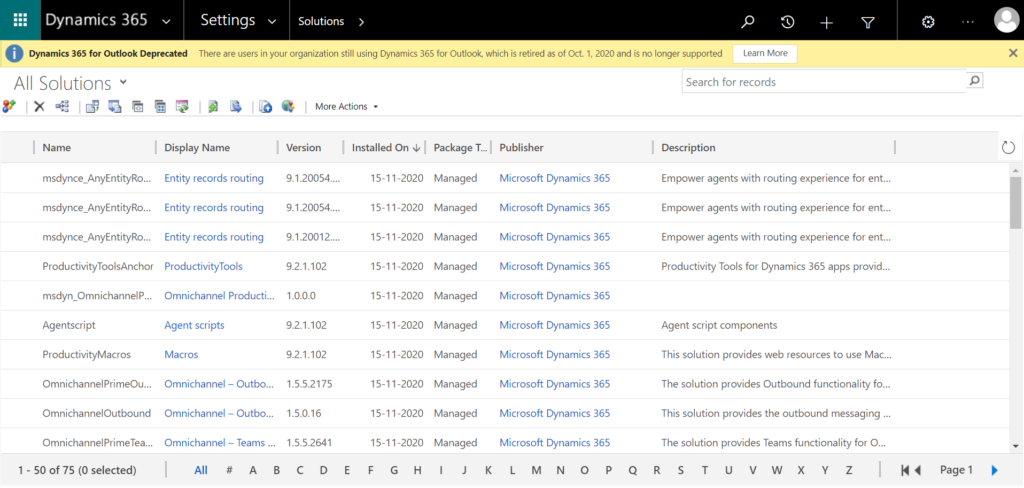
- For creating a new solution, click on New as shown below.
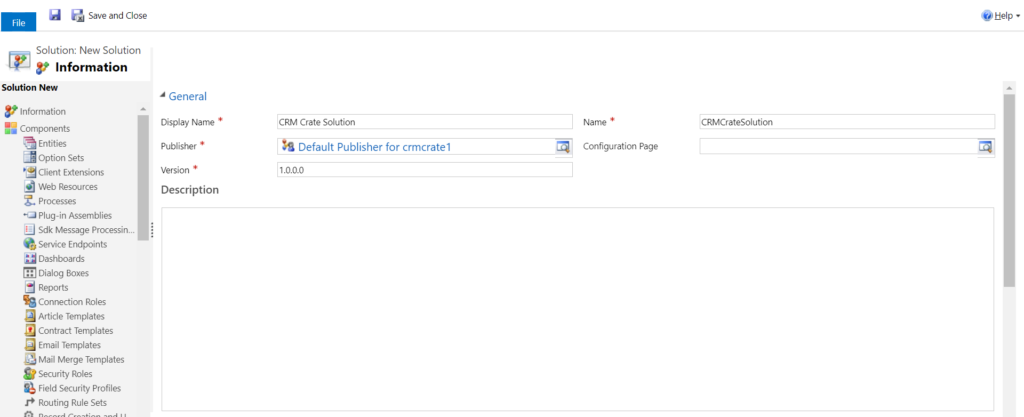
- Now, the solution template will get opened. Here, enter the data as per the below described significance.
- Display Name : Name of your solution.
- Publisher : You can either use the existing default publisher for your organization or create a new publisher in the Publisher lookup field.
- Version : This describes the version number of your solution.
- Once complete, click on the save.
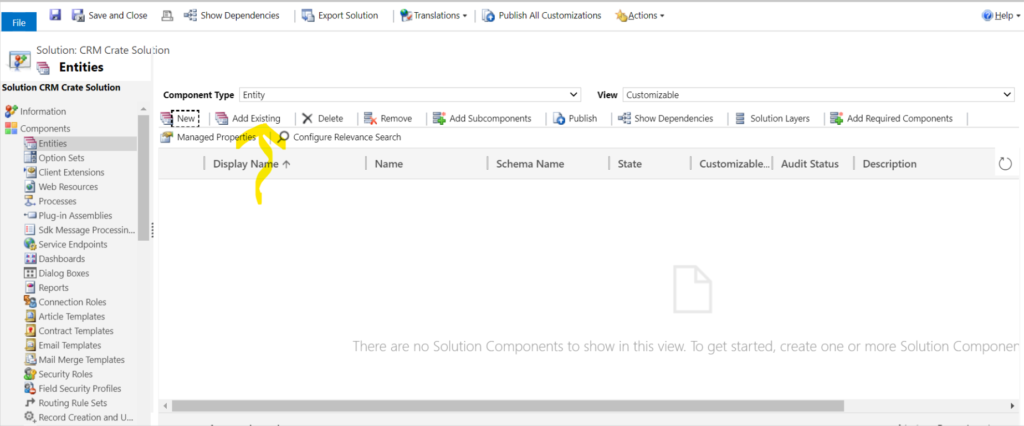
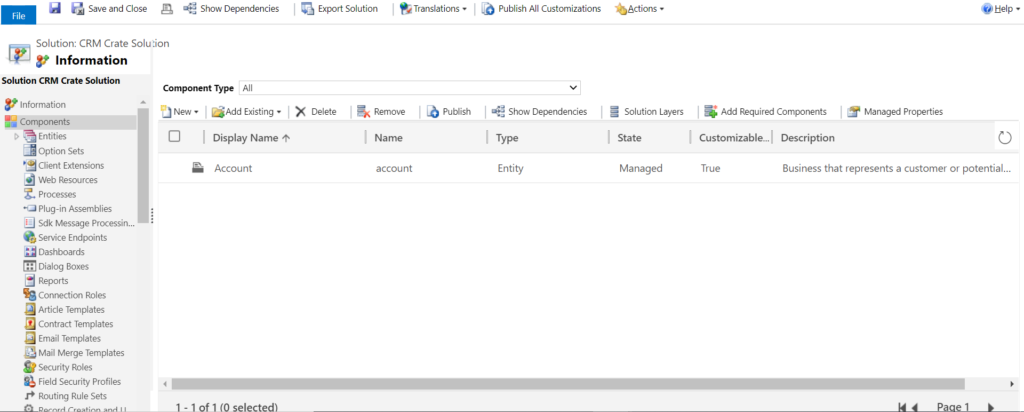
- In the left hand panel, we can see the component template which describes the different types of component which can be added in the solution. For now, we will add “Account” entity in our solution. Click on button “Entity” >> Add Existing.
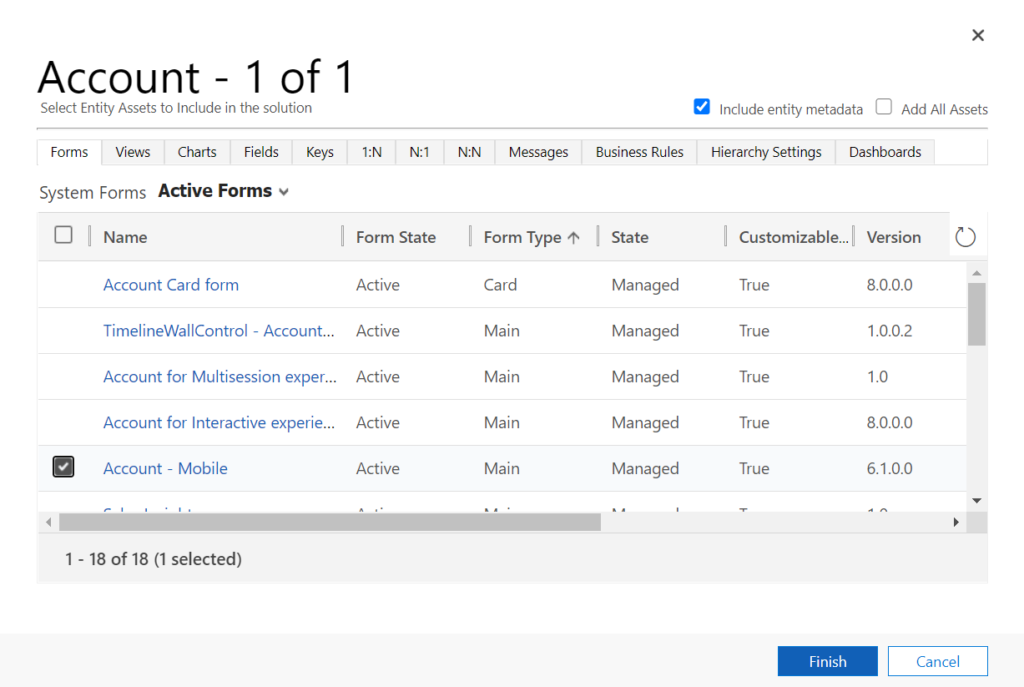
- Now, search and select the Account entity. In the entity template we will find two options, which are called as “Include Metadata” and “Add All Assets”.
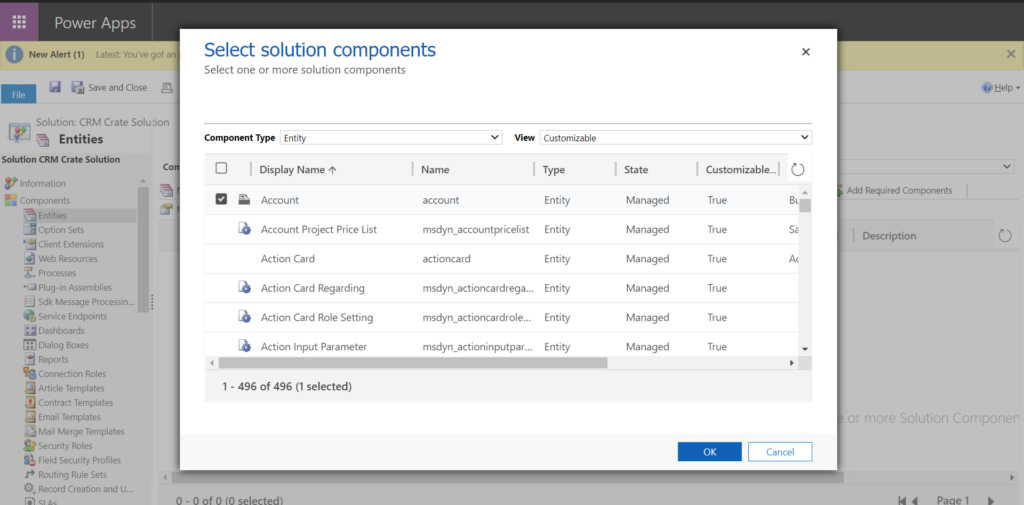
- Select these options as per the requirement.
- Include Metadata : This will include the entity metadata such as ribbon button customization.
- Add All Assets : This will add the all the entity assets in the solution.
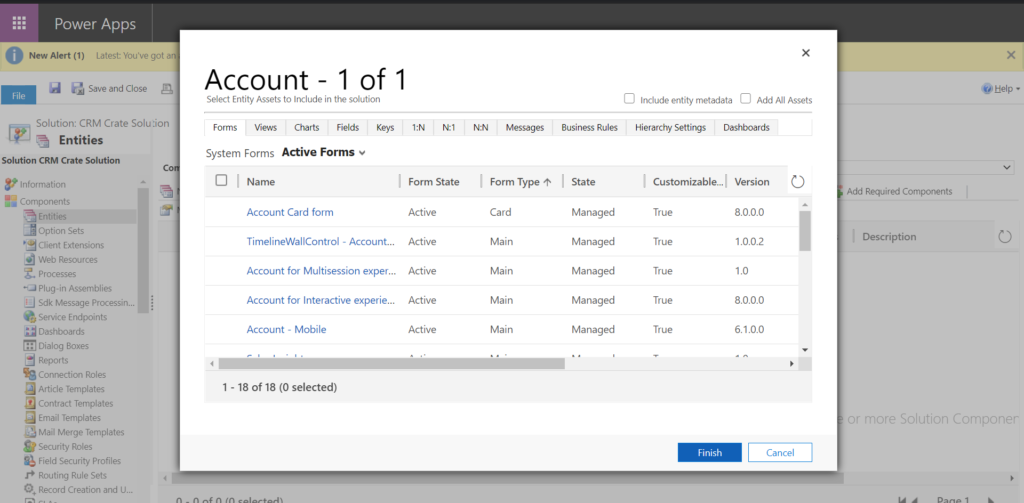
- For now, we will uncheck the “Add All Assets” checkbox and add the entity assets manually. We will add the form “Account – Mobile” in the solution, for this navigate to the Forms tab and select the form “Account – Mobile”. Click on Finish.
- Now we can see that our component which is the Account entity’s form “Account Mobile” is added in our solution.

Exporting the solution as Managed or Unmanaged
In the above steps we have created our solution, now its time for exporting our solution so that later we can import it in the target environment.
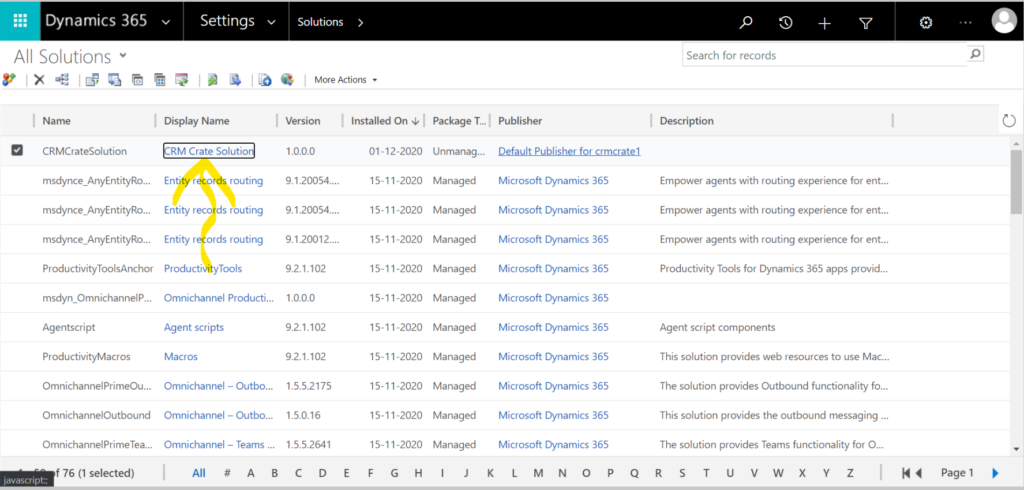
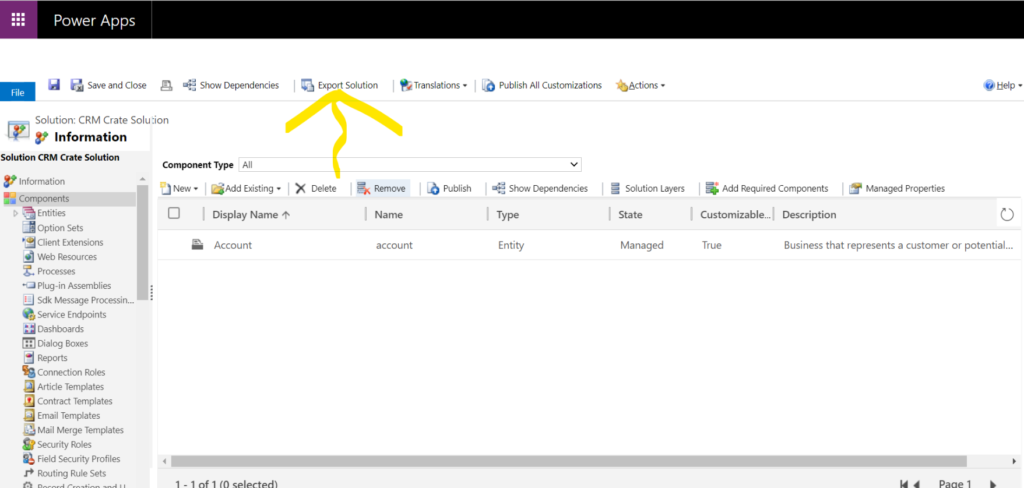
- Open your Dynamics CRM >> Navigate to Settings >> Solutions >> Find your above created Solution and open it.
- Now, click on Export solution. This will open the export wizard.
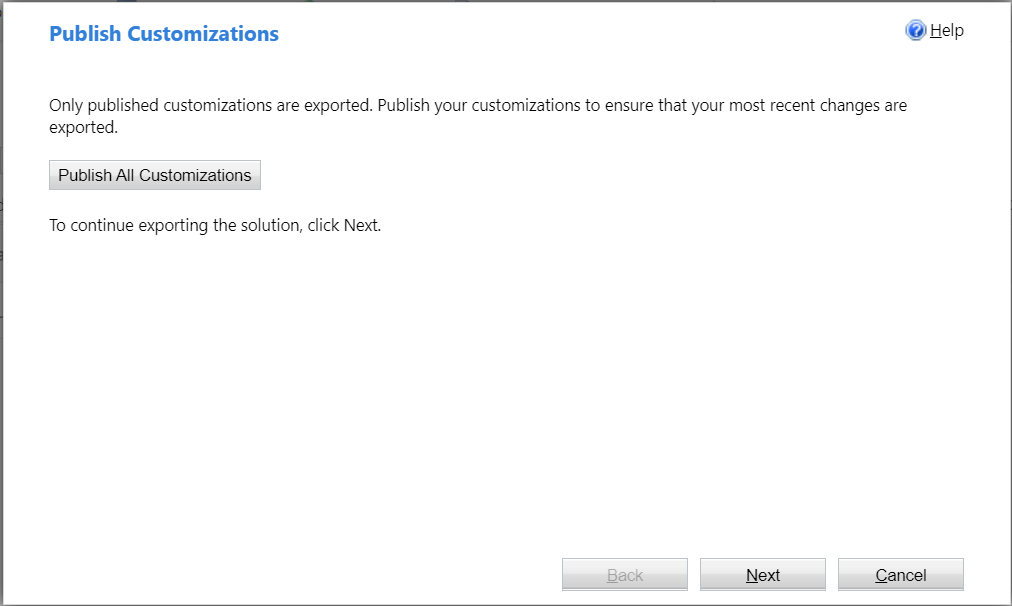
- Click on Publish All Customization and proceed to the next window.
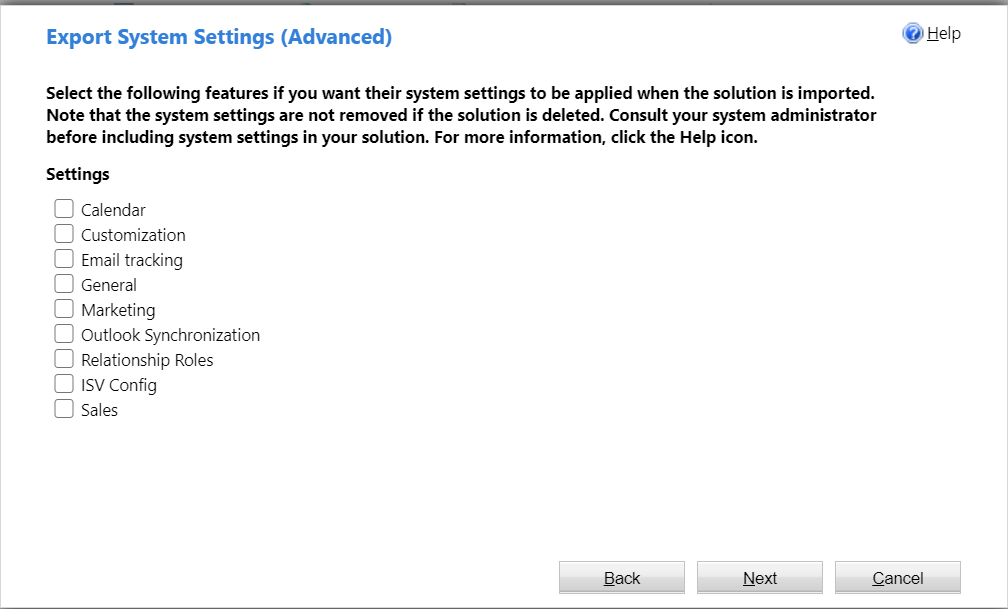
- Microsoft provides us a choice of exporting system settings such as Calendar, Customization, ISV Codes, Modules etc. Select the feature of your choice and proceed ahead.
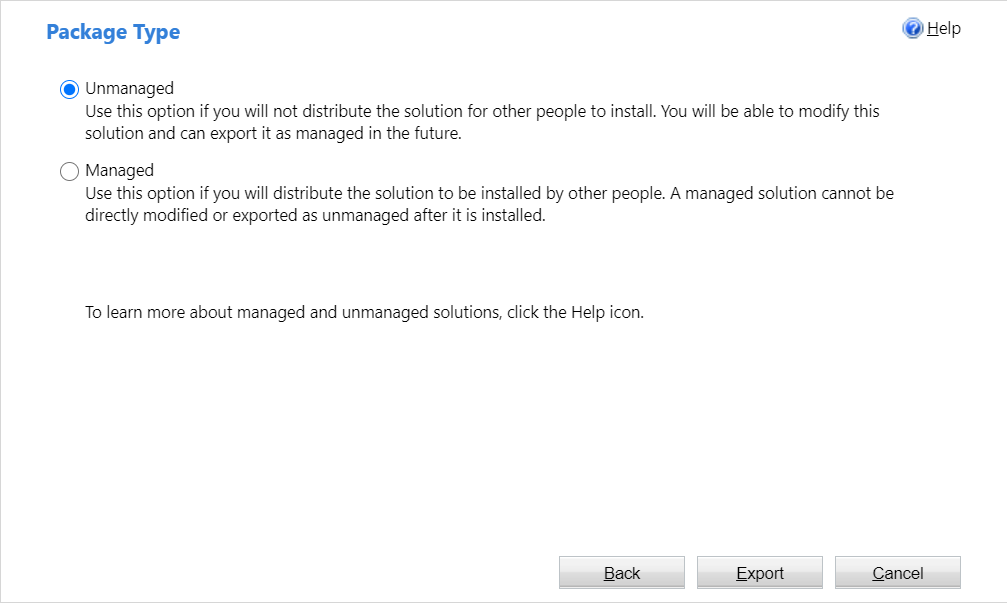
- Now comes the final stage where we have to import the solution as Managed or Un-Managed. Choose the option of your need and click on Export. For our demo purpose, we will import the solution as Un-Managed.
- After exporting, the solution will be downloaded in the form of ZIP file.

Thus, we learned the exported of Solution in the Dynamics CRM.
Importing the Managed or Unmanaged solution in target instance
- Open the target environment CRM (One in which we have to import our previously exported solution) >> Settings >> Solutions.
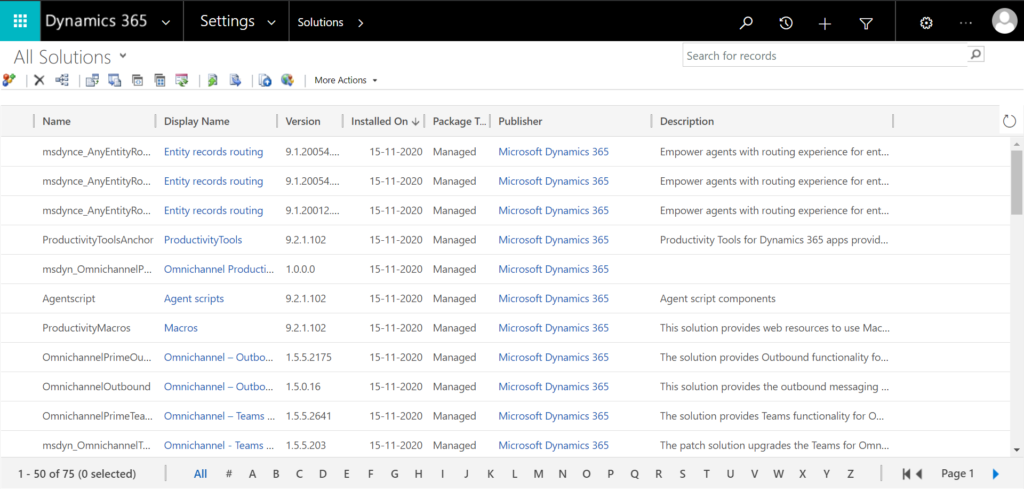
- Now, click on the ribbon button called “Import” as shown below.

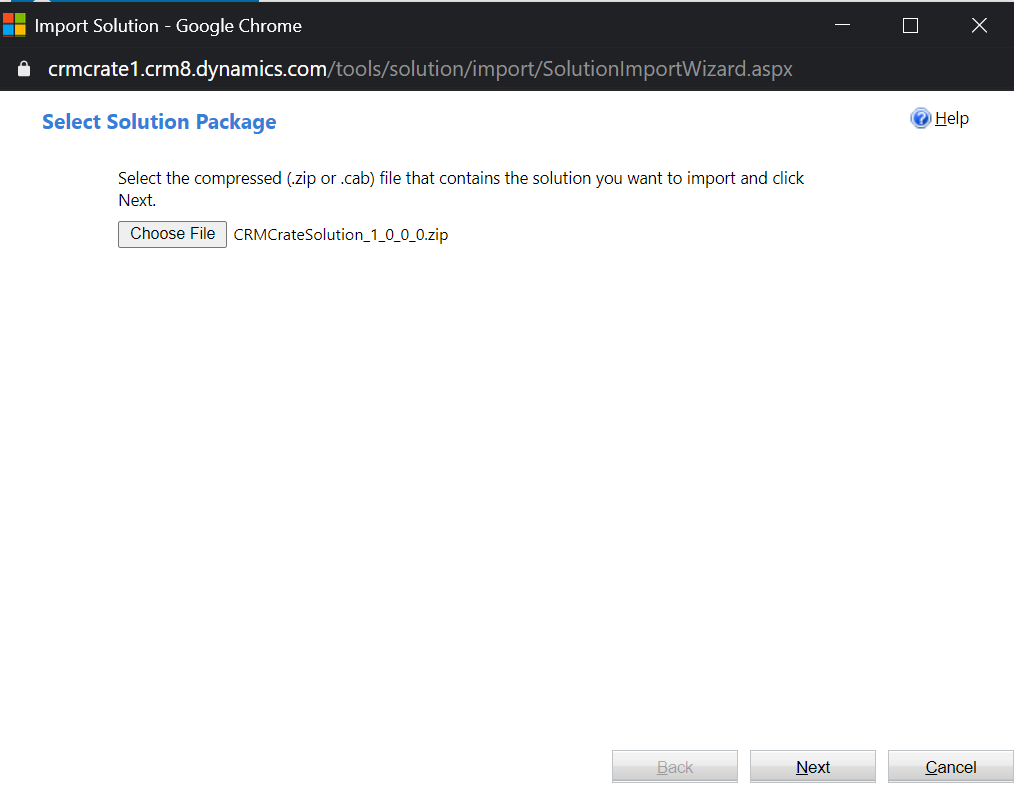
- Upload the previously exported solution (Zip File) and click on Next.
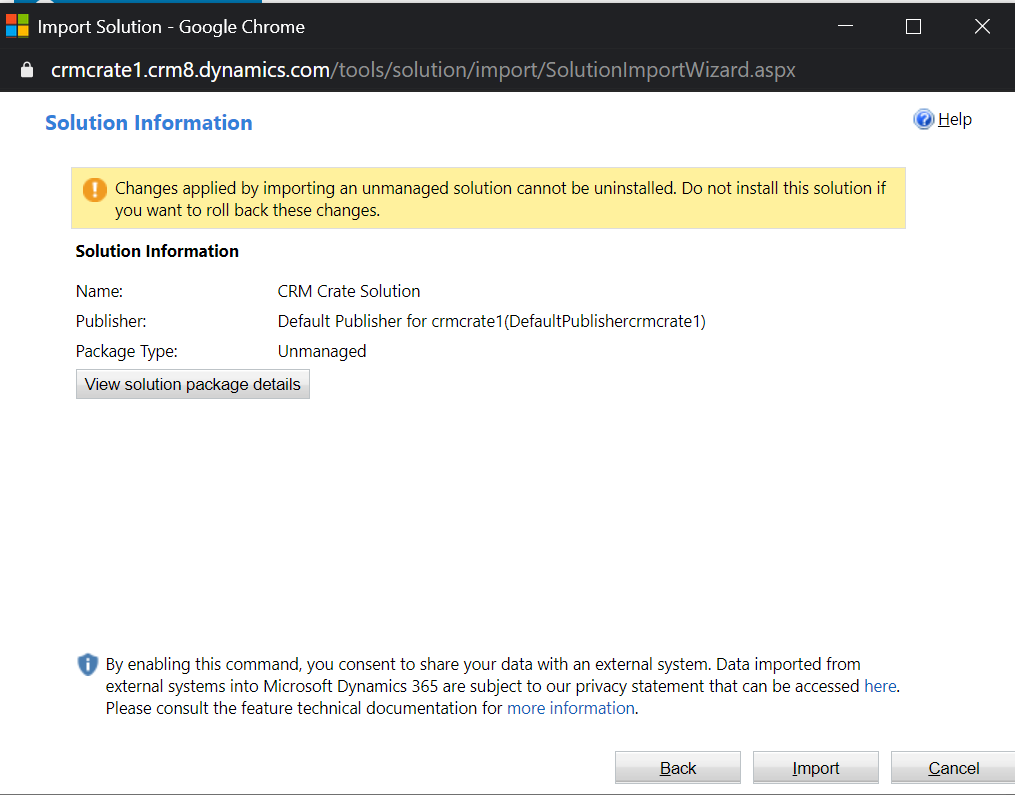
- We can view the package details or list of components present in the solution. Verify the package and click on Import.
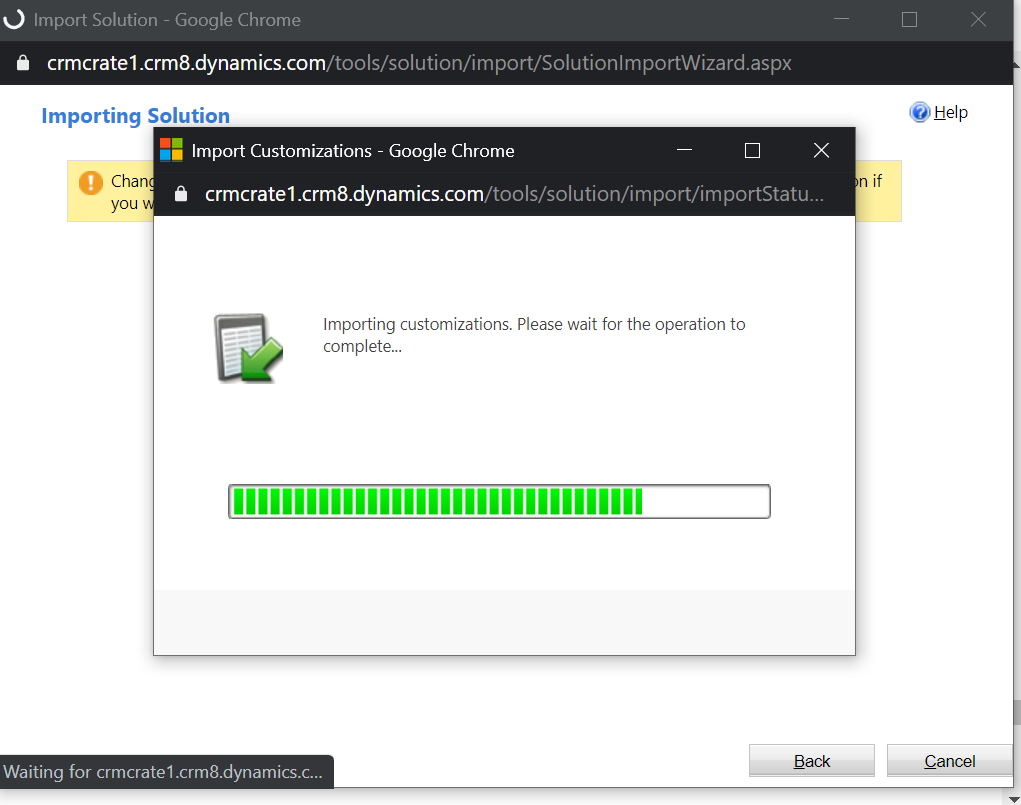
- The solution import will now get started in our target CRM instance. Once the solution is imported, click on Publish All Customization in order to reflect the changes in the target CRM instance.
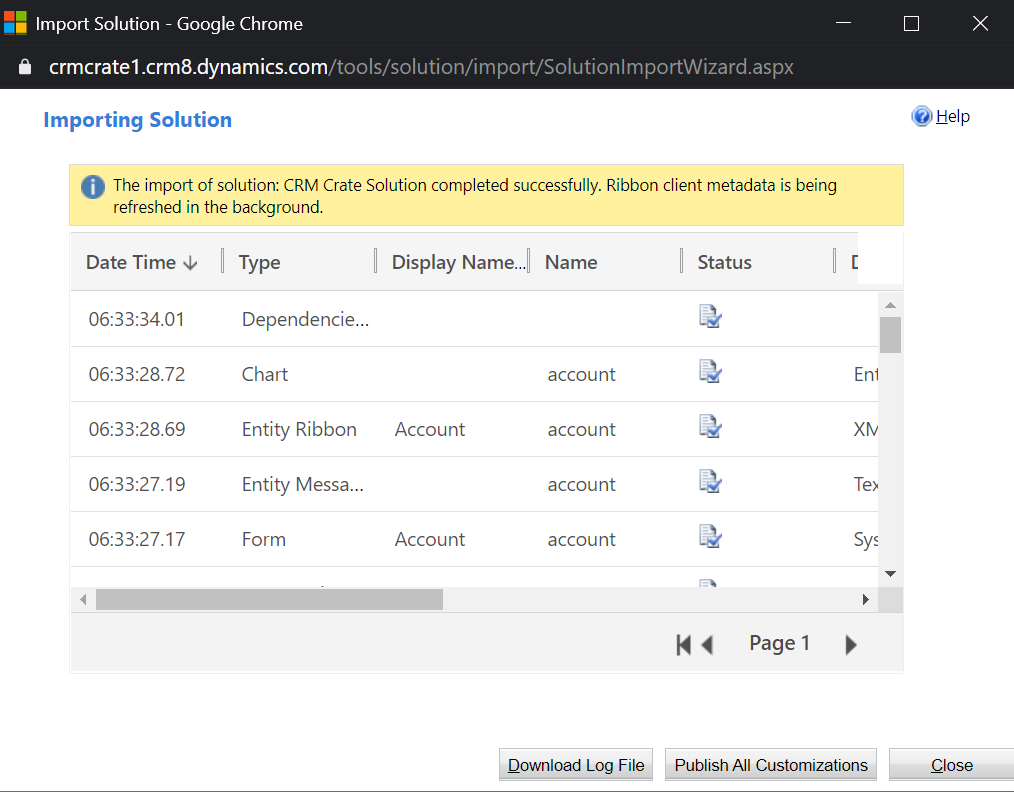
Thus, we learned the importing of Solution into the Dynamics CRM.
Patching the solution for import / export.
In practical business scenarios, we have to send multiple updates from development environments to the higher business environments. We can use the “Patch” feature of Dynamics CRM to suffice this requirement. With help of patching, we can create different version of the parent solutions so that they can be deployed separately in the target environment.
- Open your Dynamics CRM > >Settings >> Solutions.
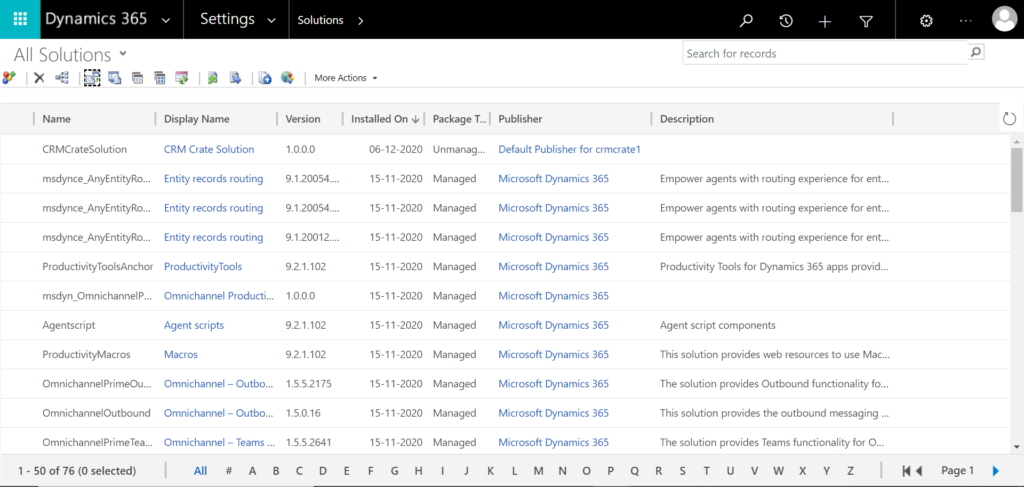
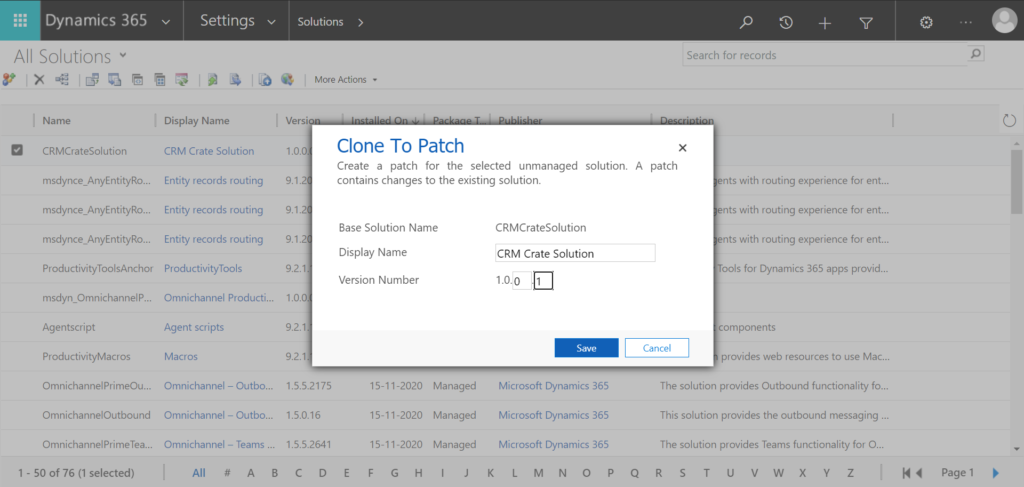
- For the demo purpose, we will create a patch of our parent solution “CRMCrateSolution”. Select the solution “CRMCrateSolution” and click on the patch button present in the ribbon bar.

- Now, we will have to provide a patch number so that our patches can be physically identified and sorted out. Enter your desired patch number in the field “Version Number” as shown number. Once done, click on Save.
- After patching the parent solution, we can see that our new patch is auto-populated in the solution repository as shown below.

We can import / export this patched solution in the same way as we did above for the normal solution.
Cloning the solution for import / export.
The term cloning refers to the merging of solution in Dynamics CRM.
- As shown above, we have created a patch CRMCrateSolution with version 1.0.0.1 of parent solution CRMCrateSolution with version 1.0.0.0. The main disadvantages of patching is that we cannot directly edit the components placed in patched child solution. Therefore, once the patching requirement of parent solution is complete, we can combine all the patches with the parent solution.
- Select the parent solution, and click on button called “Clone Solution” as shown below.

- We again have to provide a version number of the new combined cloned solution as shown below.
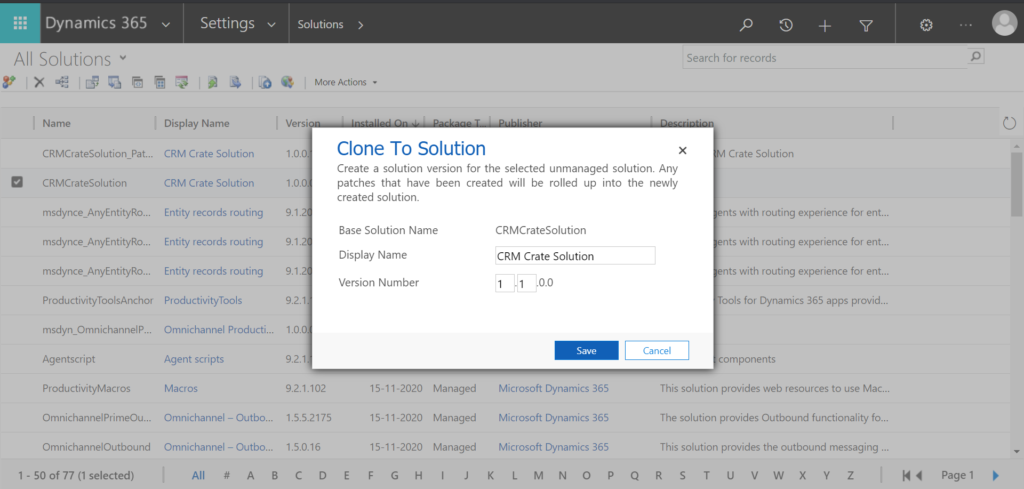
- Now, as a result of cloning, the parent solution and its child patch solution are combined in form of a new solution with upgraded version number as shown below.

We can import / export this cloned solution in the same way as we did above for the normal solution.


