
We will learn to upload a file in Dynamics 365 using pickFile client API with JavaScript. Before we start, make sure to subscribe to CRM Crate so that you stay up-to-date in field of Dynamics 365.
Why do we need to upload a file D365?
Consider a business scenario where we need to explicitly call a file upload wizard and perform a dedicated set of operations. There are multiple ways to achieve this requirement, but we will go with the easiest way for uploading files in Dynamics 365 as given below.
Using pickFile client API reference to upload the file –
We will use the Microsoft’s pickFile client API to achieve the file upload requirement.
Xrm.Device.pickFile(pickFileOptions).then(successCallback, errorCallback)
Opens a dialog box to select files for the upload.
This method is supported for both web and mobile clients.
JavaScript snippet code for uploading file using pickFile client API –
For demonstration purpose, we will allow the user to upload the file and attach the uploaded file in the record’s related Notes entity using JavaScript.
Note: – The below code is been triggered during the OnChange event of form’s field.
//CRM Crate - JavaScript Snippet
function CallMethod (executionContext) {

//Reading Attribute Value From The Form.
var formContext = executionContext.getFormContext();
var entityID = formContext.data.entity.getId();
entityID = entityID.replace("{","").replace("}","");
var Input = formContext.getAttribute("cc_uploadfile").getValue() != null ? formContext.getAttribute("cc_uploadfile").getValue() : null;

//Validating Form Field Conditions.
if(Input == true)
{

//Invoking pickFile Client API.
Xrm.Device.pickFile(entityID).then(
 function (data) {

 //Reading Retrieved File.
 var filecontent = data[0].fileContent;
 var mimetype = data[0].mimeType;
 var filename = data[0].fileName;

 //Creating Entity Object.
 var entity = {};
entity.subject = "CRM Crate Subject";
entity.documentbody = filecontent;
entity.filename = filename;
entity.mimetype = mimetype;
entity.notetext = "CRM Crate Description";
entity["objectid_account@odata.bind"] = "/accounts(" + entityID + ")";

//Using Client API To Create Record In Notes Entity.
Xrm.WebApi.online.createRecord("annotation", entity).then(
function success(result) {
var newEntityId = result.id;

var alertStrings = { confirmButtonLabel: "OK", text: "CRM Crate Notification - File Attached Succesfully In Notes." };
var alertOptions = { height: 200, width: 300 };
Xrm.Navigation.openAlertDialog(alertStrings, alertOptions);

},
function (error) {
Xrm.Utility.alertDialog("CRM Crate Notification- Error Occurred While Attaching File In Notes.");
}
);

 },
 function (error) {
Xrm.Utility.alertDialog("CRM Crate Notification - Error Occurred While Uploading The File.");
}
);
}
else
{
}
}
Validating the output in Dynamics 365 –
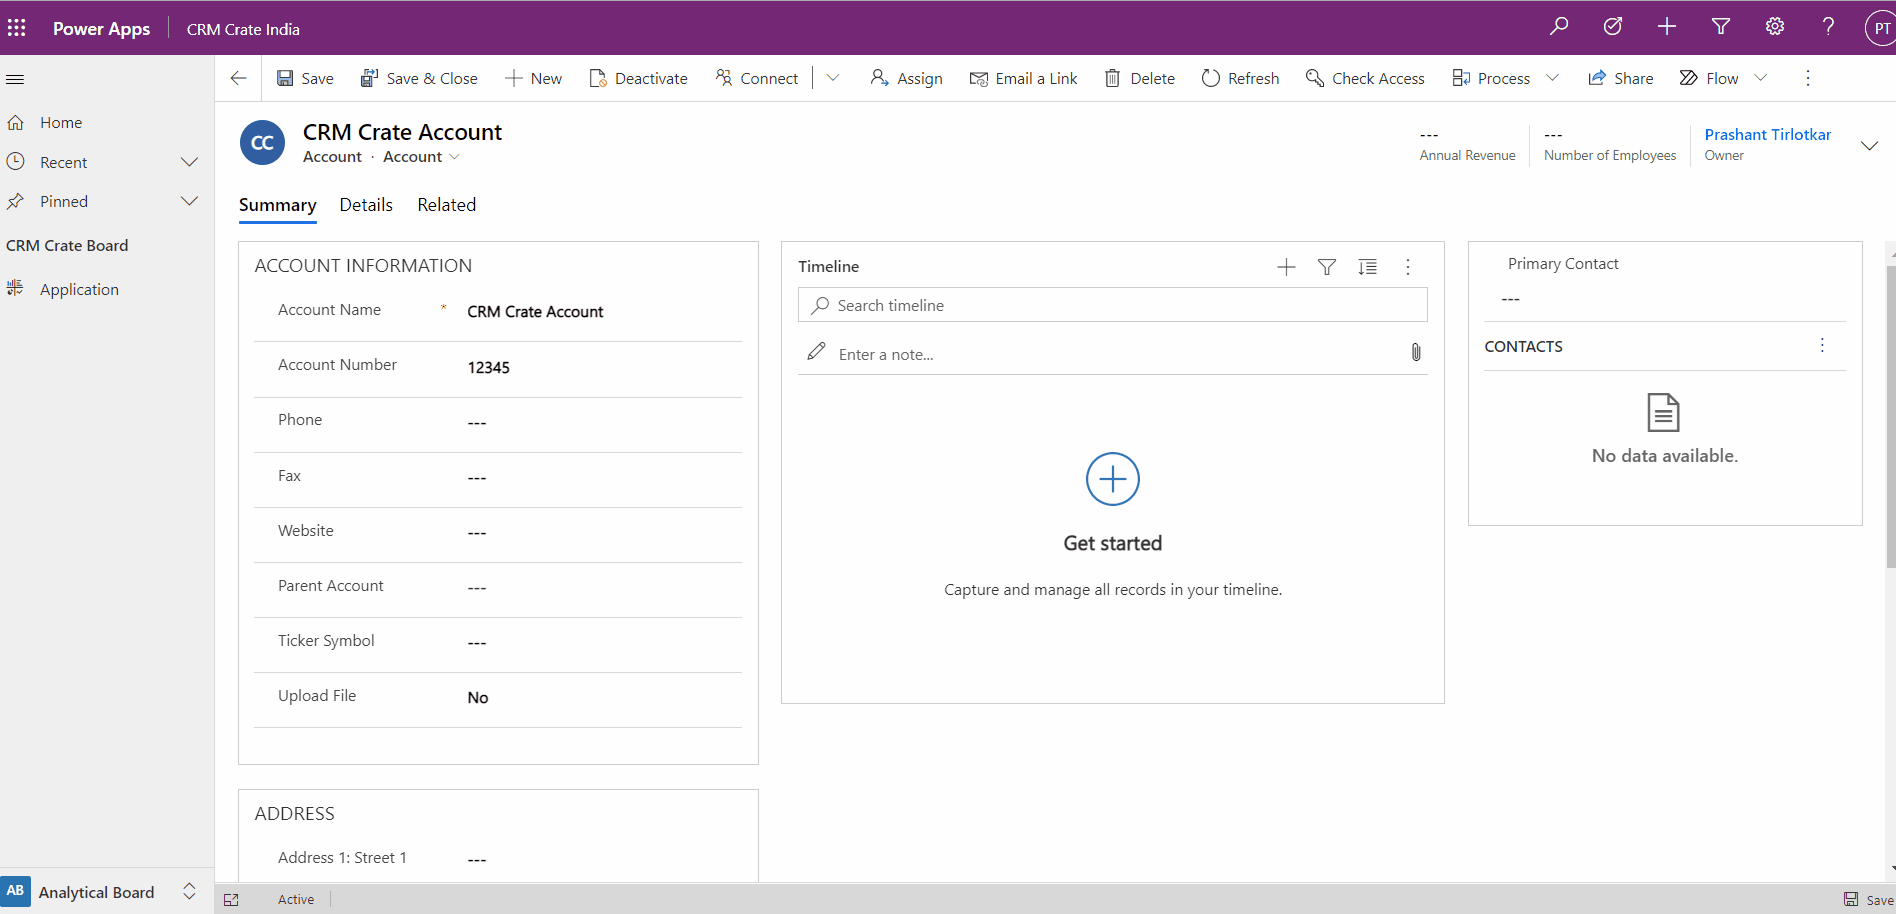
Once the above JavaScript code is deployed, let us navigate to the Dynamics 365 and verify if we are able to upload the file and attach it in the Notes entity.
Thus we learned to upload a file in Dynamics 365 using pickFile client API with JavaScript.


