
Creating a Power App Account –
Click on the button to open the Microsoft Power App account.
Note : – It is recommended to use the organizational accounts and not use any personal accounts such as Hot Mail, Gmail, Yahoo etc.
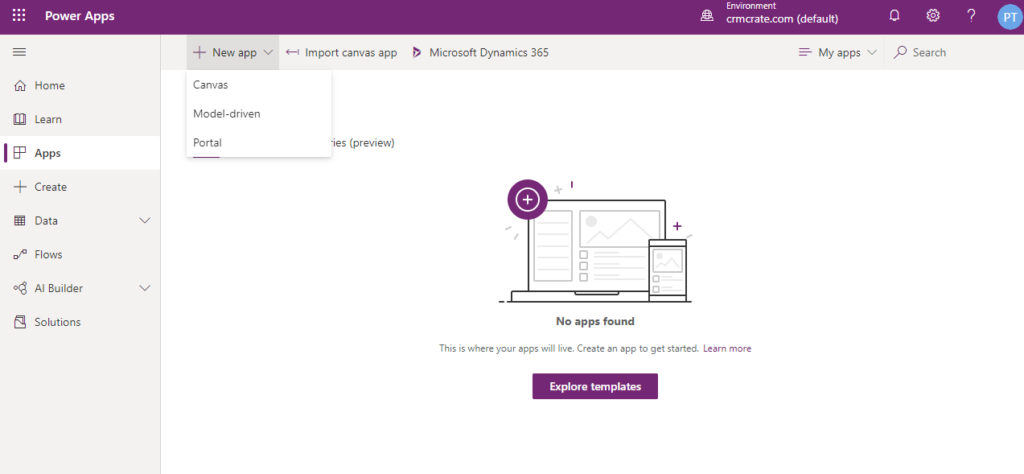
On creation of the Power Apps account, the below Power Apps dashboard will get populated.
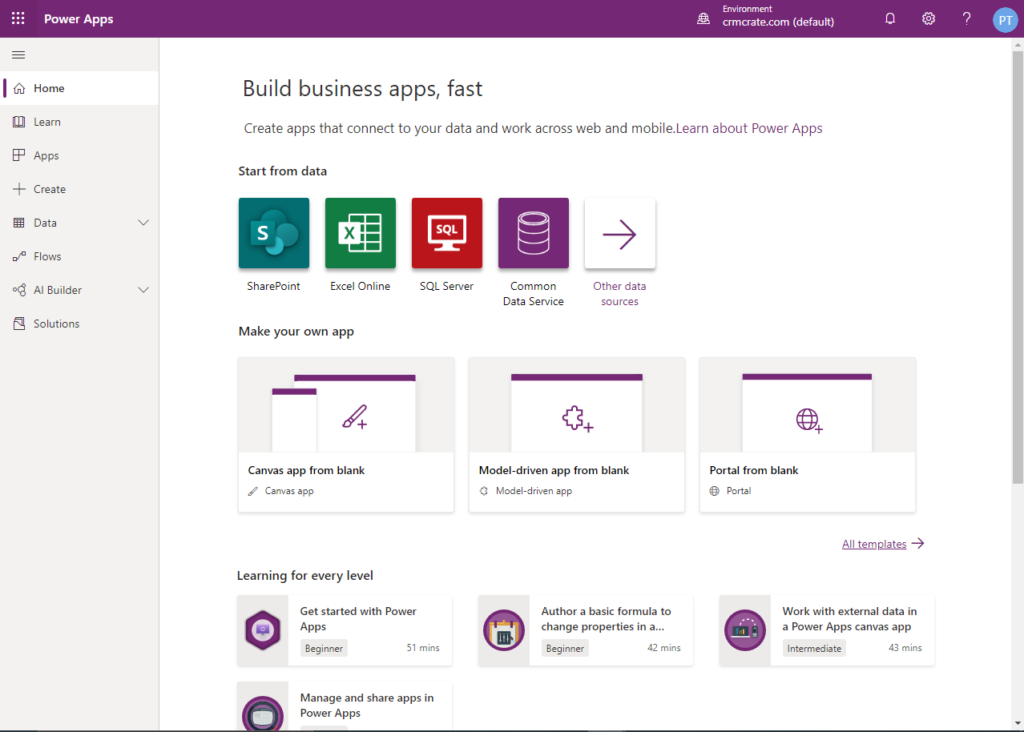
Know the difference between Canvas App and Model Drive App.
Creating a basic Power App –
Before creating a power app, we need a database or a data source which will store and process the data of our application.
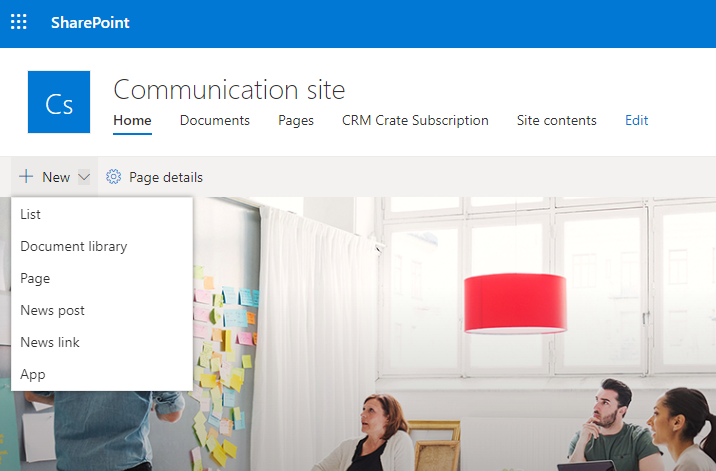
We will use SharePoint as a data source. Note : – In case you do not have a SharePoint subscription, you can use the Microsoft SharePoint trial version for 30 days.
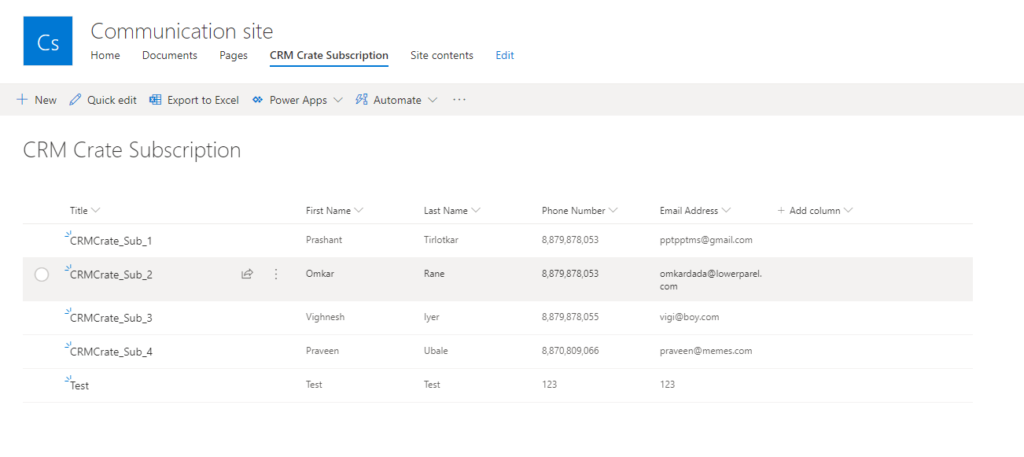
Considering you have SharePoint subscription. Create a “List” in the SharePoint.

Now firstly open and signup in Power Apps studio as depicted in below screen.
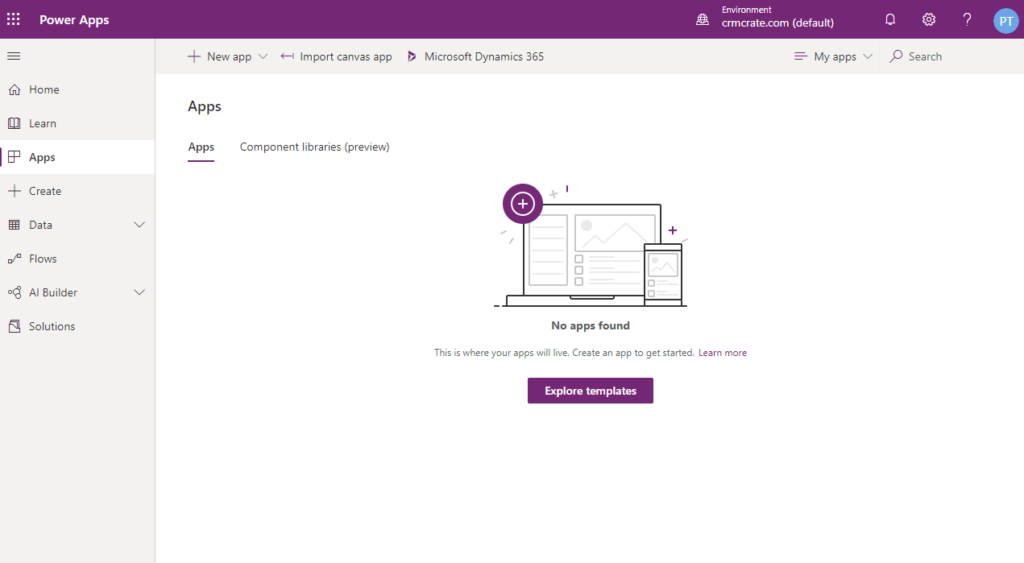
Click on the App >> New >> Canvas application. Here you can select the layout template and data source for your app. If you don’t find any suitable data source you can choose a blank app template and build it all from scratch. For this purpose, we are selecting SharePoint.
Here as we are using SharePoint as our data source, click on SharePoint phone layout app.

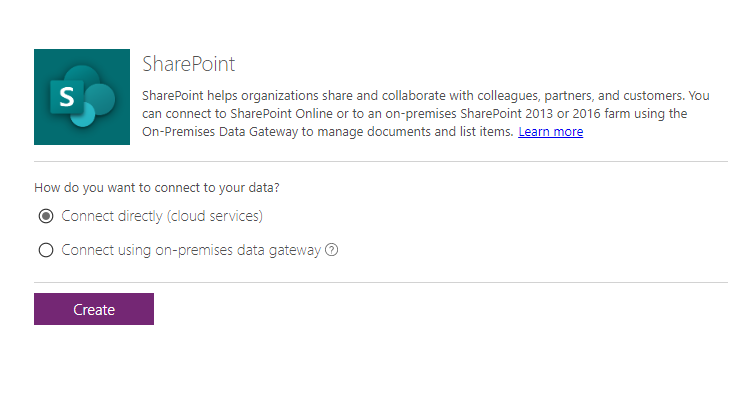
Here, click on Connect directly. And finally click on Create. Later login with your SharePoint credentials which was used to create the List in our previous steps.
After connecting to the SharePoint site, you will be able to view your site in “Recent Sites”.
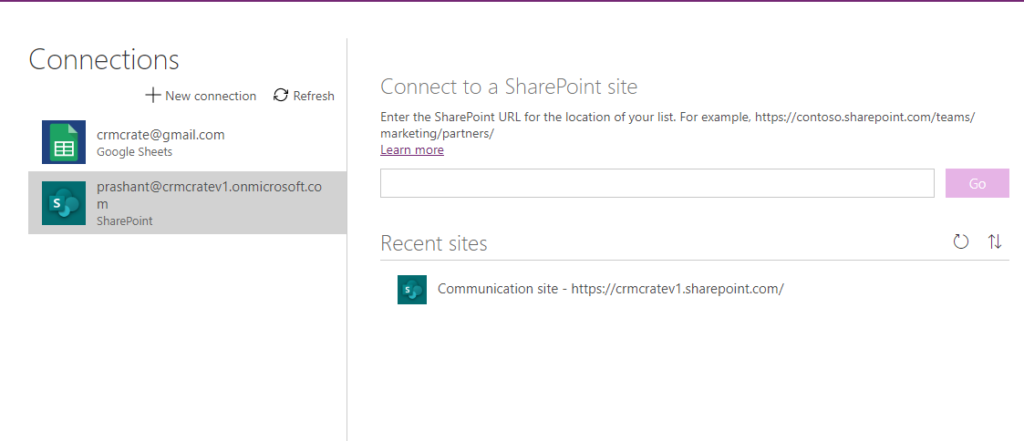
Click on the dedicate SharePoint site connection. Later you will find all the list which are present in your SharePoint parent site. Select the list which we create above and click on Connect.
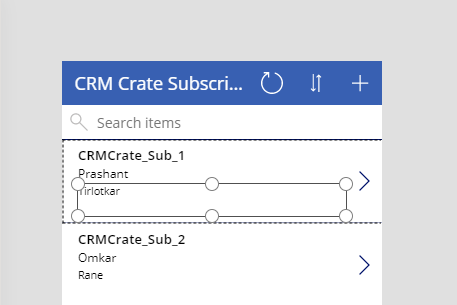
Now into the App, we can see a window with list data showing. At this stage, there is a useful “quick tour” window to help you get started, always worth a look.
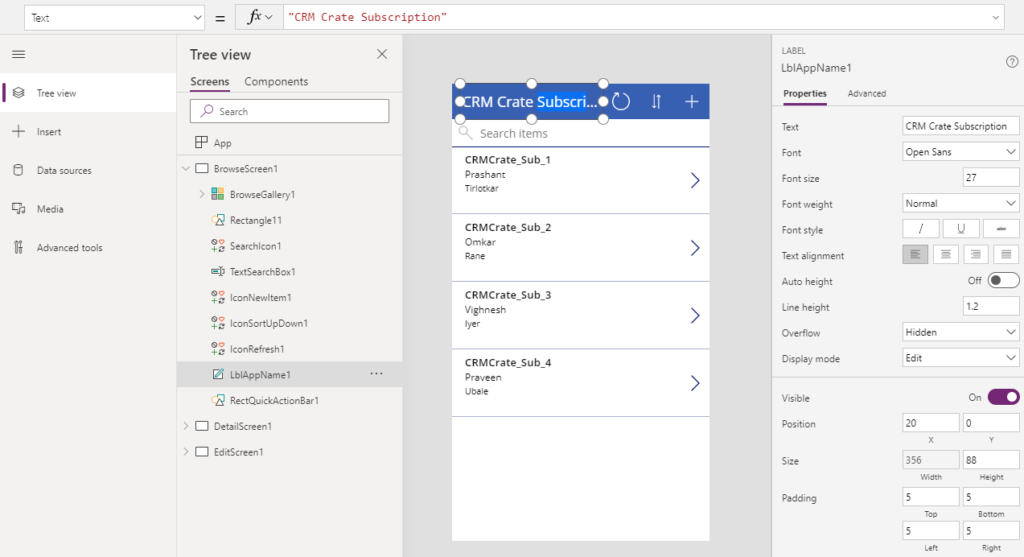
This screen is divided into three part with provisioned tools. with the screens available on the left, the main designer area, where you modify your forms in the middle and on the right some templates to help with your App creation.
Now lets customize your app. You can customize your screen using the available controls in the toolbar coupled with the advanced properties in the right-side panel. So we want to customize our title, the order of the fields, and look at a few other bits.
Title : – To change this screen title, you need to select it and go to the advanced setting in the right side of the screen as you can see below for our Edit Screen.
Order of our fields : – Similarly you can change the order of the fields by organizing data source fields in the desired sequence in the right-hand section.
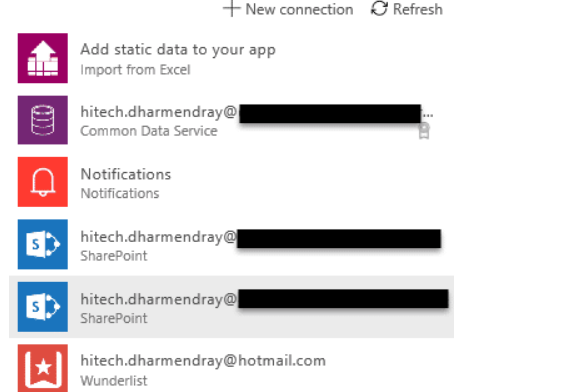
Data Sources : – You can connect your application with multiple data sources like SharePoint lists, Excel, Common data service, etc.
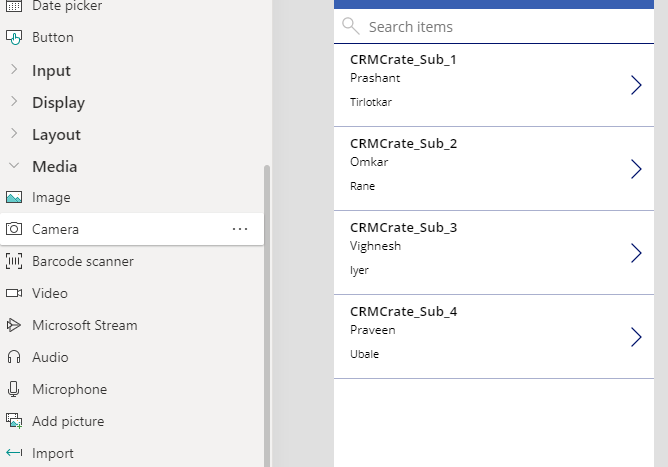
Images : – You can add image/video/audio files. Also, you can integrate Camera, Barcode reader, Audio, etc. in your app.
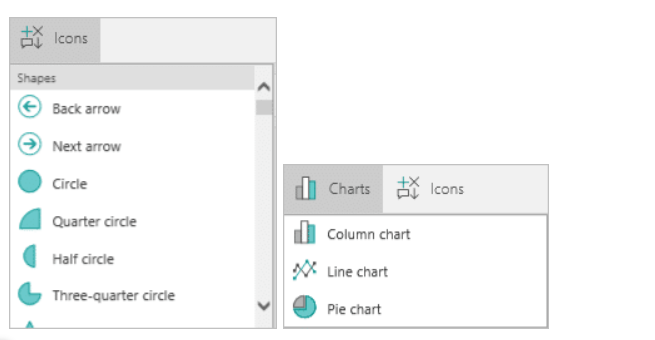
Icons – You can use a variety of Icons in your applications.
Some great further details can be found in this Microsoft post on Filter, Search, and Lookup Functions in PowerApps
Formula : – As you can see with the example of Search above, there are many ways to use Formulas within the properties of your App Controls to really customize and improve you Apps functionality, all without having to write true code. Here is a good introduction to Formulas to get you started – Explore Formulas in PowerApps
Now its the time to test and save the app.
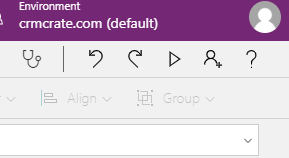
So you are done with your UI changes and customization you can now run your app, by pressing the Play button at the top right of the screen and check it works correctly. Once you are happy with the App you can then save it on the cloud or your local computer for future use.
On the File Menu from the builder, go to App Settings and configure the elements on the screen to your liking.
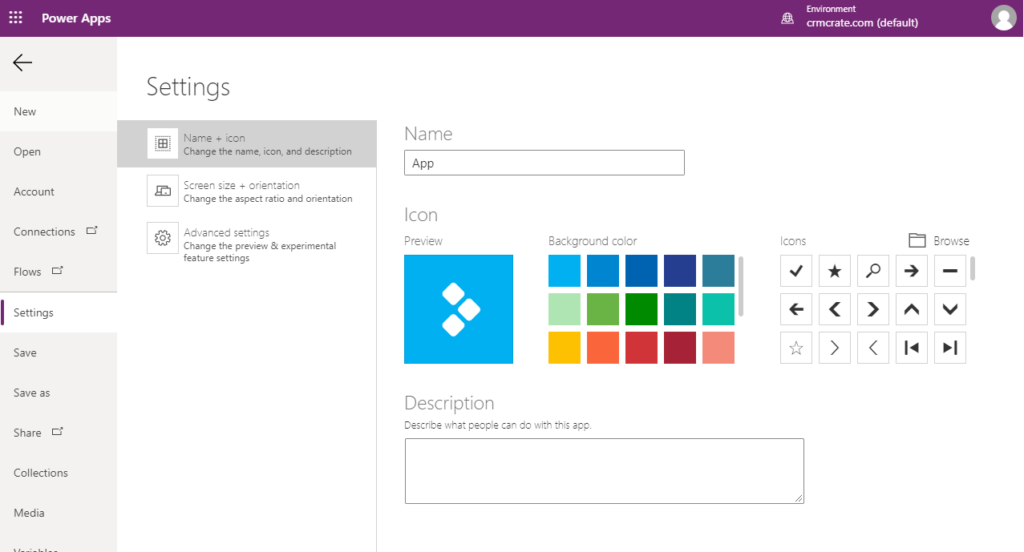
As with all Microsoft Products then click on ‘Save As‘ and Choose your “save location” and click “save”. As you would expect you can’t have two apps with the same name stored in the same location.
Test & Run your app.
In the Power App studio. Click on the play button populated above the application.
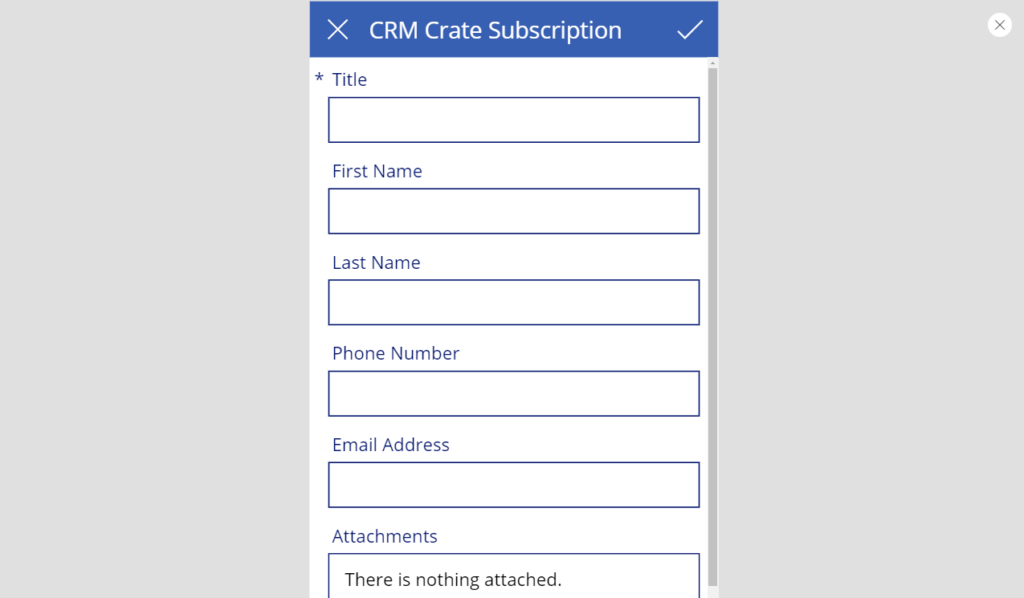
To check whether your application works with two way data transfer and storage. You can view all the data which is present in the SharePoint list. But in addition, by clicking on New (+). You can create a new list record in the Power App and click on save. Now this same record will populate on the SharePoint record.
For more information click on link.


