
We will learn to integrate the Dynamics 365 with Webhooks and Azure Function. Before we start, make sure to Subscribe to CRM Crate so that you stay up-to-date in field of Dynamics 365.
What are Webhooks and its usage in Dynamics 365?
Webhooks is a light-weight HTTP pattern for connecting the Web APIs and services with a publish/subscribe model. Webhook senders notify receivers about events by making requests to receiver endpoints with some information about the events.

Webhook enable the developers and ISV’s to integrate Customer Engagement data with their own custom code hosted on external services. By using the webhook model, you can secure your endpoint by using authentication header or query string parameter keys.
Below are few important key points related to the Webhook implementation –
- Both webhooks and Azure Service Bus can be invoked from a plugin or custom workflow activity.
- Azure Service Bus works for high scale processing, and provides a full queueing mechanism if Dynamics 365 is pushing many events.
- Webhooks send POST requests with JSON payload and can be consumed by any programming language or web application hosted anywhere.
- Webhooks can only scale to the point at which your hosted web service can handle the messages.
- Webhooks enables synchronous and asynchronous steps. Azure Service Bus only allows for asynchronous steps.
Integrate the Dynamics 365 CE with Webhooks and Azure Function.
Below are the steps for the integrating D365 with Webhooks.
| Step Name | Required Components |
| Create / Modify an Azure Function application to receive the data from Webhooks | 1. Azure Subscription 2. Visual Studio |
| Register a Webhook endpoint in Dynamics 365 CRM | 1. Dynamics 365 Administrator Access 2. Plugin Registration Tool |
Creating or modifying an Azure Function application to receive the data from Webhooks –
We need to create a new Azure Function App to handle the incoming message from the Webhooks.
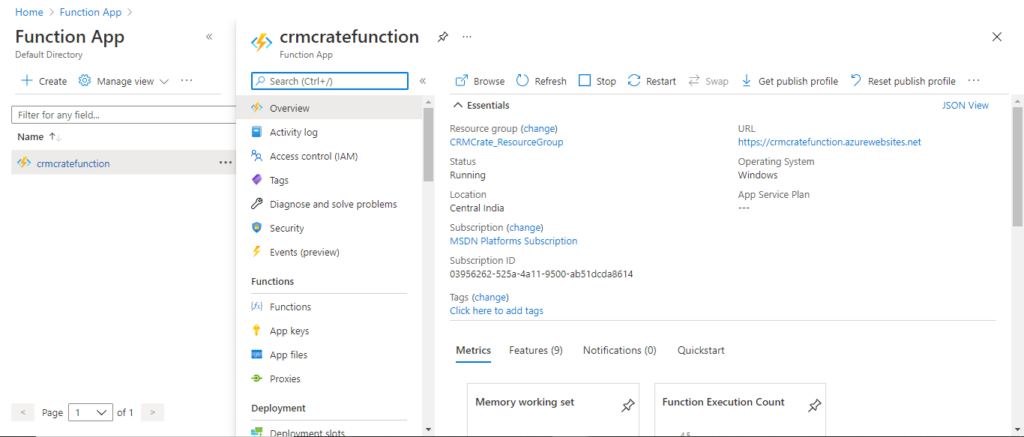
Configure the Azure Function App –
- If you are new to an Azure Function App then click here to understand and create the Function App in Azure.
- We have already created an Azure Function App (HTTP Trigger Based) for our demonstration as shown below.
- We can develop the logic in the Function App directly from the Azure editor or by using the Visual Studio IDE. Here we will utilize the visual studio for developing and publishing the Azure Function.
Develop & publish the Function App logic –
- Open the Function App project in the visual studio as shown below.

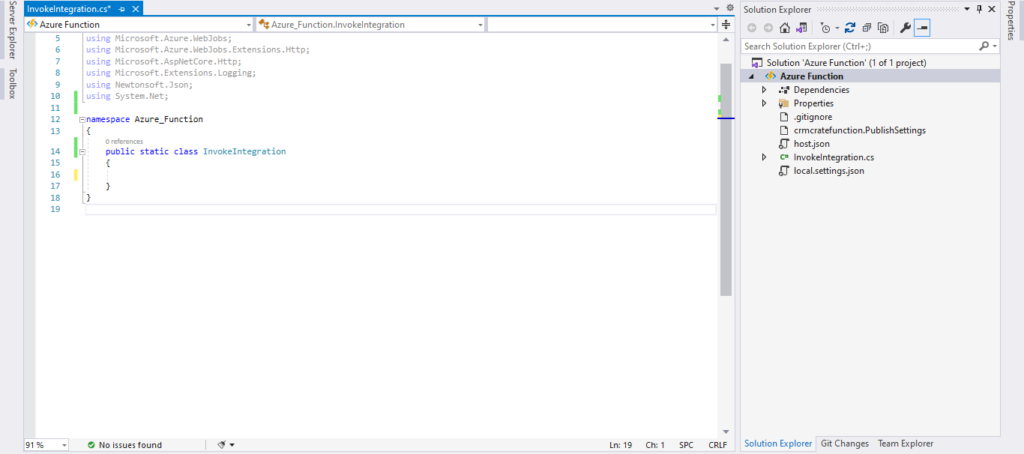
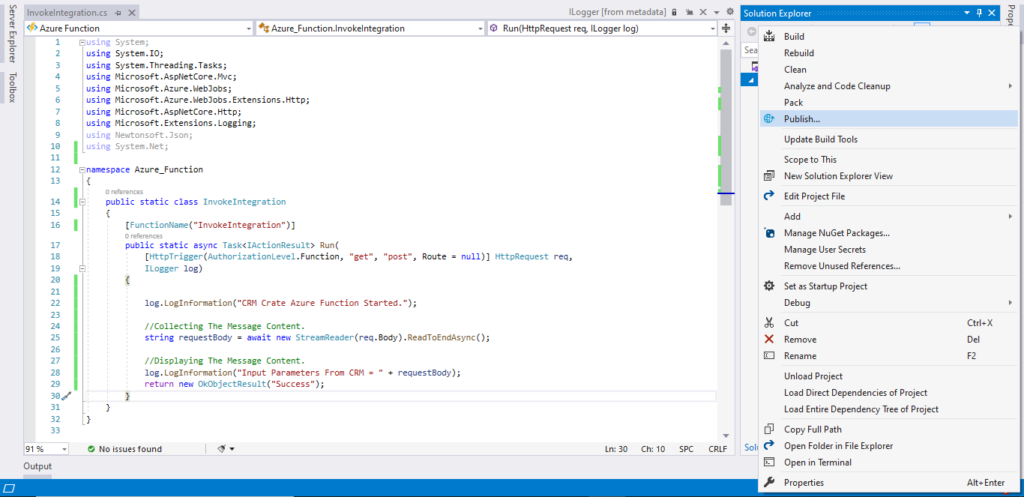
- We have created a new function called “InvokeIntegration” designed it to collect the incoming message body and displaying it in the output. This incoming message will be passed from the Dynamics 365 CE via the Webhooks in the Function App.
- Refer the below Azure Function code –
using System;
using System.IO;
using System.Threading.Tasks;
using Microsoft.AspNetCore.Mvc;
using Microsoft.Azure.WebJobs;
using Microsoft.Azure.WebJobs.Extensions.Http;
using Microsoft.AspNetCore.Http;
using Microsoft.Extensions.Logging;
using Newtonsoft.Json;
using System.Net;

namespace Azure_Function
{
    public static class InvokeIntegration
    {
        [FunctionName("InvokeIntegration")]
        public static async Task<IActionResult> Run(
            [HttpTrigger(AuthorizationLevel.Function, "get", "post", Route = null)] HttpRequest req,
            ILogger log)
        {

            log.LogInformation("CRM Crate Azure Function Started.");

            //Collecting The Message Content.
            string requestBody = await new StreamReader(req.Body).ReadToEndAsync();

            //Displaying The Message Content.
            log.LogInformation("Input Parameters From CRM = " + requestBody);
            return new OkObjectResult("Success");
        }
    }
}
- Below is the detailed logic of the above given Azure Function code.
We need to declare an Azure Job Function name with help of “Microsoft.Azure.WebJobs.FunctionNameAttribute” class.
[FunctionName(“InvokeIntegration”)]
Since we are using Webhooks to connect to the Azure Function, the trigger chosen here is Http Trigger.
public static async Task Run(
[HttpTrigger(AuthorizationLevel.Function, “get”, “post”, Route = null)] HttpRequest req,
ILogger log)
The ILogger interface has been used to display the output in the console.
log.LogInformation();
Used the steam reader to read the body content from the HTTP request. The message passed from the Dynamcs 365 CE will be stored in the variable “requestBody”.
string requestBody = await new StreamReader(req.Body).ReadToEndAsync();
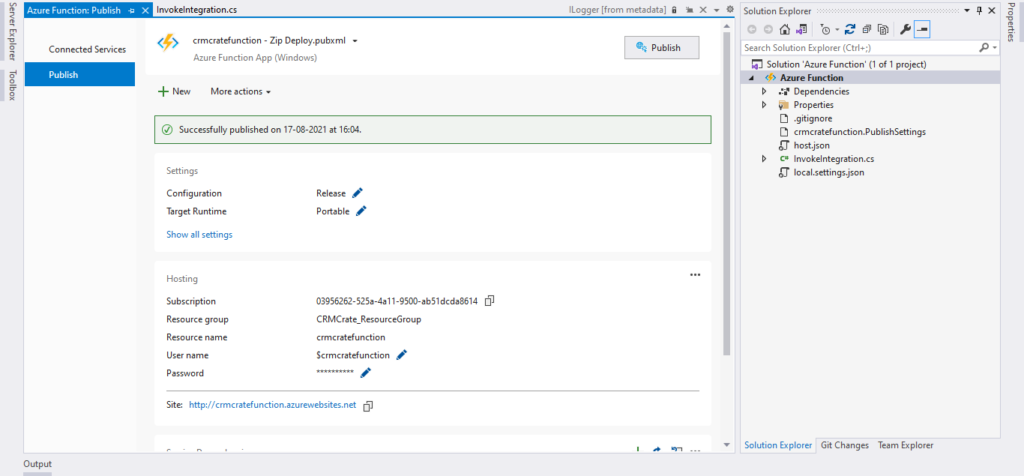
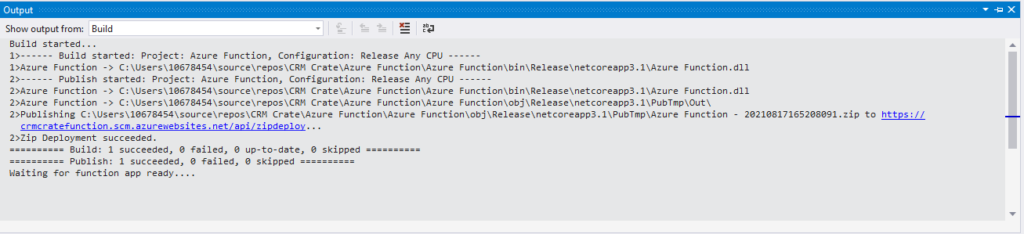
- Now we need to update the Azure Function file from the Visual Studio to the Azure’s Function App, we can achieve this by publishing the Azure Function service as shown below.
Registering a Webhook in the Dynamics 365.
Since we have created and publish the Function App in Azure, now we need to register a Webhook event in Dynamics 365 in-order to pass the data from Dynamics 365 to Function App.
Copy and prepare the Function App URL –
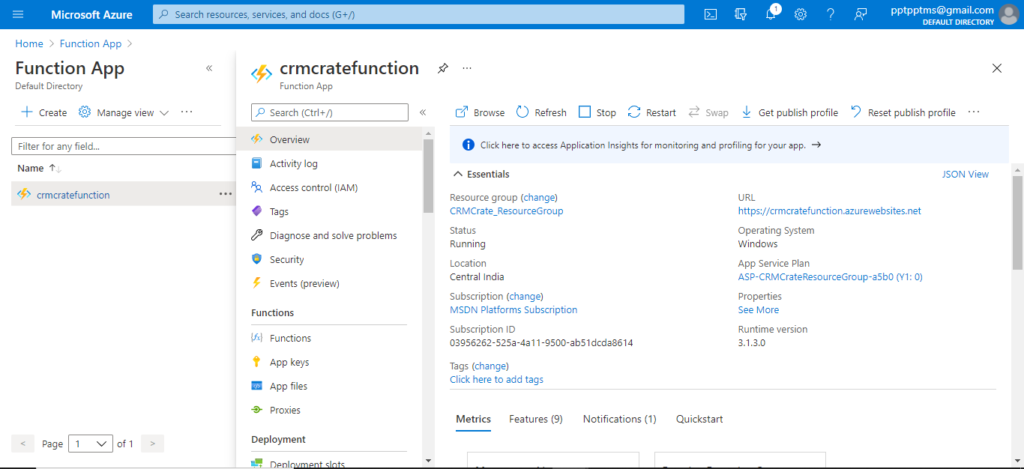
- Navigate to the Azure Portal and open the related Function App as shown below.
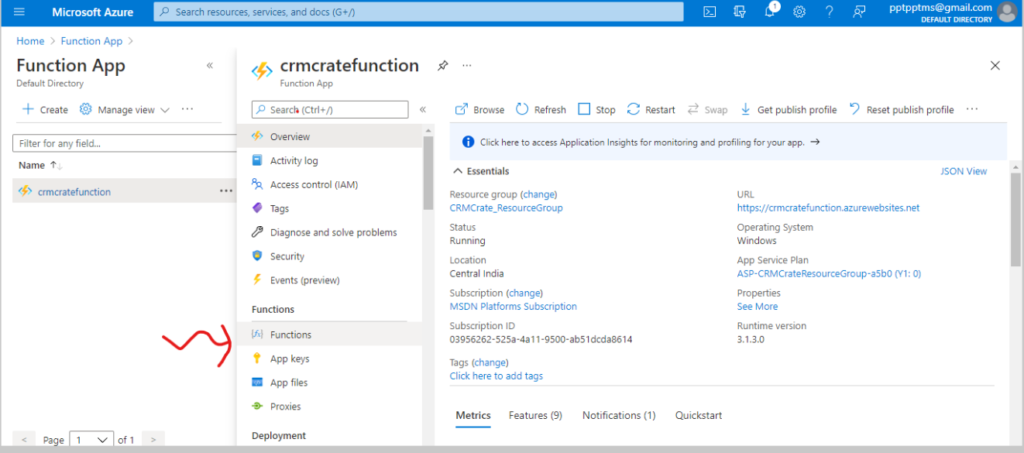
- In the Function App, navigate and open the “Functions” as shown below.
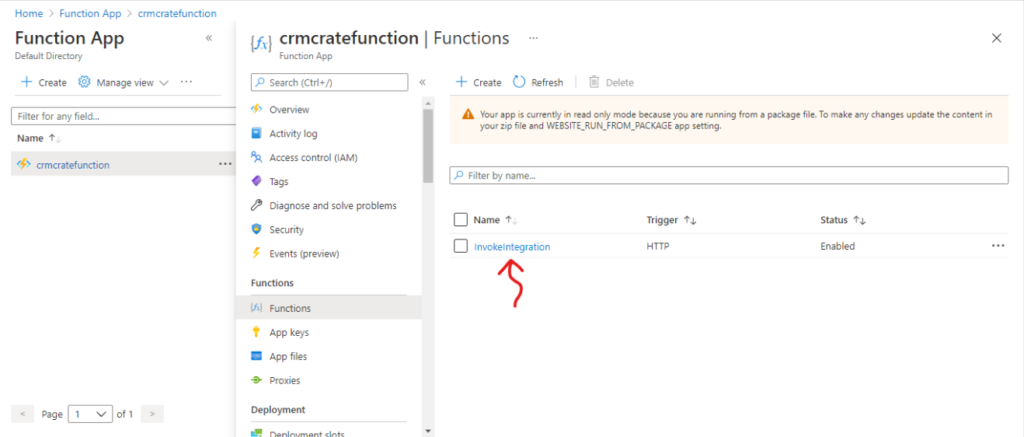
- Open the previously published Azure Function.
- Navigate to the Overview tab of the Azure Function and click on the button “Get Function URL”. This is the end-point URL which will be required to call the Azure Function.
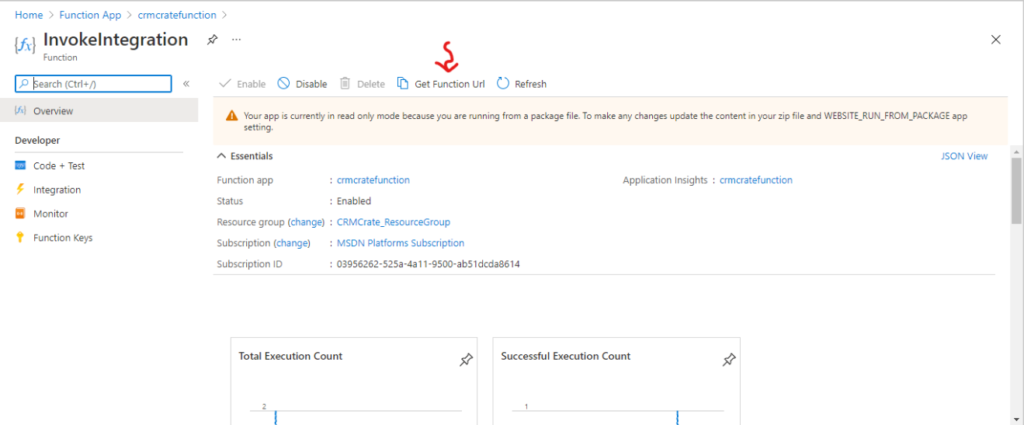
- Copy the Function URL and paste it into the Notepad. We now need to divide the Function URL into two parts, one will be the “Endpoint URL” and second will be the “Value”.

- Copy the URL before the tag “?Code” as endpoint URL and the URL after the tag “?Code” as the Value.
In our case, below will be the format of the endpoint URL and value.
Actual URL : https://crmcratefunction.azurewebsites.net/api/InvokeIntegration?code=iKNIjhkQddrMW8aElpogdVUNsValolkcvwMnWMtAS9RvvUBe5PGpzg==
Endpoint URL : https://crmcratefunction.azurewebsites.net/api/InvokeIntegration
Value : =iKNIjhkQddrMW8aElpogdVUNsValolkcvwMnWMtAS9RvvUBe5PGpzg==
Register the Webhook event in Dynamics 365 –
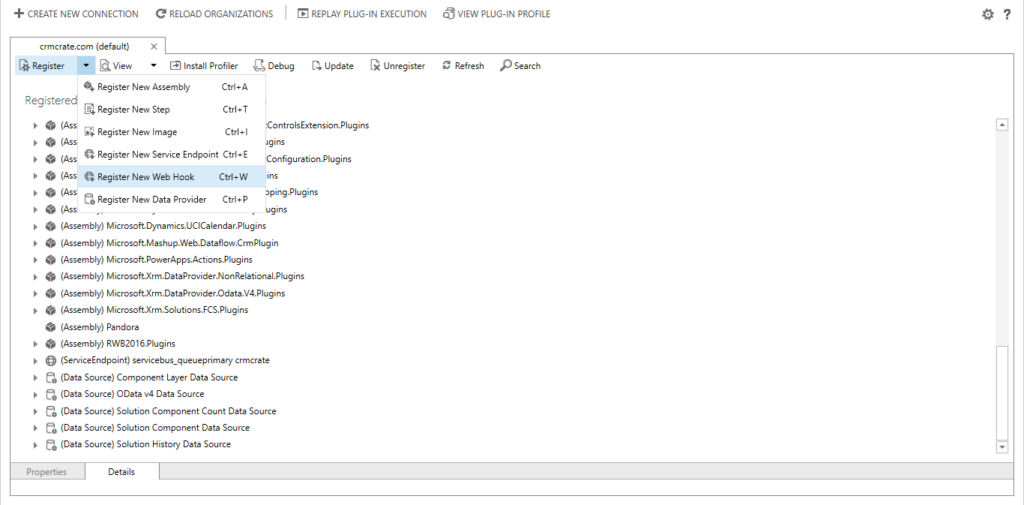
- Open the Plugin Registration Tool and connect it to the Dynamics 365 environment.

- Click on “Register” >> “Register New Web Hook” as shown below.
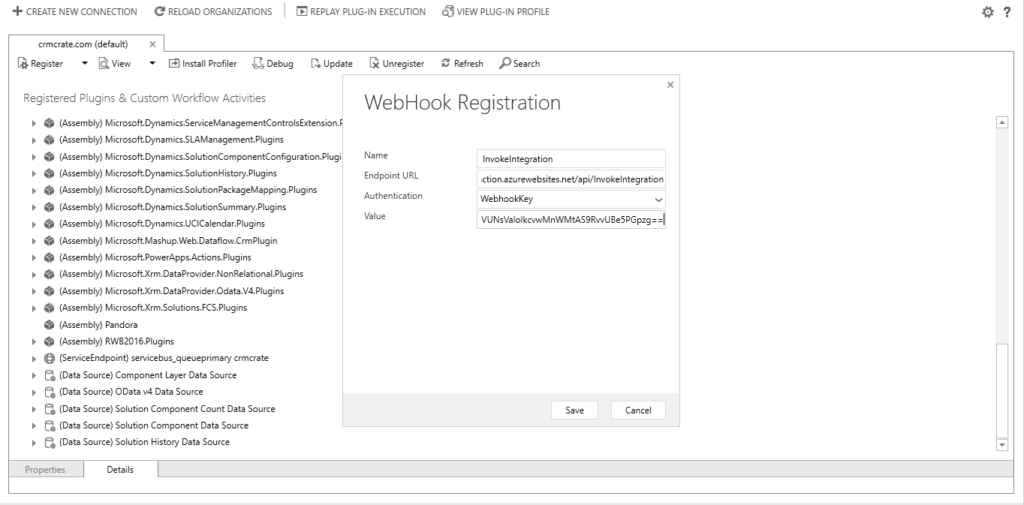
- Register a new Web Hook by using the below properties and click on Save.
Name
Name of the Azure Function.
Endpoint URL
The Function App endpoint URL as created above.
Authentication
Select value “WebhookKey” in the Authentication field.
Value
The Function App endpoint value as created above.
Register a Step in the Webhook event –
- We will now have to add a triggering point for the webhook event. We can achieve this by adding the step in the above created Webhook event.
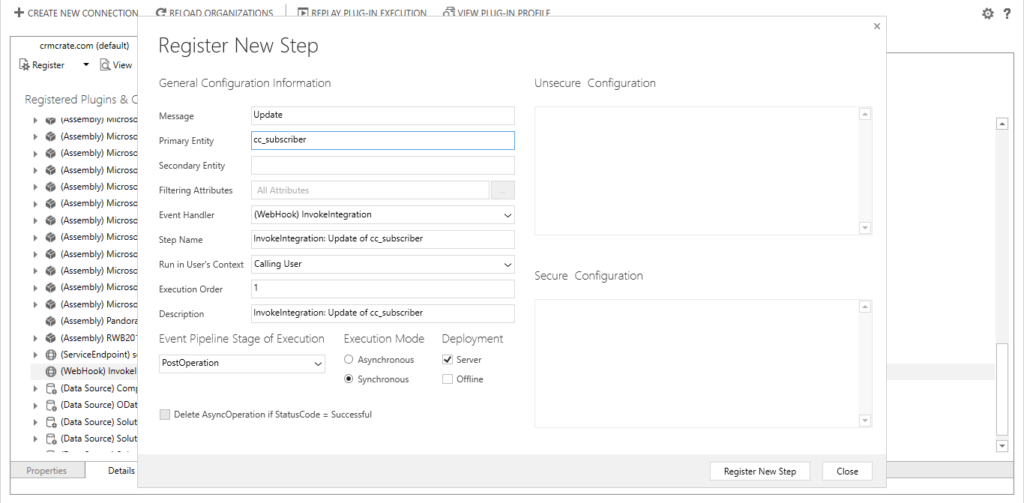
- In the Plugin Registration Tool, select the newly created Webhook and click on “Register New Step” as shown below.
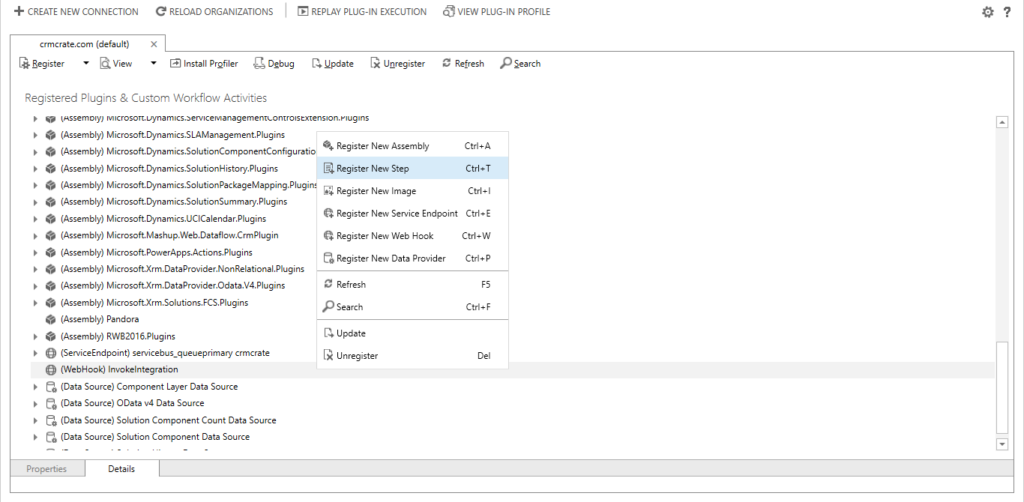
- We will trigger the Webhook during the “Update” event of the “Subscriber” entity record as shown below.
Trigger the Webhook in Dynamics 365 and validate the result in Azure
We have configured an Azure Function App and registered a Webhook in Dynamics 365 to integrate with the Azure Function. Now lets validate the outcome by triggering the Webhook.
- Open the Dynamics 365 and update the entity record to trigger the Webhook.
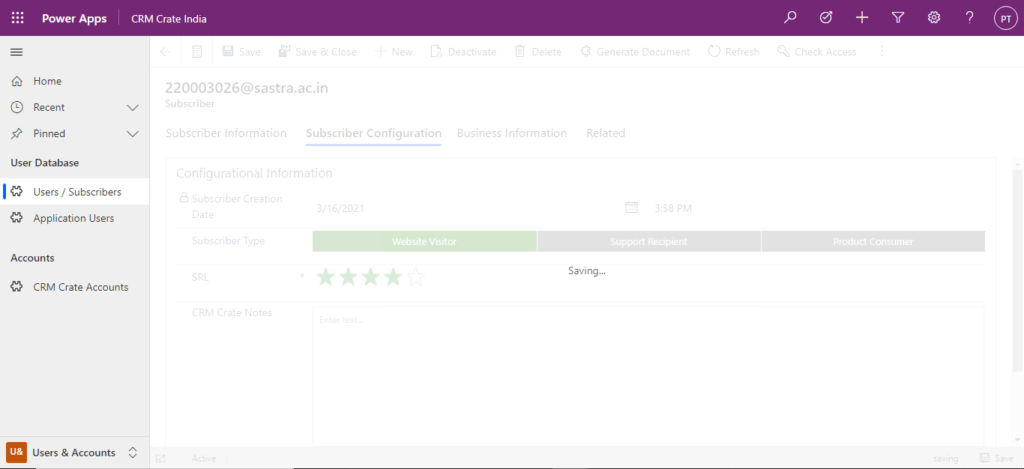
- Once the Webhook is triggered, navigate to the Azure Portal to monitor the outcome.
- In the Azure Function, click on the “Monitor” tab as shown below.
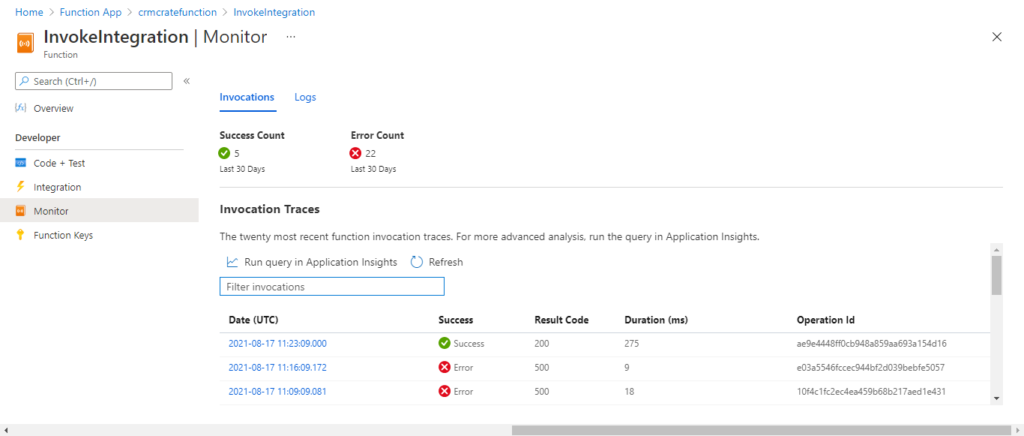
- The recently triggered Webhook integration will be visible in the invocation traces. Open the latest invocation trace and validate if the valid data is integrated from Dynamics 365 to the Azure Function.
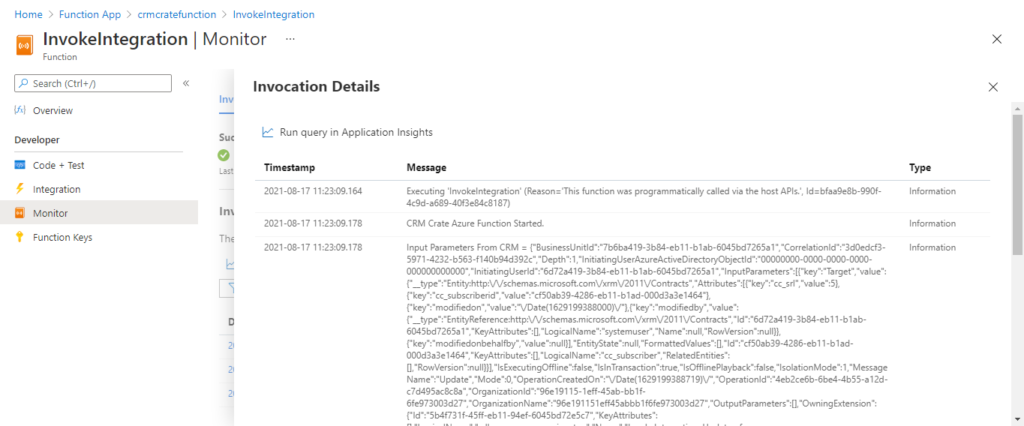
Thus we received the data of “Subscriber” entity record from Dynamics 365 into the Azure Function App.


