
We will learn to add a custom tooltip in the fields of Dynamics 365. Before we start, make sure to subscribe to CRM Crate so that you can stay up to date in the field of Dynamics 365.

What is attribute hover text in Dynamics 365?
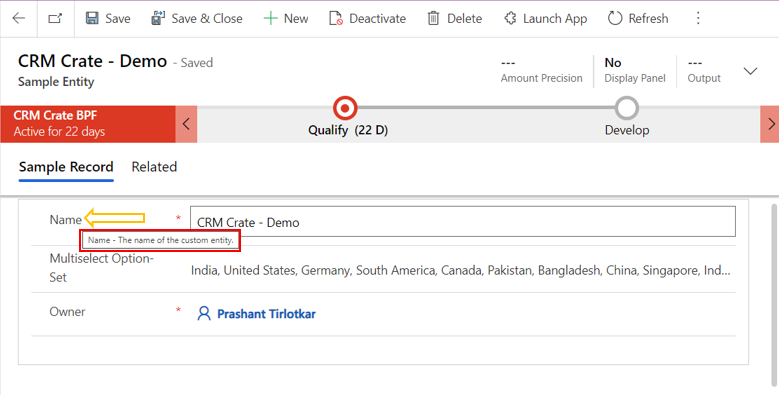
A hover text or a tooltip is often used to specify extra information about something when the user moves the mouse pointer over an element. In Dynamics 365, whenever the user hovers the mouse over an attribute, CRM displays an out of the box hover text relevant to the hovered attribute.
Why do we need a custom tooltip in Dynamics 365?
Consider a business scenario where an organization needs to display a constant pre-fix text before each attribute tooltip message. We can easily achieve this feature with help of the below given solution.
Using JavaScript for adding a custom attribute tooltip
We will use a client side JavaScript mechanism for adding a custom field hover text. Follow the below steps for creating your own tooltip message.
Step 1 – Copy attribute HTML DOM element ID
- Since we are adding a custom functionality and overriding an out of the box tooltip, we need to fetch the exact attribute element ID.
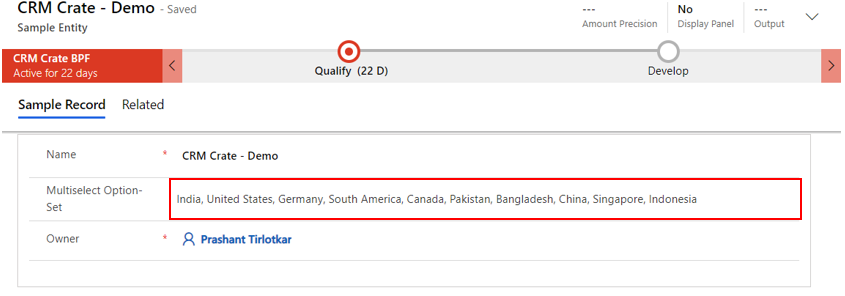
- For our example, we will fetch the element ID of Dynamics 365 field named “” as shown below.
- Now, right click on the record form and open the inspect element console as shown below.
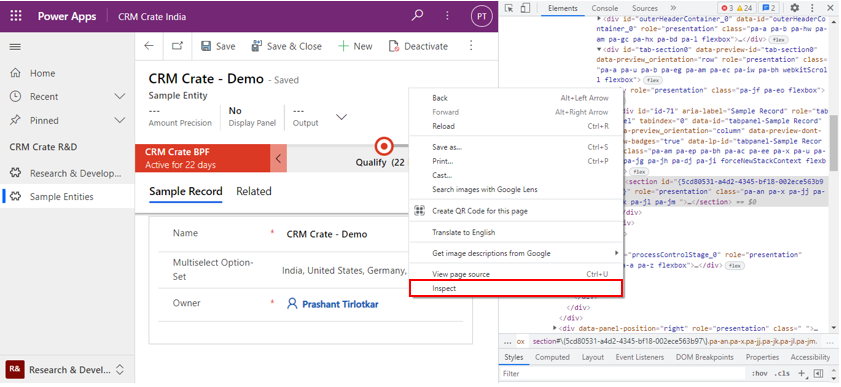
- Now, copy the element ID of the field as shown below.

Step 2 – Add a custom tooltip using JavaScript
The below JavaScript code has been triggered during the “OnLoad” and “OnChange” event of an entity form. Use the below JavaScript code and replace the field attribute schema name and above copied attribute element ID in your implementation.
//CRM Crate JavaScript Snippet
"use strict";
/*Establishing Namespaces*/
if (typeof (CRMCrate) === "undefined") { var CRMCrate = { __namespace: true }; }

if (typeof (CRMCrate.ClientScript) === "undefined") { CRMCrate.ClientScript = { __namespace: true }; }

//Custom Hover Function
CRMCrate.ClientScript = {
    CustomHover: function (context)
    //Event Handler :  CRMCrate.ClientScript.CustomHover
    {
        var formContext = context.getFormContext();
        var Multiselect_Field = formContext.getAttribute("cc_multiselectoptionset").getText(); // Schema name of attribute
        if (Multiselect_Field != null) {
            var CustomHoverString = "CRM Crate Custom Hover ------ " +Multiselect_Field.toString(); // Added custom hover text
            try {
                parent.parent.window.$('div[id="cc_multiselectoptionset_i"]').attr("title", CustomHoverString); // Name of DOM element
                setTimeout(function () {
                    CRMCrate.ClientScript.CustomHover(context);
                }, 500);
            }
            catch (e) {
                JSON.stringify(e);
            }
        }
    },
    __namespace: true
};
Validate the changes in Dynamics 365
Once the above steps are performed, navigate to the Dynamics 365 and validate whether the custom hover tip has been added for the respective attribute as shown below.

Thus, we learned to add a custom tooltip in the fields / attributes of Dynamics 365.


