
In this course, we will learn to embed the Canvas App in Dynamics 365 CRM. Before we start, make sure to subscribe to CRM Crate so that you stay up-to-date in field on Microsoft Dynamics 365 CRM and related technologies.
Why do we need to bind the Canvas App in the Dynamics 365 CRM (Model Driven App)?
There are multiple scenarios where we need to build an expectational user interface which is not possible in the Dynamics 365 CRM. Consider the below scenario for which we will build a Canvas App and embed it into the Dynamics 365 CRM.
- Generate the customer invoice by collecting the form data.
- Print the generated customer invoice.
- Send the invoice to the dedicated customer.
Steps to embed the Canvas App in the Dynamics 365 CRM
- Create a new field as a structure to embed the Canvas App control.
- Create a new Canvas App or use any existing Canvas App.
Step 1 – Creating a new field in Dynamics 365 entity form
- Open the Dynamics 365 CRM >> Settings >> Customization >> Entities >> Form. Select the entity form in which you have to add the Canvas App.

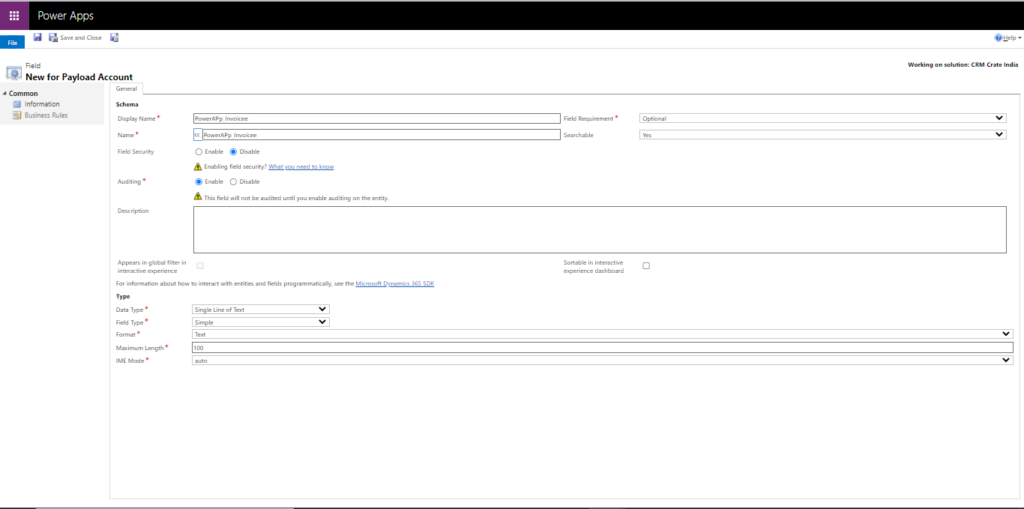
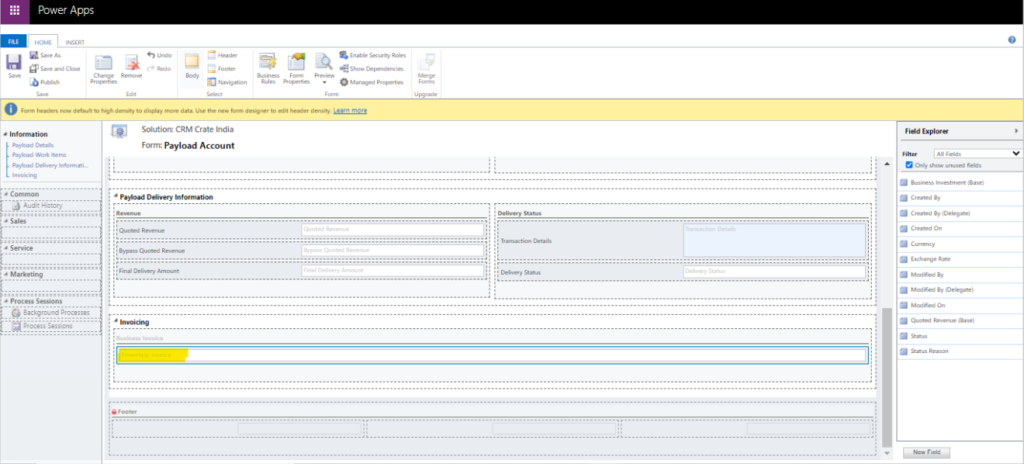
- Select your desired section / column within the form and add a new “Single Line Of Text” field in it as shown below.
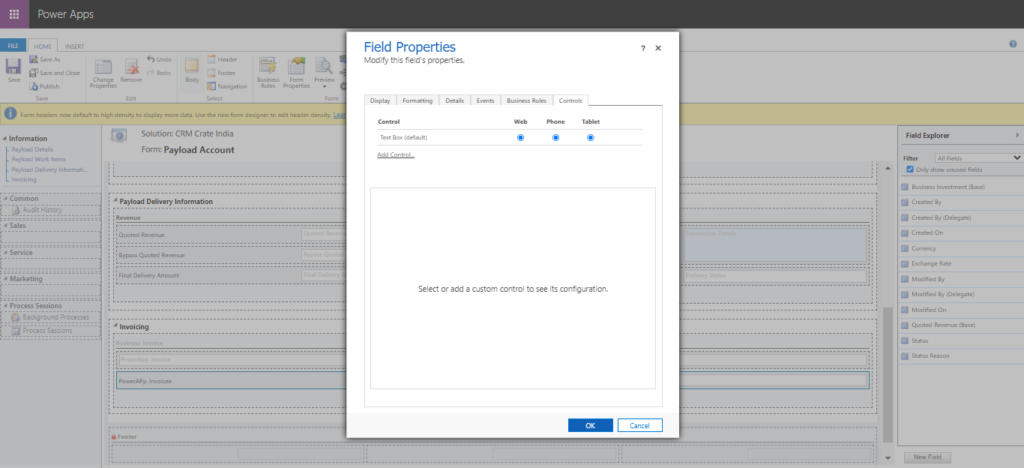
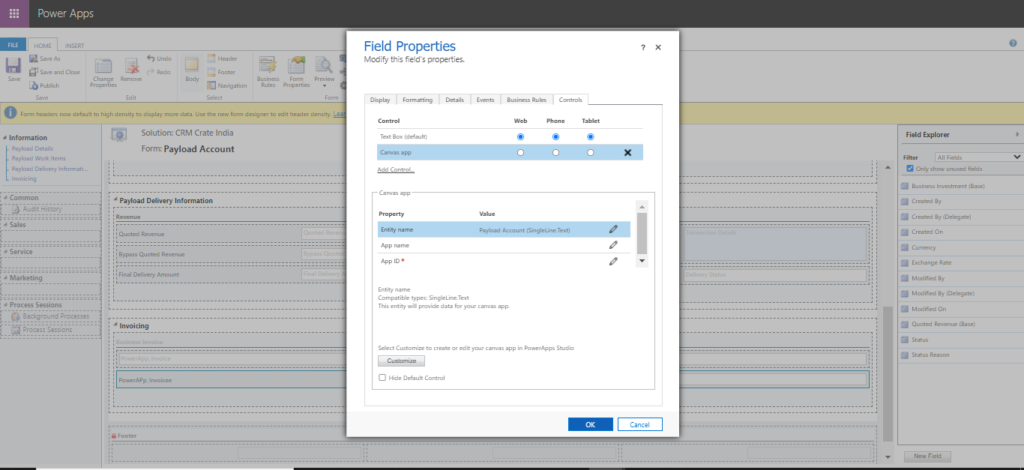
- Now, select the newly created field and navigate to Field’s Property >> Controls and click on Add Control as shown below.
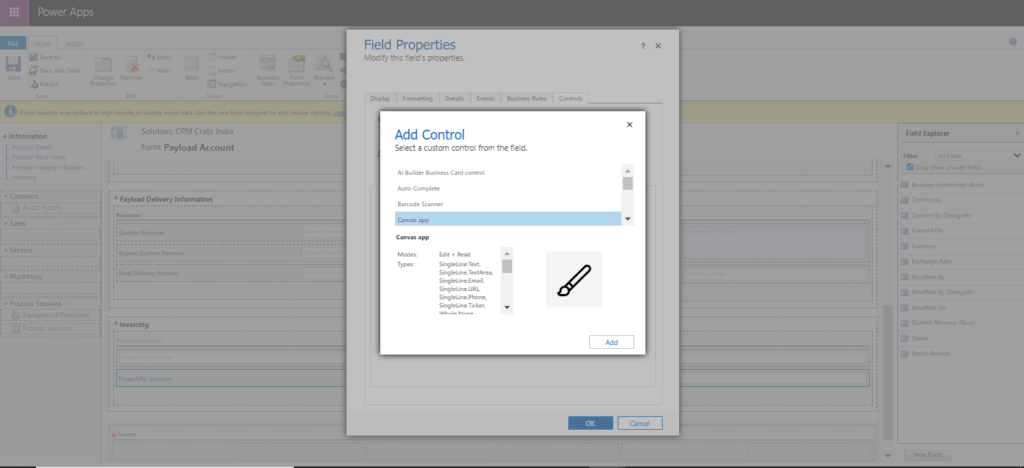
- Select Canvas App from the available controls and click on Add.
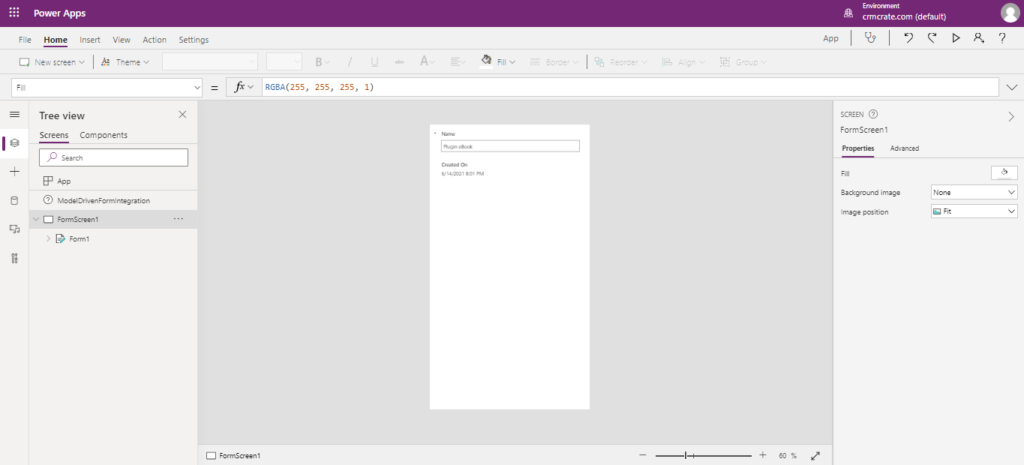
- Lets create a new Canvas App. In the loaded window, click on button “Customize”. This will open the Power App studio editor as shown below.
Step 2 – Creating a new Canvas App and bind it with CRM data
- In the newly opened Canvas App, we can see that the Form control is been pre-populated with few default fields which are bound to the Dynamics form data.
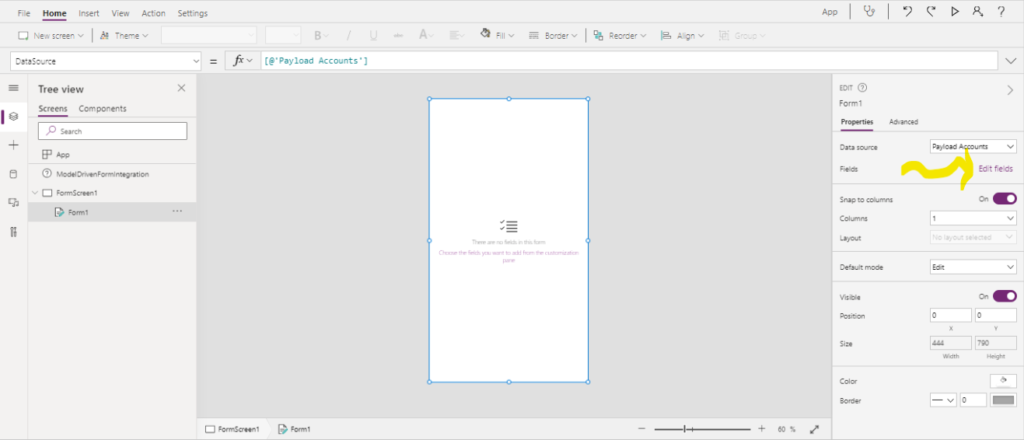
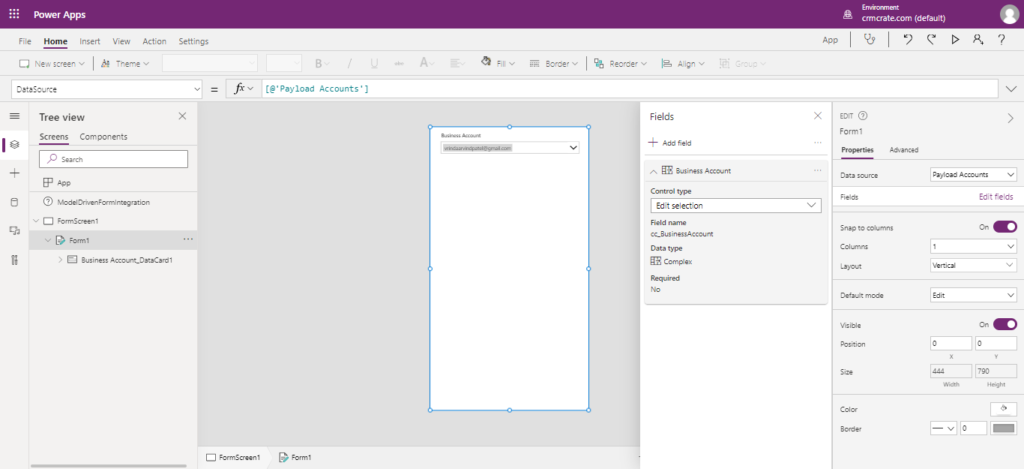
- We will add new field bindings within the Canvas App form control. In the Form control >> Properties, click on “Edit Fields” as shown below.
- Lets now add the field “Business Account” and bind it with the data source. Click on “Add field” >> Select the field “Business Account” and click on Add.
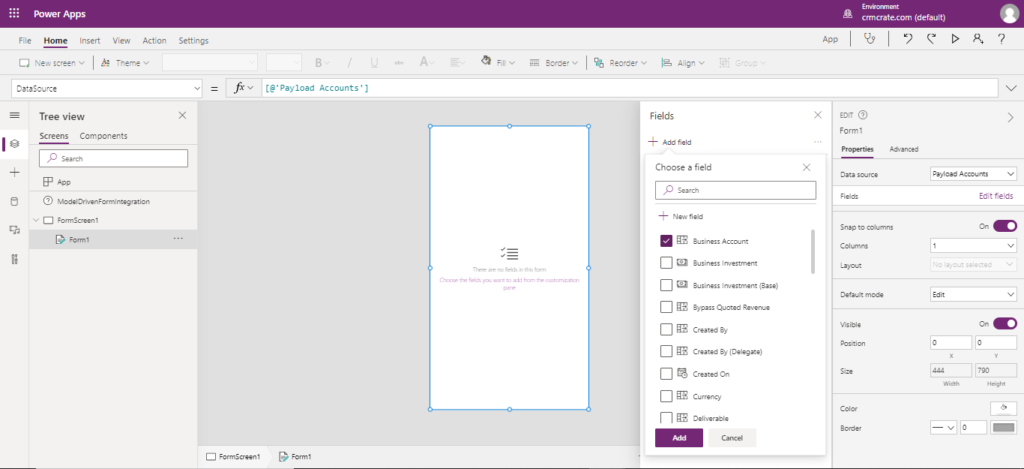
- We can even customize the control of the particular bounded field such as Control Type, UI appearance, data etc.
- Since we learned how to add and bind the fields in Canvas App from the Model Drive App, we will build the detailed Canvas App where we will provided the invoice creation and email sending feature as shown below.
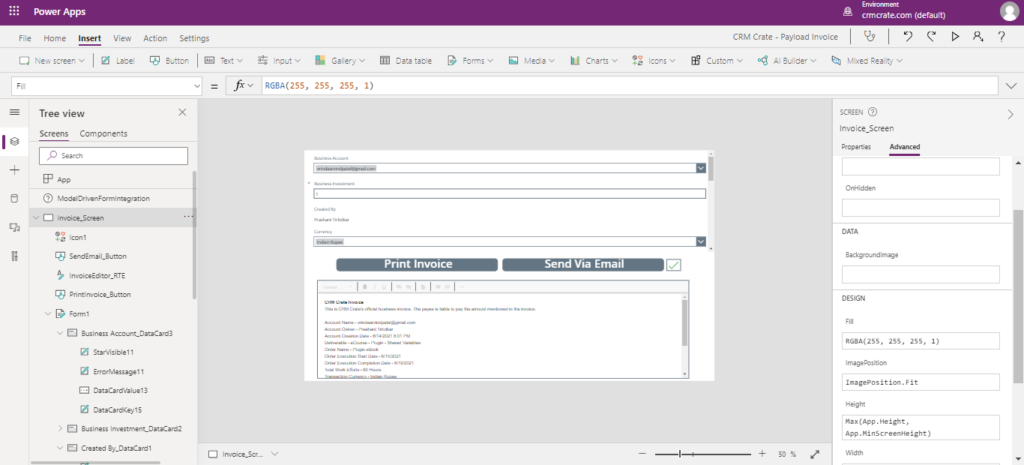
- Save and publish the newly created Canvas App.
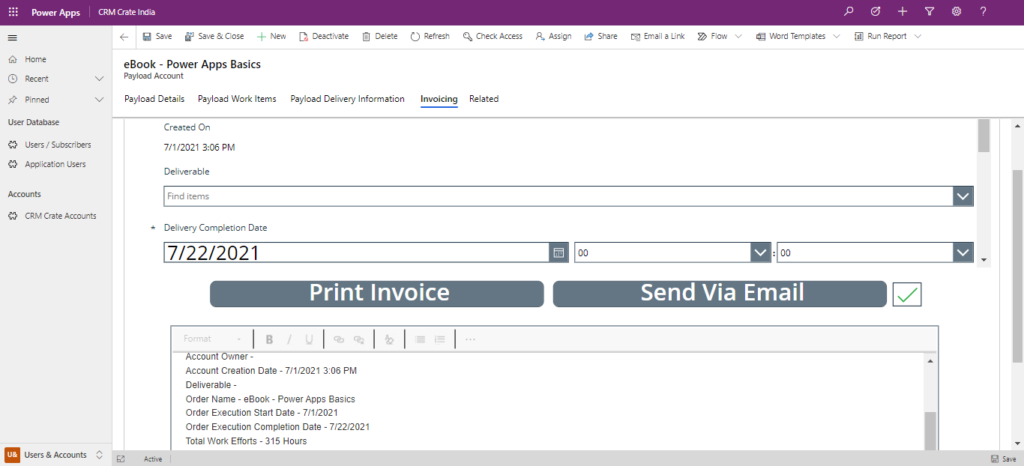
Step 3- Validate the newly embedded Canvas App in the Dynamics 365 CRM form
- Navigate back to the Dynamics 365 CRM form and verify the newly embedded Canvas App.
Thus we learned to embed the Canvas App in Microsoft Dynamics 365 CRM (Model Drive App)


