We will learn how to create a System view in Microsoft Dynamics CRM 365. A View in CRM is a data grid with records listed under select column headings. Before we start, click here to understand what are Views in Microsoft Dynamics CRM.
Create a System View.
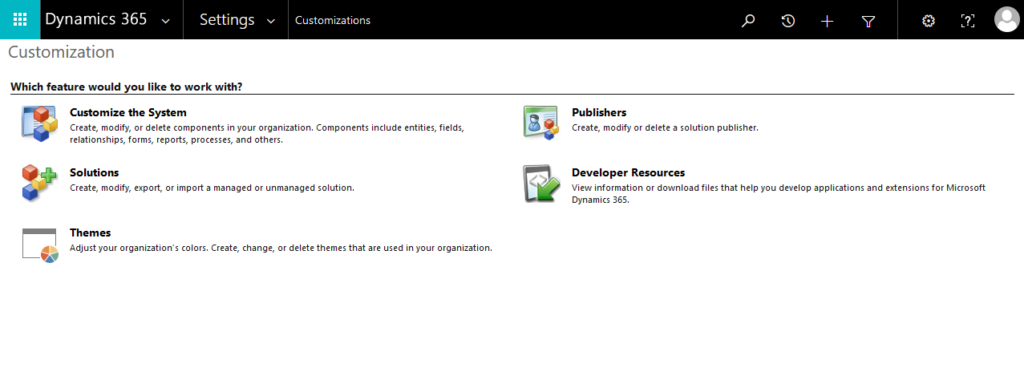
Open your Dynamics CRM >> Go to Setting >> Customization >> Customize the System.
Now, the customization editor should get open. Expand the sections Components >> Entities. Select the entity in which you have to add your view. In our case, we will add the view in Account entity. Therefore, expand the Account entity and click on tab “Views”.
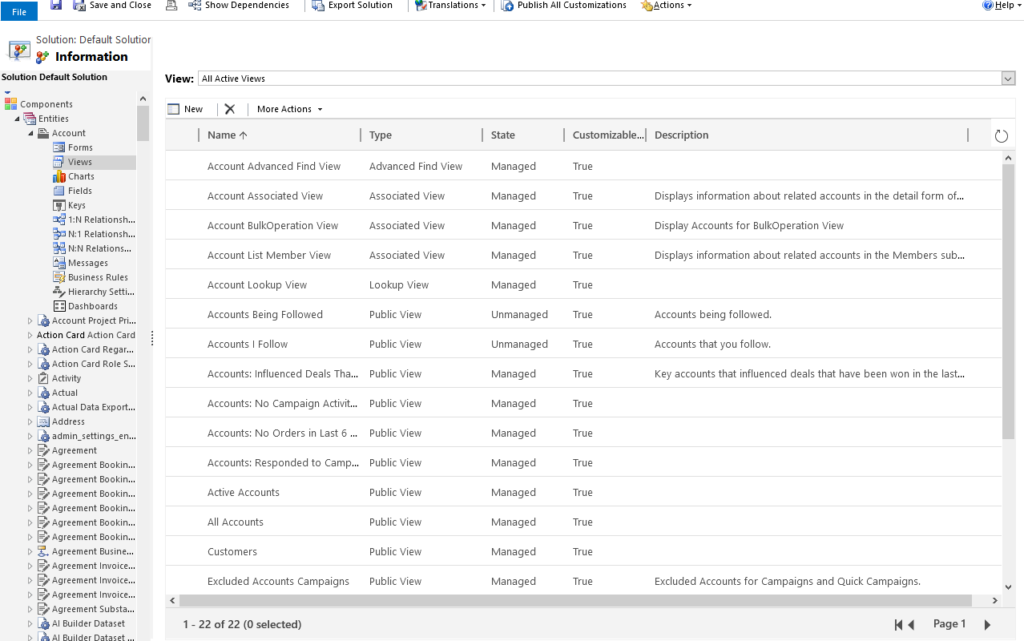
The view editor window should now get open, here we can see the list of existing views in your entity. For creating new view, click on New as shown below.
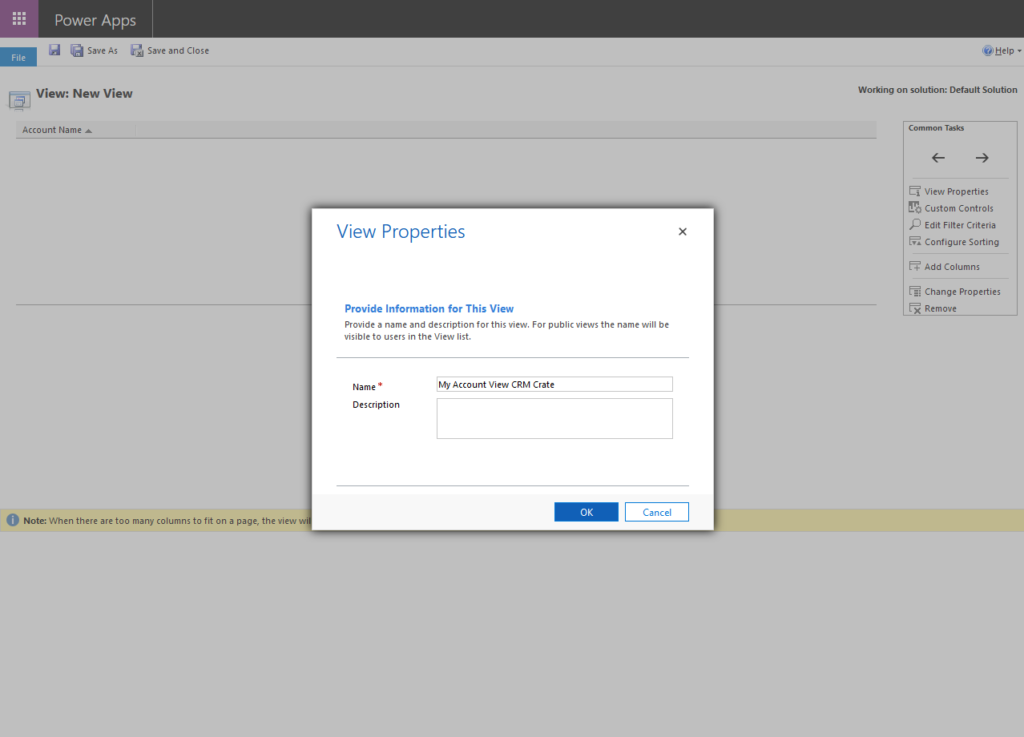
Insert a name for your view and click on Ok.
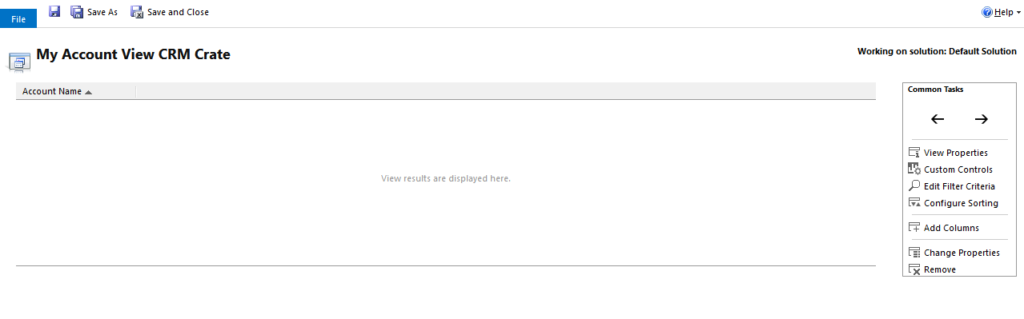
In the left hand panel, we can see all the properties which are available in the View. Here we can set a filter criteria for your view, customize the record sorting, add columns etc.
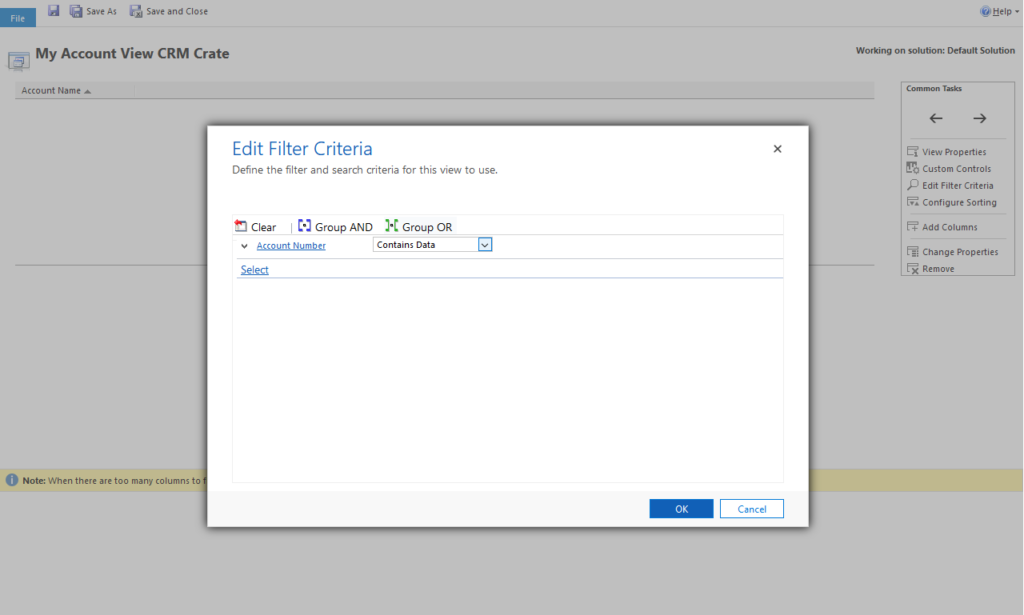
Lets add a filtering criteria in our view so that only particular group of records are populating in the view depending upon the view’s filter criteria. To add filter, click on “Edit Filter Criteria”. This is UI is similar to the advance find filter. Now add your dedicated filter criteria, in our case we will add criteria where we will show Account records which has value in its field “Account Number”. After adding criteria, click on Ok.
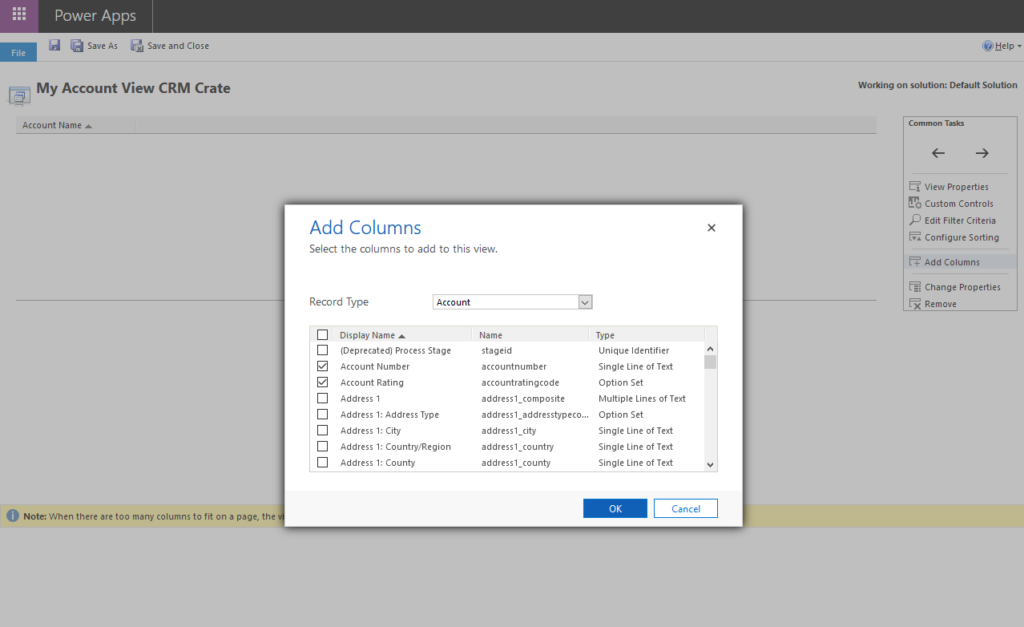
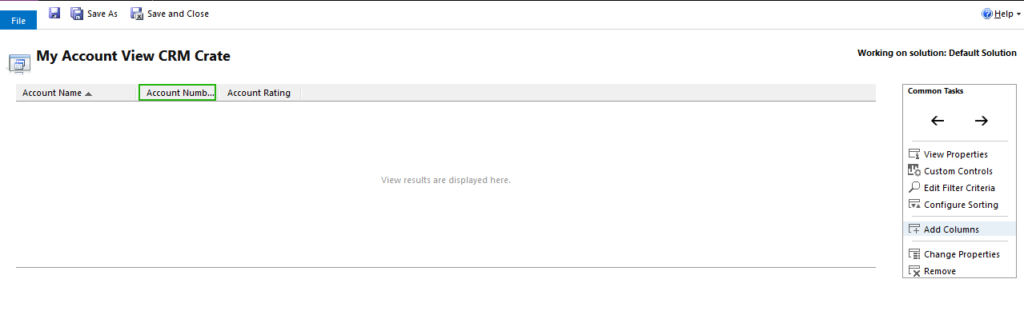
Now lets add few columns which needs to be displayed in our view. To do so, click on Add Columns. Here you can select number of columns (entity fields) which you want to show in your view.
Click on Ok once you finish adding the columns. Now you will observe the select fields will get populated in the View editor.
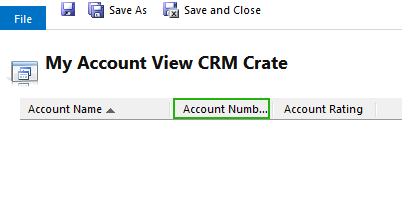
Our basic system view is now ready to go live. Click on Save and Close.
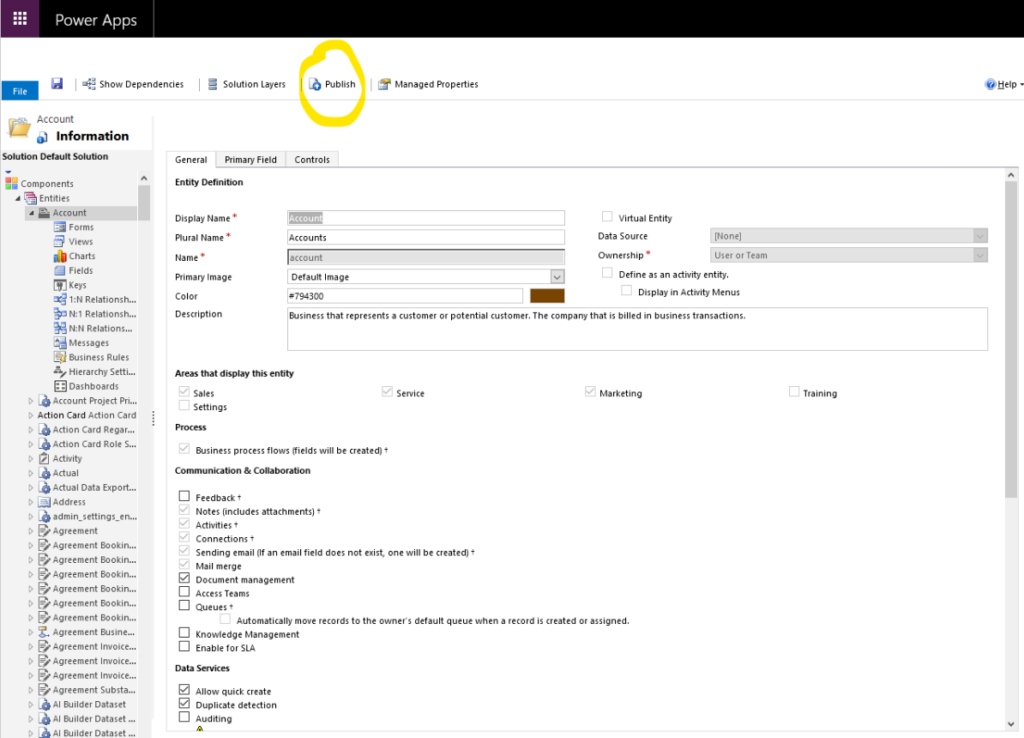
Note, the views are not directly published within CRM. Therefore we will manually publish the entity so that our new View is reflected in our CRM. To do so, click on the entity in which you have added the view and click on Publish.
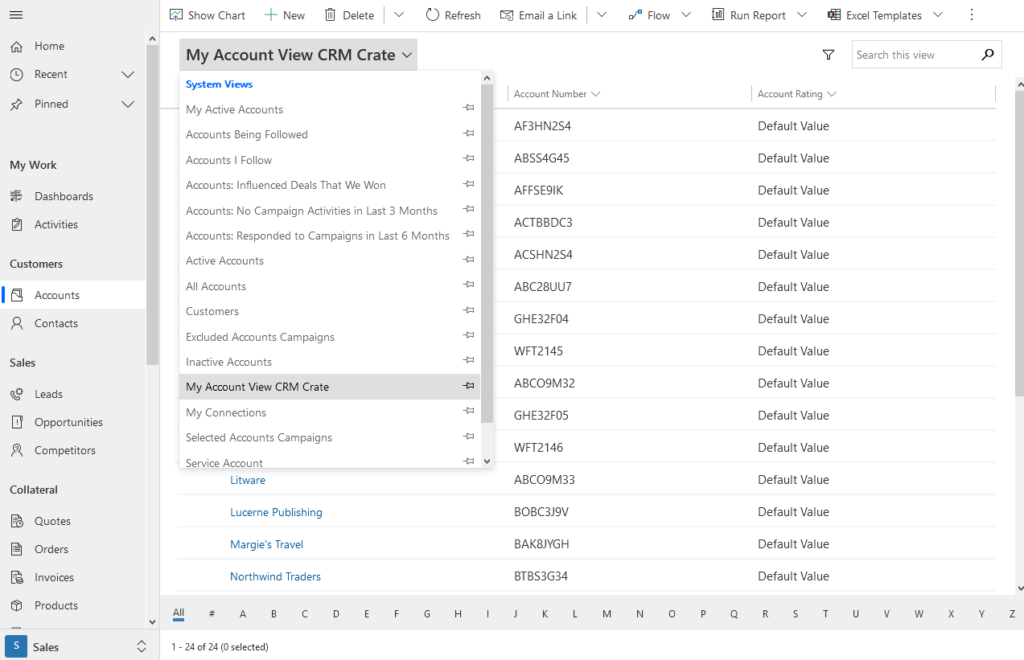
To validate whether your view is deployed and went live, navigate back to the CRM UI and open your entity. Here in the view list you can find your newly created view.