
Headers & footers are the one of the most important elements within any web page.Therefore, having header and footers in your Dynamics CRM form can provide great user interface level experience to the user. Here you will learn how to build, add header and footer in the CRM Dynamics 365 form.

Creating and adding header / footer in form
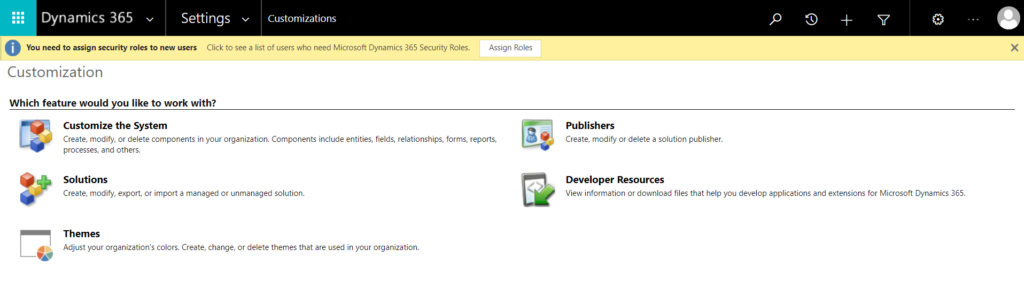
Open your Dynamics 365 and navigate to Settings >> Customization >> Customize the System.
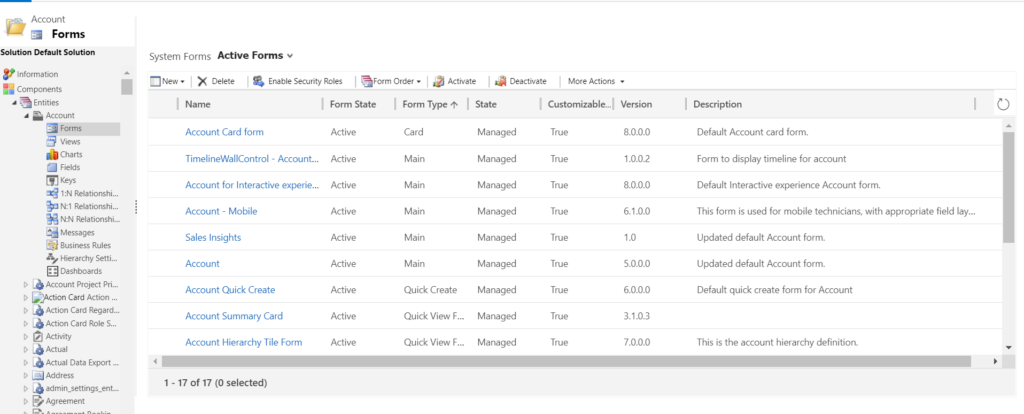
Select the entity in which you want to add header / footer and open its form. In our case we will select the Account entity.
Open the desired form, now system will open the form editor. Now navigate to the top bar and here you can find the header and footer elements.
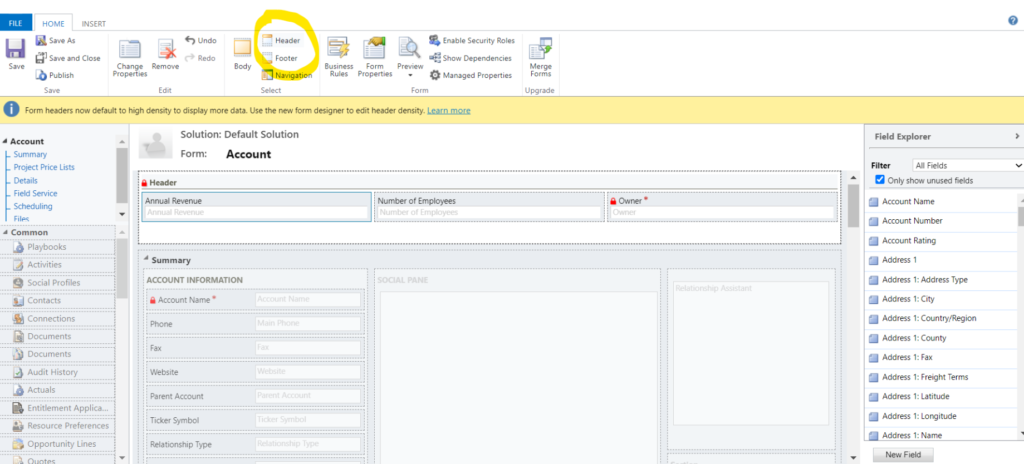
To add the header click on the button “Header”. Now the header bar will get auto populated on the form.

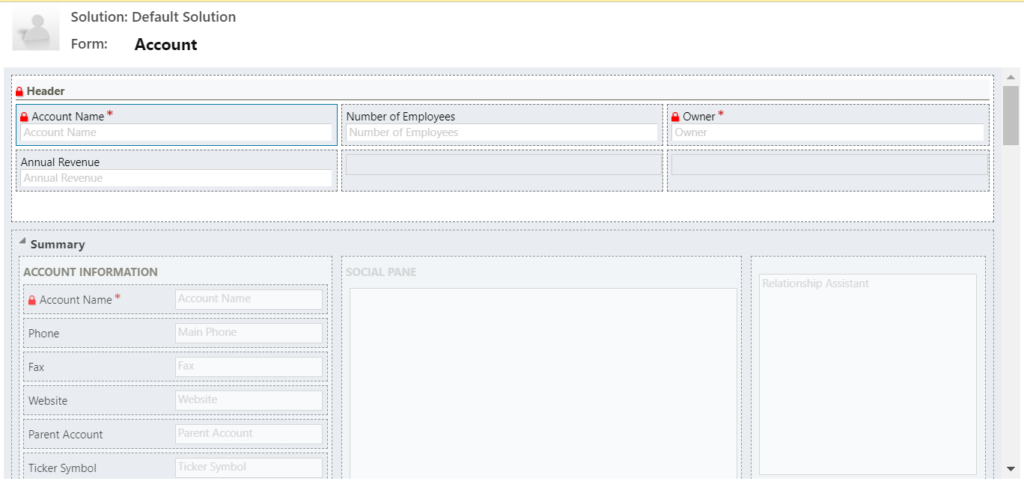
Similarly, on clicking on footer the system will automatically add the footer template on the form. You can add the fields to the header and footer by simply dragging and dropping it.
Also note that we can use same fields in body and header / footer. For example, if the field Account Name is present in body form then we can also add the same field in the header / footer template.
Now save and publish the form to validate the changes.
Click here to learn more about the form customization in CRM Dynamics 365.
Click here to understand more about header & footer.


