
In this course, we will learn to customize the chart XML in Microsoft Dynamics 365 CRM. Before we start, make sure to subscribe CRM Crate so that you stay up-to-date in the field of Microsoft Dynamics 365 CRM.
What are charts in Microsoft Dynamics 365 CRM?
You can use charts to display the large quantities of data in your organization in a more insightful and graphical way.
Why do we need to customize the charts using XML modification?
Dynamics 365 provided multiple features in the out-of-the-box charts such as different types of visual components (Column, Lines, Bars etc), more than one series entries, more than one categories etc.
But, there are various number of features which are not yet available in the out-of-the-box dashboards. Consider the below example;
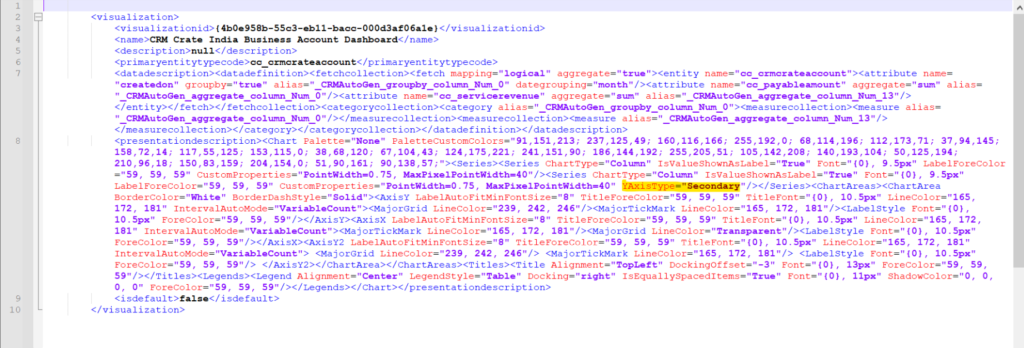
- Consider that we have a chart which contains 2 series (two vertical axis).
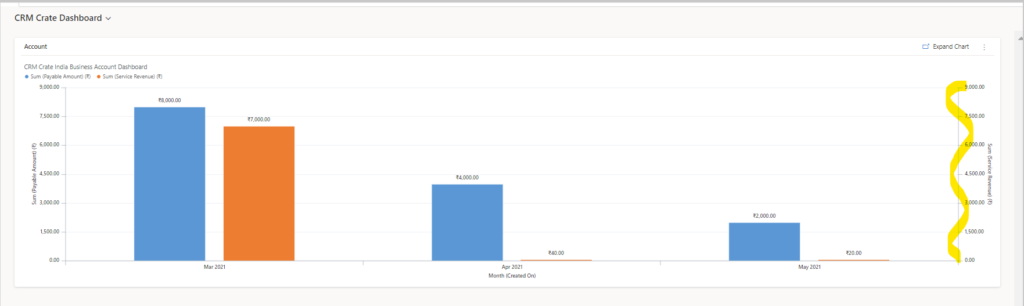
- Now, in the out-of-the-box capabilites, we do not have an option to remove the above highlighted 2nd series axis.
- In this scenario, we can customize the charts from the backend using the XML modification.
Customize the chart XML
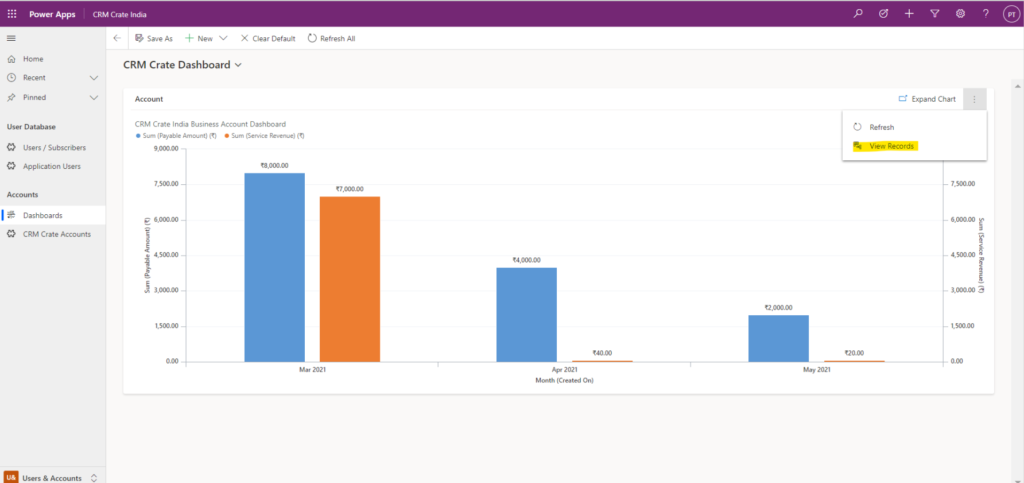
- Navigate to Dynamics 365 CRM >> Open the dashboard which is displaying the chart. Click on the more options and seelct “View Records” as shown below.
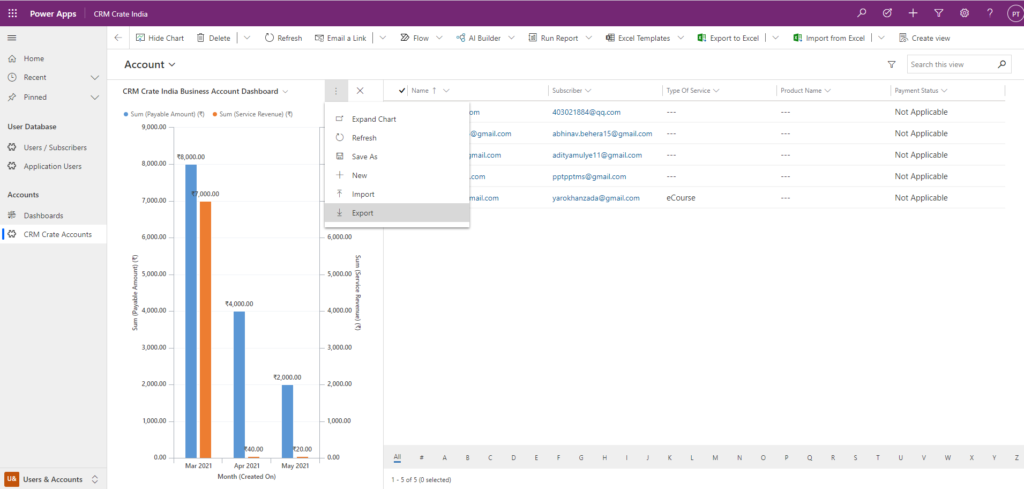
- Now, again navigate to the chart and click on the more option. Click on the “Export” button. This will download the XML file in your local system.
- Open the download XML file in text editor.
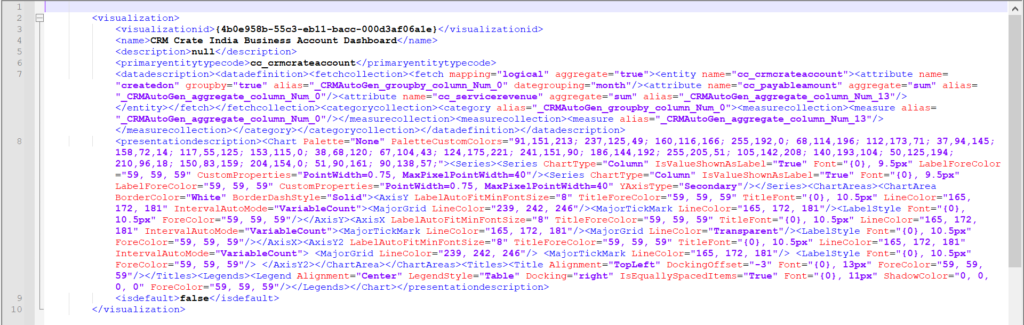
- Search for the “Series” tag and remove the component as shown below.
- Save the modified XML file and navigate back to the Dynamics 365 CRM.
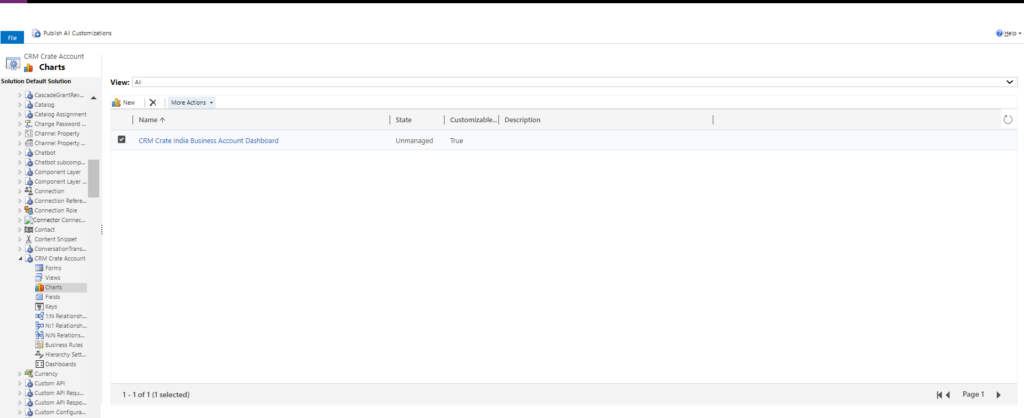
- In CRM >> Navigate to Settings >> Customization >> Solution >> Select the entity in which the chart exists >> Click on the Chart component.
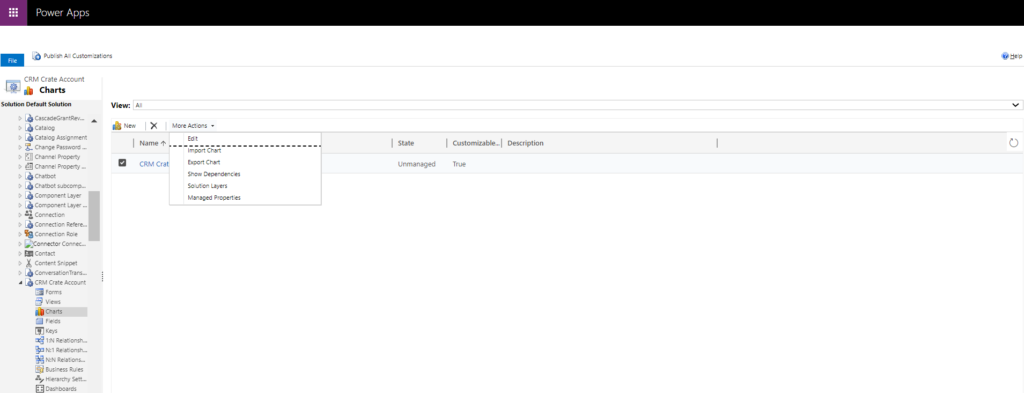
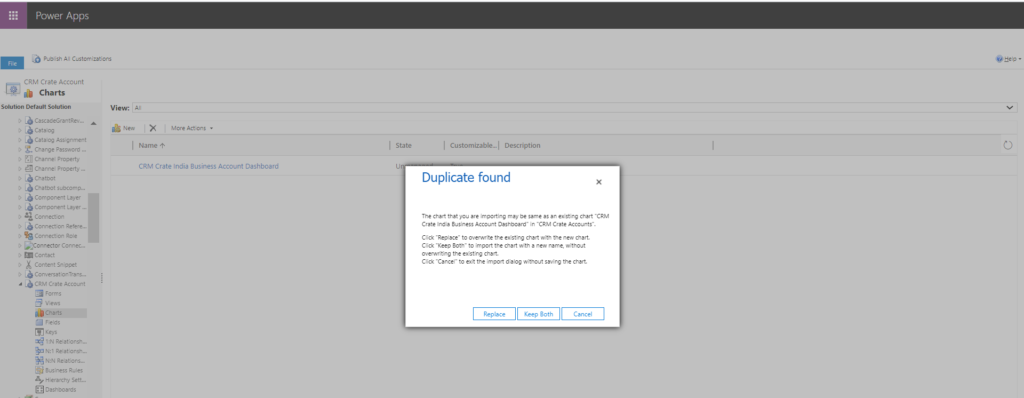
- Now, click on the “More Actions” button and select “Import Chart”.
- Select the previously modified XML file and upload it in the CRM.
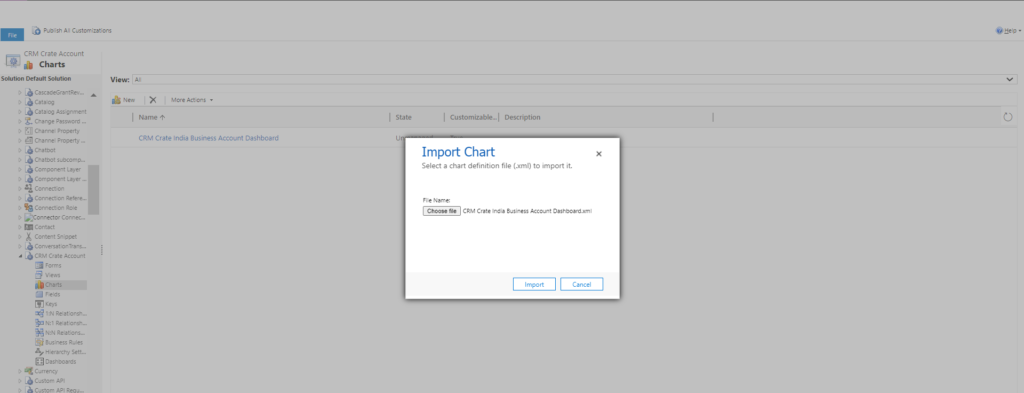
- If you need to completely override the chart then select the option “Replace” or else click on “Keep Both” which will simply create a new chart in the CRM.
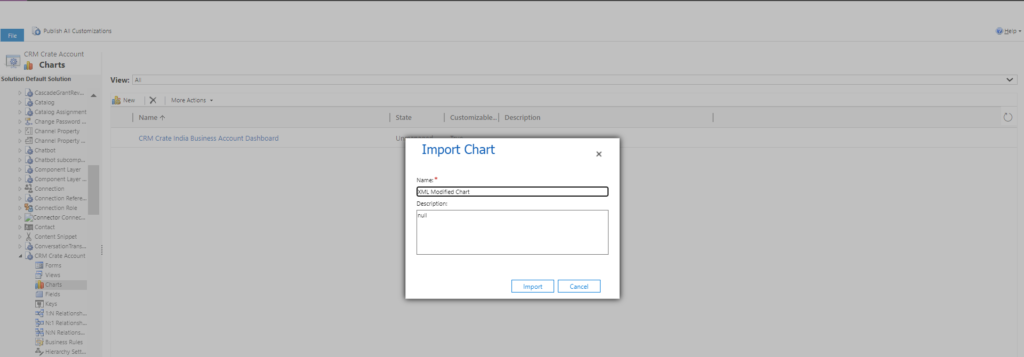
- Provide a unique name to the modified chart and click on Import as shown below.
Testing the chart in CRM
- Now, lets test our chart in Dynamics 365 CRM and validate whether the series axis is been removed from the chart.

Thus, we were successfully able to remove the charts axis using the XML modification.


