
In this article, we will learn to a create and develop a custom workflow in Microsoft Dynamics CRM. Before we start, make sure you have gone through the below courses.
- What is a workflow?
- Create a basic workflow
- Difference between real time and background workflows
- What is an on-demand workflow?
- How to call a workflow from JavaScript?
- What is a child workflow?
- What is a custom workflow?
Create an out-of-the-box workflow
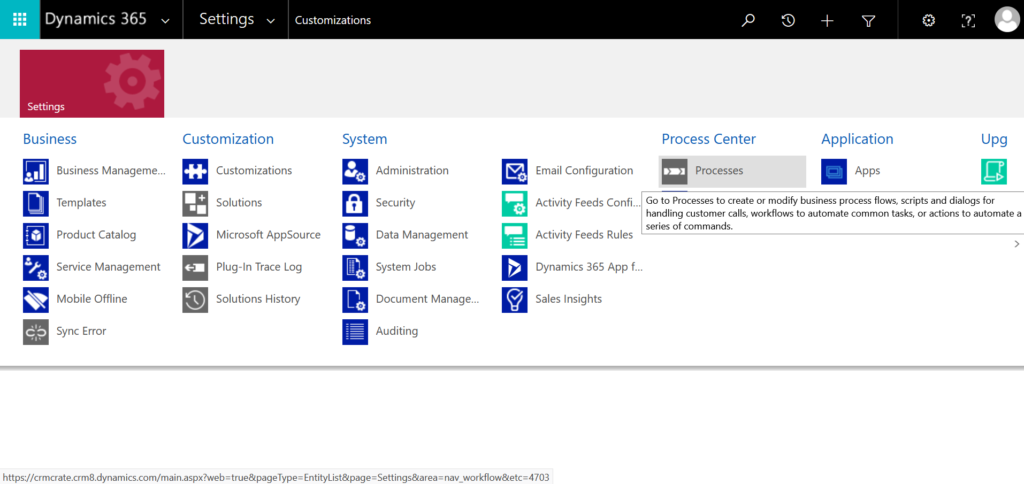
Open your Dynamics CRM, navigate to Settings >> Processes.
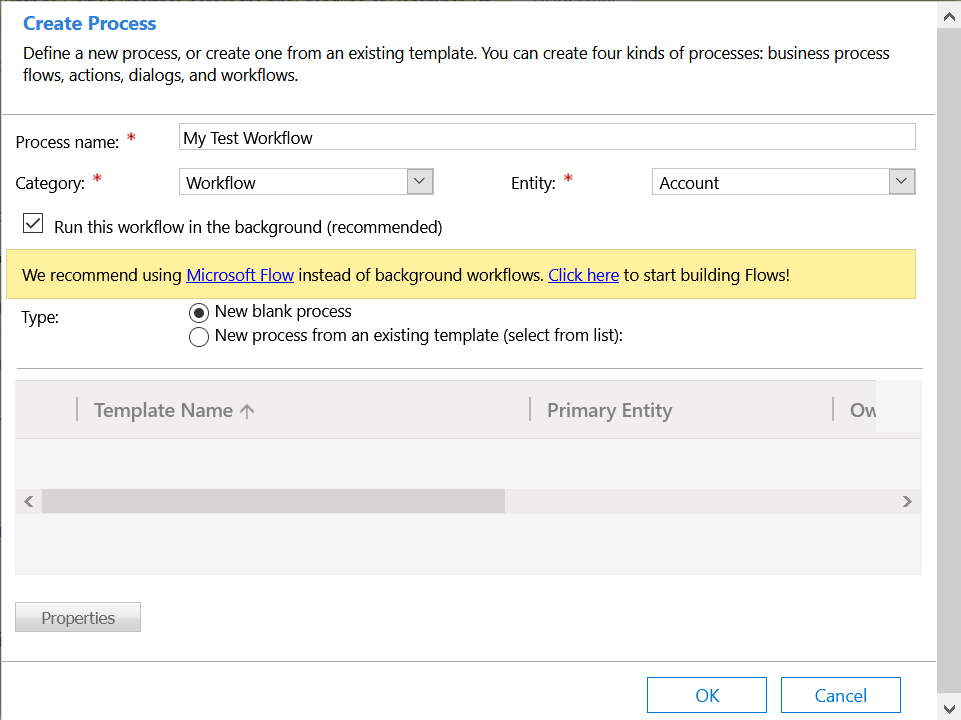
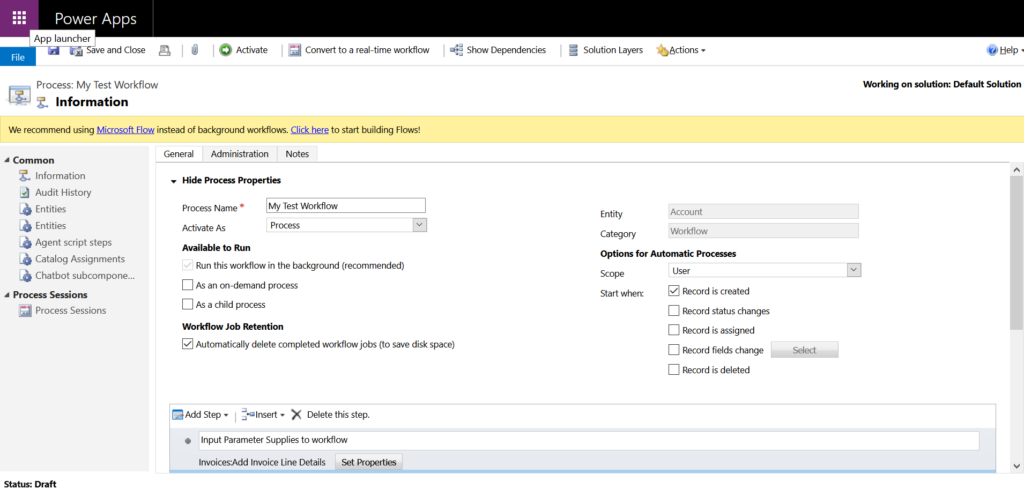
Let’s create a new workflow process with the following data. Set name = My Test Workflow, Category = Workflow and Entity = Account, then click Ok.
We will trigger the workflow on creation of the Account record as shown below.
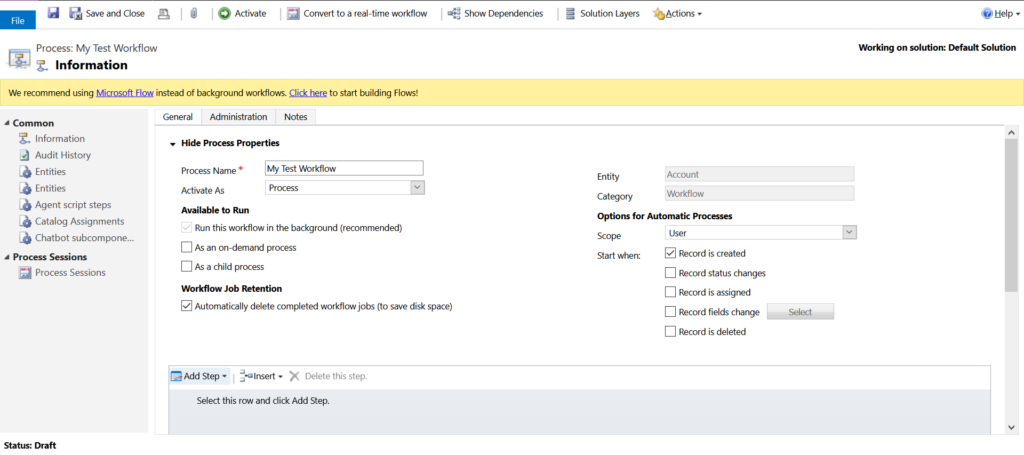
Once we register the custom workflow activity code, these custom workflows will get populated in the the bottom right corner button “Add Step”.
Create a custom workflow code and register it in CRM
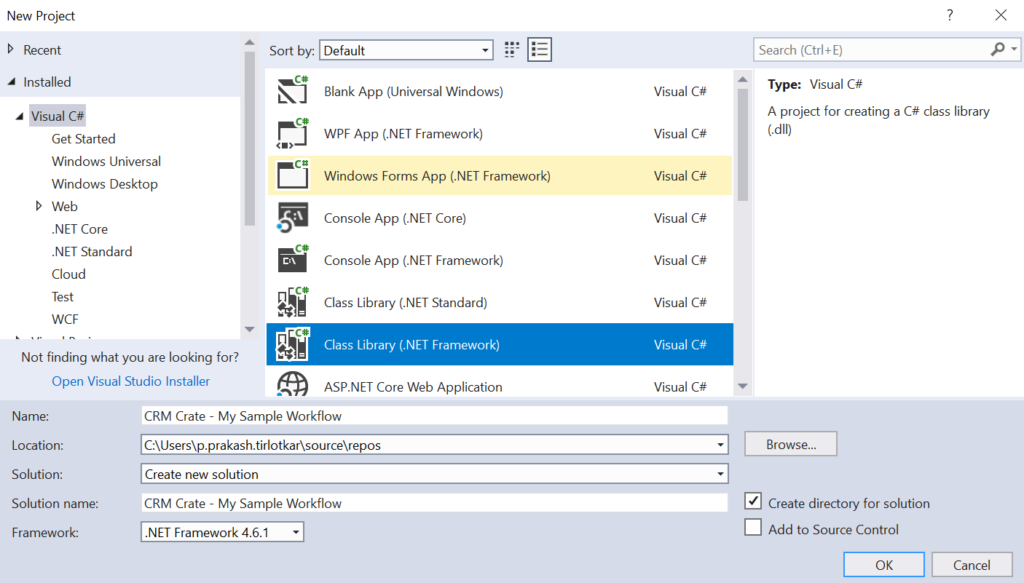
Open the Visual Studio and create a new Class Library project as shown below.
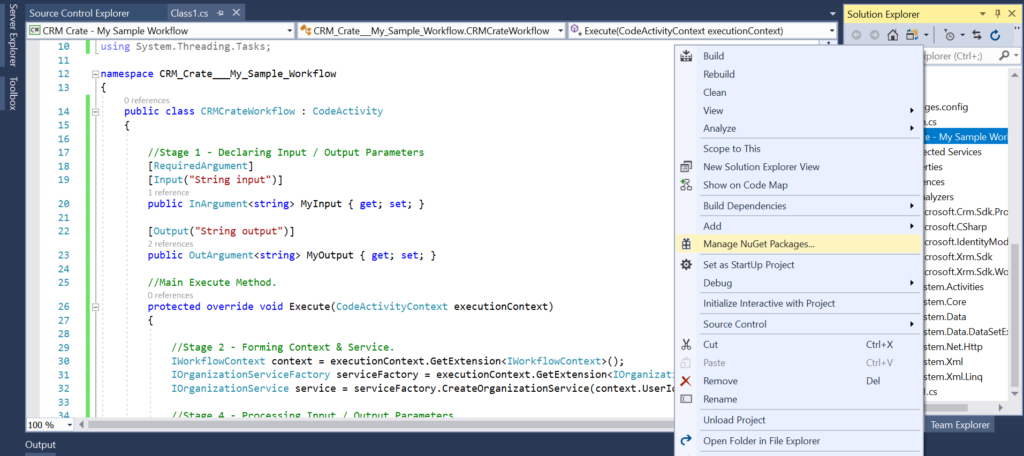
Once your project is created, we will have to add the necessary assemblies for building our workflow. Right click on project >> Manage Nugget Packages.
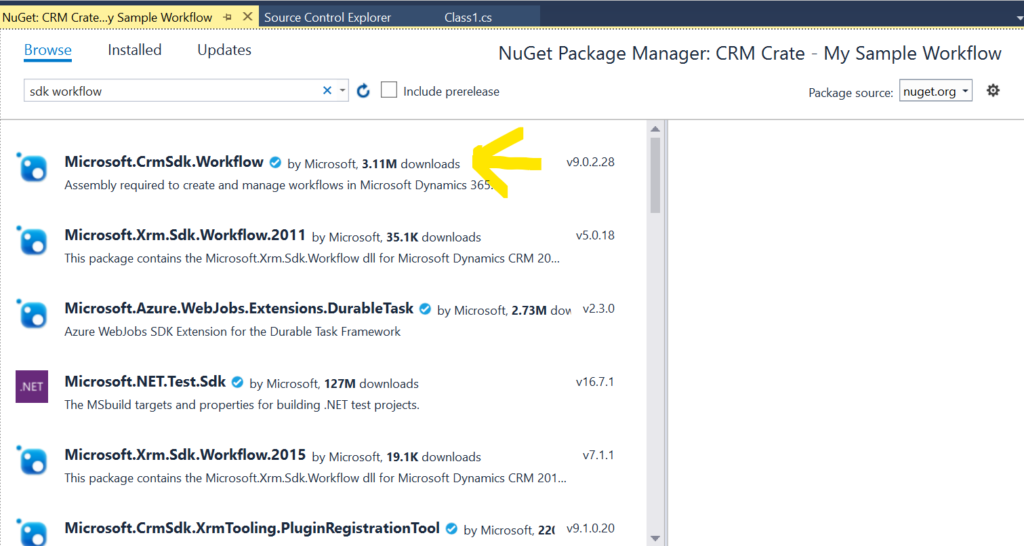
Add and install Microsoft.CrmSdk.Workflow.
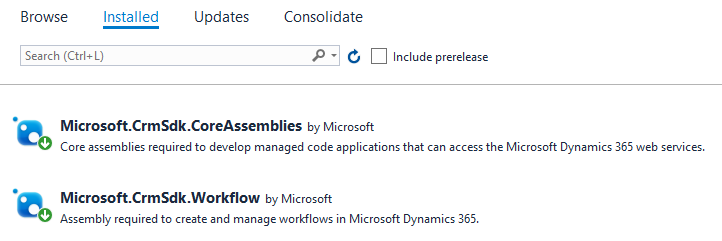
In the Nugget Package Manager >> Under installed, you can see the downloaded assemblies.
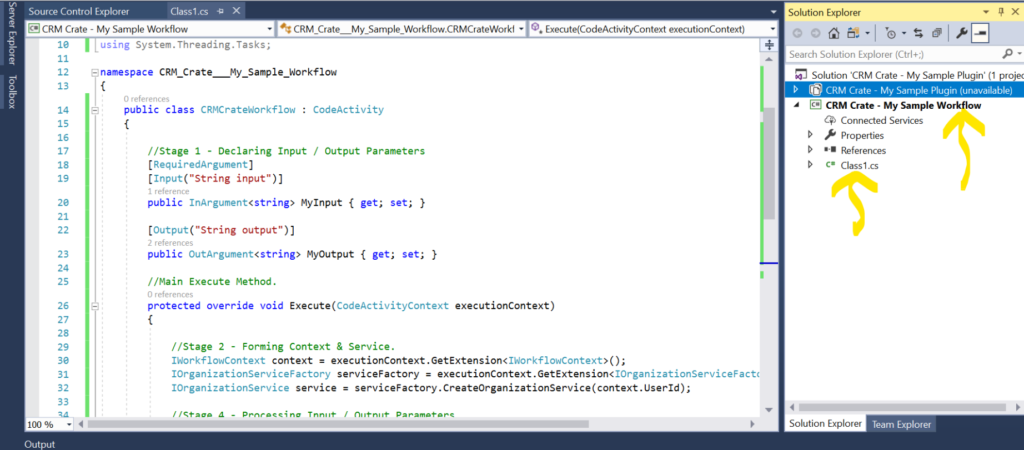
Now lets write and develop the code. In the Visual Studio project, open the class file. Copy paste the below code in your class file.
Code –
using Microsoft.Xrm.Sdk;
using Microsoft.Xrm.Sdk.Messages;
using Microsoft.Xrm.Sdk.Query;
using Microsoft.Xrm.Sdk.Workflow;
using System;
using System.Collections.Generic;
using System.Linq;
using System.Text;
using System.Activities;
using System.Threading.Tasks;

namespace CRM_Crate___My_Sample_Workflow
{
    public class CRMCrateWorkflow : CodeActivity
    {

        //Stage 1 - Declaring Input / Output Parameters
        [RequiredArgument]
        [Input("String input")]
        public InArgument MyInput { get; set; }

        [Output("String output")]
        public OutArgument MyOutput { get; set; }

        //Main Execute Method.
        protected override void Execute(CodeActivityContext executionContext)
        {

            //Stage 2 - Forming Context & Service.
            IWorkflowContext context = executionContext.GetExtension();
            IOrganizationServiceFactory serviceFactory = executionContext.GetExtension();
            IOrganizationService service = serviceFactory.CreateOrganizationService(context.UserId);

            //Stage 3 - Processing Input / Output Parameters.
            string city = MyInput.Get(executionContext);
            if (city == "NYC")
                MyOutput.Set(executionContext, "New York");
            else
                MyOutput.Set(executionContext, string.Empty);

            //Stage 4 - Retrieving Record GUID.
            string sRecordId = context.PrimaryEntityId.ToString();
        }
    }
}
Code Explanation –
- Stage 1 – We have declared and get – set the input and output parameters which will be provided and supplied to the out-of-the-box workflow. In this case, we have taken MyInput as a text input parameter from the parent workflow and provided MyOutput as a text output parameter to the parent workflow.
- Stage 2 – We have formed the context and service for performing operations in CRM (CRM Operations are not included in this example).
- Stage 3 – Here, we processed the input and output parameters. We can add any of the required business logic in stage 3.
- Stage 4 – For further CRM operations, we have retrieved the GUID of entity record which is triggering the workflow.
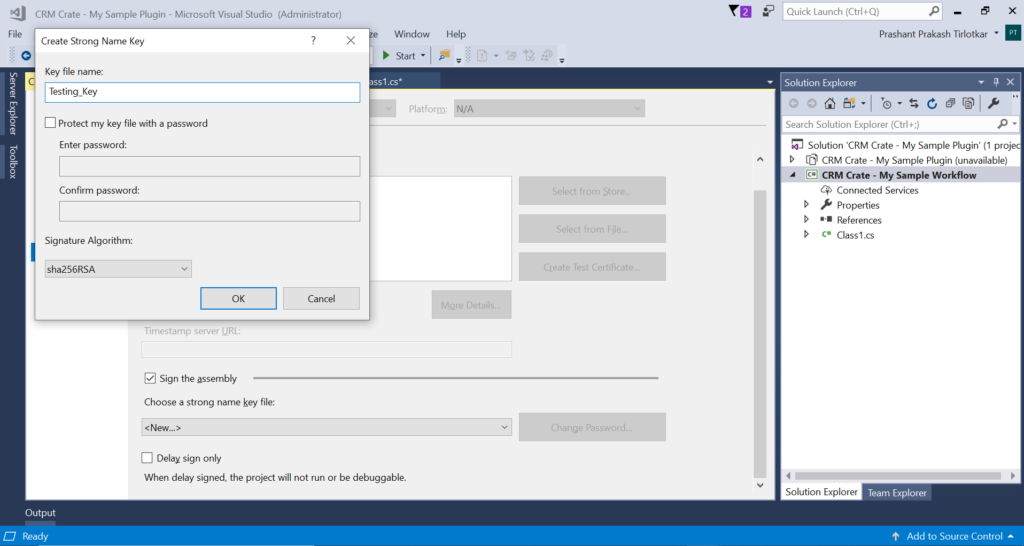
Now, lets create a signing key for our workflow project. Right click on Project >> Properties >> Signing. Click on Sign the assembly >> New. Give any name to the signing key and click on Ok.
Now since our workflow code is ready, right click on the project and click on build. We will now register it in CRM using the plugin registration tool. If you do not have this tool then click here to download it.
Once you open the registration tool. Click on Register >> New Assembly >> Browse >> Select the workflow .dll file from the above project path. Finally, click on Register Selected Plugin.
Configure & activate the out-of-the-box workflow
Navigate back the out-of-the-box workflow which we have created above in CRM. Click on Add Step.

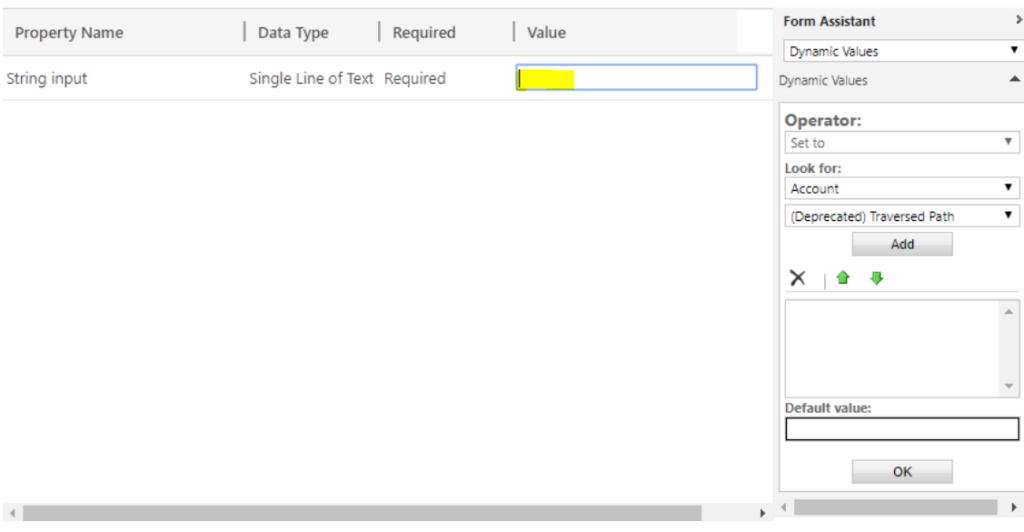
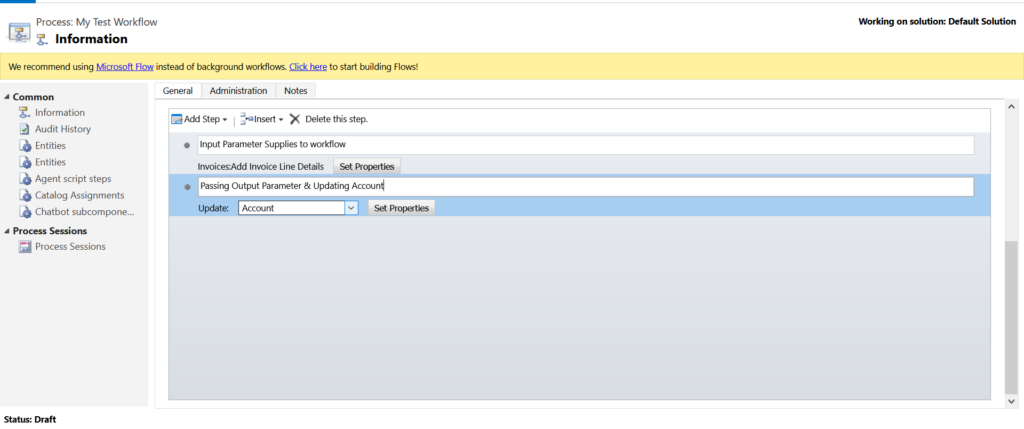
Consider, the name of our custom workflow assembly is “Invoices”. Once you click on Add Step, our newly registered custom workflow assembly will get populated. Now expand the workflow assembly and select the above created custom workflow .dll file. Once you workflow gets loaded, click on Set Properties. Here, we can pass the string input parameter for this custom workflow.
Click Save and Close. At this point, we are basically calling our custom workflow activity, like calling a function, to take a parameter, the Account City, and send back the value in Account field State.
Now we will update the Account record by utilizing the output parameter value. In the same workflow, again click on Add Steps >> Update Record >> Select Entity as Account.
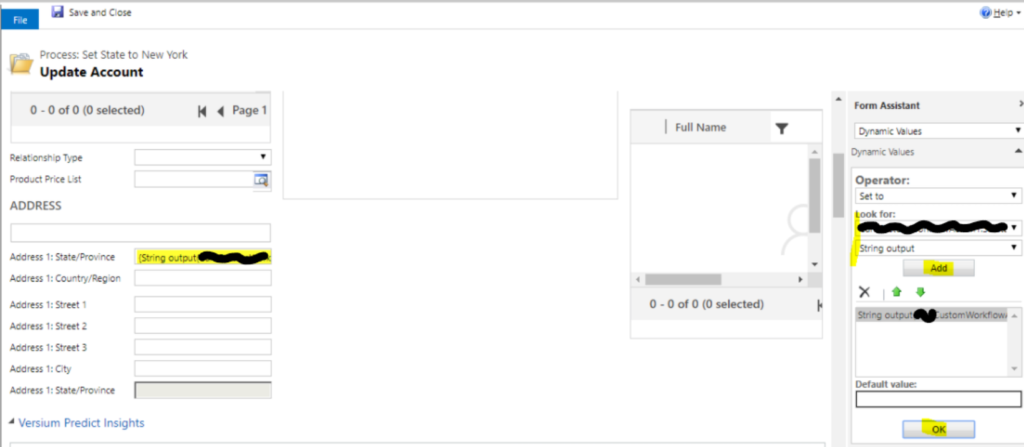
Click on Set Properties. Now all the Account fields will get populated. Append the output parameter to the Account’s field State as shown below.
Finally, we have completed the development of custom workflow. Save and activate the workflow by clicking on button Activate as shown below.
To validate whether the workflow is working properly, navigate to CRM >> Account. Create a new account record with value in field City as “NYC”. After saving the account record, the value in field Address 1 : State/Province will be auto populated as “New York”.


